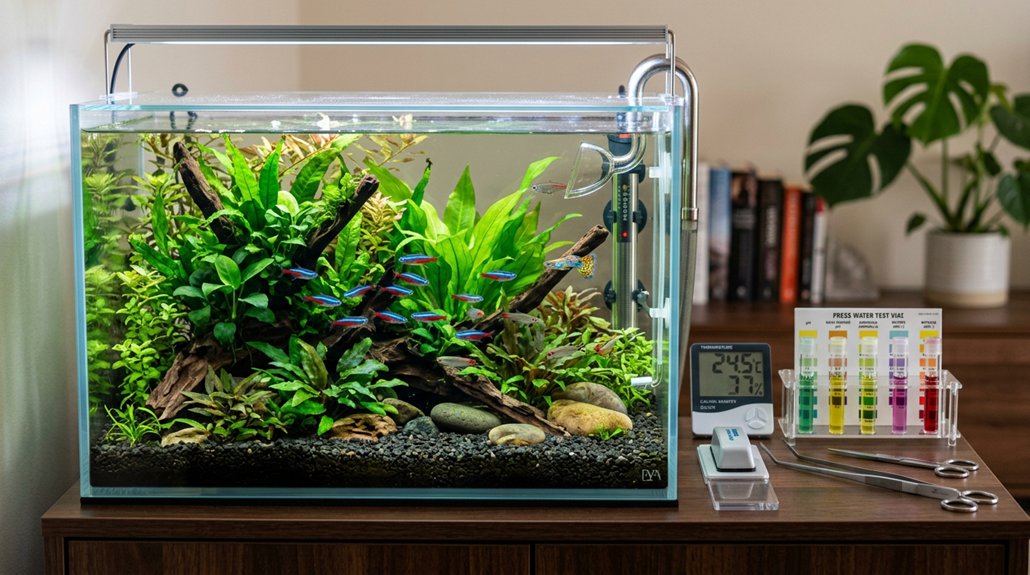
You need a properly sized tank, a tank-rated stand, and a safe spot away from sunlight, vents, and vibration. Add a filter rated for at least twice the tank volume, an adjustable heater, thermometer, dechlorinator, liquid test kit, gravel vacuum, net, and bucket. Choose substrate, décor, and live plants that suit your fish, then fill with conditioned water and cycle the aquarium before stocking. Get these basics right, and the rest gets much easier.
Key Takeaways
- Choose a tank size with a sturdy stand, stable location, and enough capacity for the adult fish you plan to keep.
- Get essential equipment: filter, heater, thermometer, lighting, dechlorinator, and a liquid test kit.
- Use safe substrate and décor, plus live plants or aquarium-safe hardscape that leaves open swim space.
- Set up proper electrical and environmental conditions, avoiding direct sunlight, drafts, and unsafe power connections.
- Cycle the aquarium before adding fish, using bacteria starter or fishless cycling until ammonia and nitrite stay at zero.
Choose the Right Freshwater Fish Tank Size
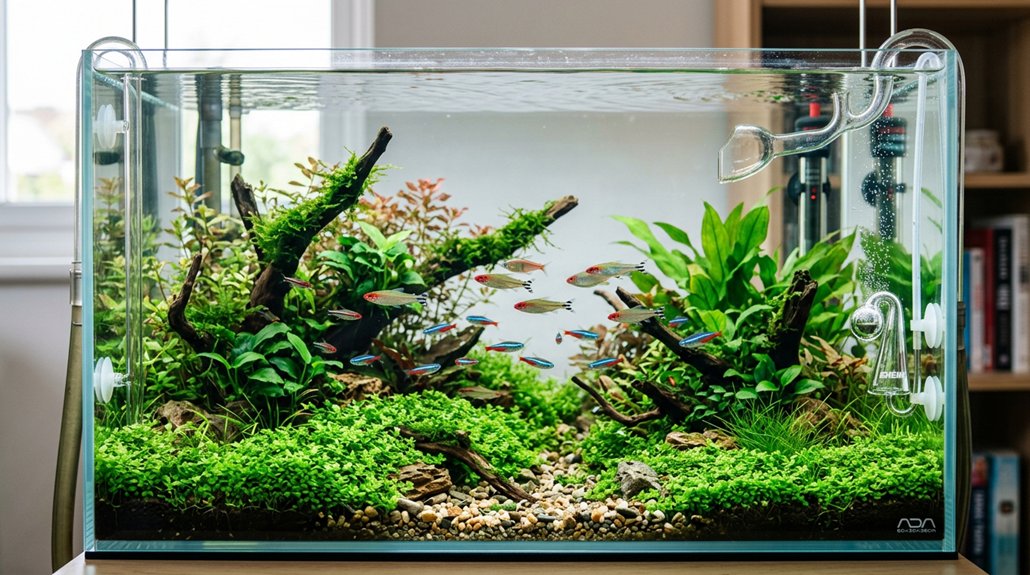
Choose a tank size that matches both your fish and your ability to maintain it: for most beginners, a 20-gallon long is the minimum sensible starting point, while 30–55+ gallon tanks are even better because they’re more stable, dilute toxins more effectively, and hold temperature more consistently. Prioritize a wide tank footprint over height, since horizontal surface area improves gas exchange and supports greater activity. Use a stocking calculator to estimate adult bioload, not juvenile size; fancy goldfish need about 20 gallons for the first fish and 10 more for each additional fish, while common koi need ponds. Remember water weighs about 8.2 lb per gallon, so verify the floor, stand, and maintenance effort can support the filled system. Smaller tanks demand tighter testing and water changes.
Pick a Safe Place for Your Aquarium
Place your aquarium on a sturdy, level stand in an interior location away from direct sunlight, windows, and vents to reduce temperature swings and algae growth. Before you set it up, make sure the floor and stand can support the full filled weight of the tank, since water adds substantial load. Keep the tank near electrical outlets for the filter, heater, and light, and loop each cord downward before the outlet so water can’t run into the socket.
Support And Weight Capacity
Water’s heft adds up fast: it weighs about 8.2 pounds per gallon, so a filled 20-gallon aquarium is roughly 164 pounds before you add gravel, décor, and equipment. Choose a level, sturdy stand rated for your tank size, and verify load distribution on an interior floor or load-bearing wall. For large tanks, assess floor reinforcement before setup, especially on upper stories or in older structures. Avoid bookcases and other furniture not engineered for aquariums.
| Check | Target | Action |
|---|---|---|
| Stand | Tank-rated | Use a level, rigid base |
| Floor | Load-bearing | Confirm capacity first |
| Location | Stable | Avoid bumps and vibration |
Keep cords organized with a drip loop, and place the tank near outlets for safe equipment access.
Away From Sunlight
Direct sunlight can quickly warm an aquarium and trigger algae blooms, so keep the tank away from windows and bright exposure. Place it on an interior wall where ambient temperature stays stable and light levels stay low. If you can’t avoid nearby windows, use window treatments or UV protection to limit direct rays, but don’t rely on them alone. Avoid spots near doors, vents, or HVAC units, since drafts and sudden temperature shifts can stress fish and reduce heater efficiency. Choose a location with room for maintenance, visibility, and safe access. Keep the stand level, sturdy, and out of heavy foot traffic so accidental bumps don’t disturb the setup. A consistent, shaded location helps maintain water quality and fish health.
Near Power Outlets
Near a grounded electrical outlet, your aquarium can power the filter, heater, and light without relying on long extension cords, which can add trip and fire risk. Choose a spot within a few feet of dedicated, GFCI-protected power, especially in basements or any room where spills may happen. Plan GFCI placement before you fill the tank, and route cords so they form drip loops below each plug before rising to the outlet. Don’t place the aquarium directly under wall outlets, windows, vents, or doors, since drafts, sunlight, and accidental splashes can reach fixtures. Also confirm the stand is level and rated for the full weight; water adds about 8.3 lb per gallon. Proper cable routing helps protect equipment and keep maintenance safe.
Get the Essential Aquarium Equipment
Start by assembling the core equipment your tank needs to stay stable and healthy. Choose an aquarium sized for your fish; a 20-gallon long is a strong starter kit because larger volumes resist sudden swings. Your filter should be rated for at least twice the tank volume, so a 20-gallon tank needs roughly 40 gal/hr, and you shouldn’t fully replace media because seeded bacteria must survive. Add a heater sized at 3–5 watts per gallon and verify temperature with an in-tank thermometer; most tropical species need 72–82°F. Use a liquid master test kit, dechlorinator, and nitrifying bacteria starter. Keep a gravel vacuum, bucket, and net ready, and follow a maintenance schedule of 25–50% weekly water changes.
Choose Substrate, Plants, and Décor
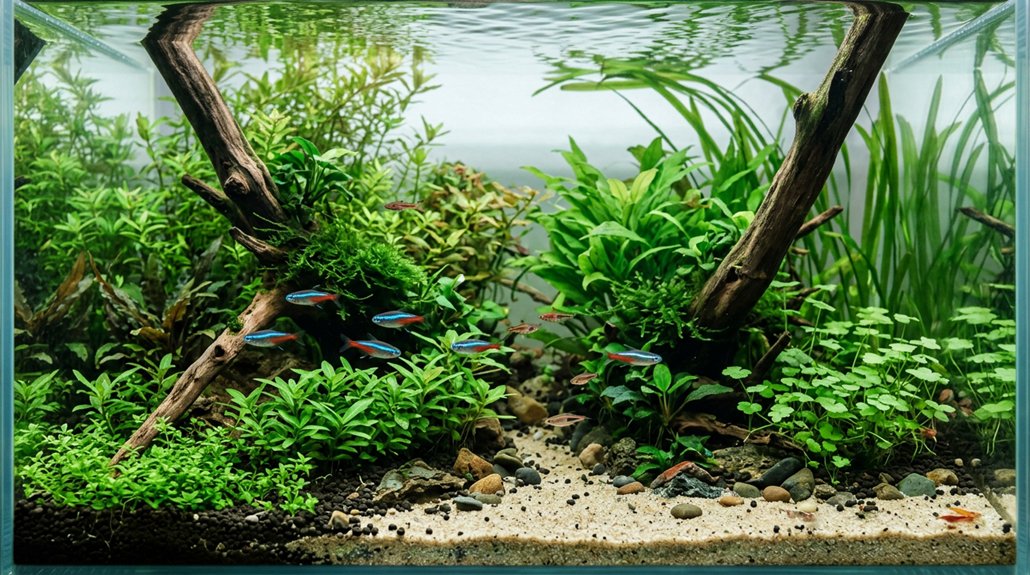
Choose substrate to match your fish: use fine sand for burrowers and bottom sifters, or washed gravel for general community tanks, and rinse all new substrate until the water runs clear. Add live plants such as Anubias or Java Fern for nitrate uptake and natural filtration, and make sure you’ve got lighting and nutrients to support them. Use only aquarium-safe décor, rinse or soak driftwood, and arrange hardscape to preserve open swim space, cover, and access for maintenance.
Substrate Choices
For the tank’s foundation, select a substrate that matches your fish and plants: use fine sand for burrowing or bottom-feeding species such as Corydoras and Kuhli loaches, since it helps prevent mouth and barbel injury and is easier to keep surface-clean after thorough rinsing; use gravel for general community tanks and many planted setups because it supports beneficial bacteria, but avoid brightly colored or crumbly gravel that can leach or fade. Match grain size to the species you keep, and check pH interaction if you use reactive rock or wood. Rinse substrate until the water runs clear, then vacuum it regularly to remove trapped waste. Arrange décor so caves and wood don’t crowd swimming lanes, and soak driftwood first to reduce tannins and test hardness and acidity if needed.
Live And Artificial Plants
When setting up live or artificial plants, match the substrate to the species you’re keeping: fine sand works best for burrowing or sifting bottom-dwellers like Corydoras and Kuhli loaches, while gravel is better for rooted plants and can help hide detritus; rinse any substrate thoroughly until the water runs clear before adding it. Live plants improve water quality by using nitrates and releasing oxygen, but they’ll only thrive if you provide adequate lighting and either nutrient-rich substrate or liquid dosing. If you prefer plastic or silk plants, keep plant maintenance simple: remove labels, soak them in hot water, and inspect every surface for sharp seams. Use only fish safe materials so fins aren’t damaged. Arrange vegetation to preserve open swimming lanes and leave substrate exposed for vacuuming.
Safe Décor And Hardscape
Safe décor starts with a substrate that fits the fish you keep: fine sand is ideal for burrowing or sifting species such as Corydoras and Kuhli loaches, while medium gravel is better for planted or general community tanks; whichever you use, rinse it thoroughly until the water runs clear. Choose aquarium-safe hardscape only: sealed smooth driftwood, smooth rocks, and ceramic caves or textured ceramics with no paint, adhesives, or sharp edges. Pre-soak driftwood to leach tannins and confirm it doesn’t lower pH too much. If you use pool or play sand, verify it’s inert and pre-filter fine grains if needed. Add live plants such as Java fern, Anubias, and Java moss for nitrate uptake and oxygen, then trim them regularly. Sterilize new décor with hot water or a light vinegar soak.
Condition the Water and Fill the Tank
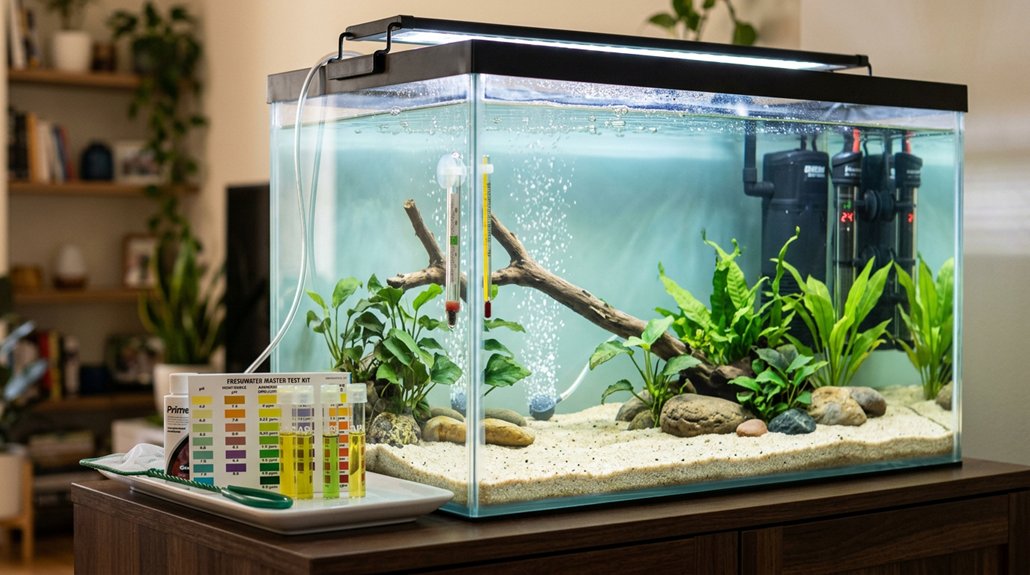
Rinsing and refilling come next: wash all new substrate and decorations with hot water only, no soap, until the rinse water runs clear, then add them to the tank to minimize clouding and contamination. Fill the aquarium slowly with a clean bucket or plate so you don’t disturb the substrate. Immediately treat the full volume with your dechlorinator selection, matching the label dose to neutralize chlorine and chloramines. After dechlorinating, install and submerge the heater and thermometer, then set the heater to your target range, usually 72–82°F/22–28°C. Allow 24–48 hours for temperature stabilization before adding fish. Add nitrifying bacteria starter or seeded media to begin cycling, and test ammonia and nitrite daily while monitoring pH, temperature, and water quality.
Install the Filter and Heater
Now that the tank is filled and conditioned, install the filter and heater so the system can stabilize. Choose a filter rated for at least twice your tank volume, and follow the manufacturer’s intake and outflow setup. Keep seeded media intact, or rinse media gently in tank water only. Mount an adjustable submersible heater, sized about 3–5 watts per gallon, fully submerged near steady flow from the filter. Set it to your target temperature, usually 72–82°F. Place an accurate thermometer opposite the heater for verification. Wait 15–20 minutes after filling before powering the heater to avoid air pockets. Use proper placement for surface agitation without blasting fish. Route cords with a drip loop, and keep these maintenance tips in mind: don’t replace all filter media at once.
Cycle Your Freshwater Fish Tank
Cycling your tank establishes the nitrifying bacteria that convert toxic ammonia into nitrite and then nitrate, and a new freshwater aquarium usually takes 2–6 weeks to fully stabilize. You should use fishless cycling with pure ammonia or fish food, since it lets you stock fish only after ammonia and nitrite read zero. Daily testing with a liquid kit is essential.
- Add an ammonia source.
- Test ammonia, nitrite, and nitrate every day.
- Seed with filter media or active sponges from a healthy tank to speed bacterial seeding.
If you must do fish-in cycling, keep ammonia and nitrite near 0 ppm with partial water changes and close monitoring. Bottled bacteria can help, but results vary, so confirm the cycle with stable test readings before adding fish.
Frequently Asked Questions
What Do I Need to Start My Freshwater Tank?
You’ll need a properly sized tank, sturdy stand, filter, heater, thermometer, dechlorinator, test kit, substrate, décor, and maintenance tools. Plan tank placement carefully, then add cycling bacteria and quarantine supplies before fish.
What Chemicals Do I Need to Start a Freshwater Fish Tank?
You’ll need a water conditioner first, like a shield against chlorine and chloramine, plus optional nitrifying bacteria. A pH stabilizer’s only necessary if your tap water’s pH doesn’t match your fish’s needs.
How Do You Set up a Freshwater Fish Tank for Beginners?
Set your tank on a level stand, add substrate, decorations, filter, heater, thermometer, aquarium lighting, and live plants, then fill with dechlorinated water. Cycle it fully, test water, and acclimate fish slowly.
How Much Does It Cost to Start a Freshwater Tank?
You’ll usually spend $230–$670 to start a freshwater tank, with a budget breakdown of tank gear, supplies, and livestock. Higher-end setups can top $1,000, and ongoing expenses typically run $10–$30 monthly.
Conclusion
In the end, setting up a freshwater fish tank comes down to careful preparation and steady patience. Choose the right tank, place it securely, add the correct equipment, and condition the water before introducing fish. Let the filter and heater run, and complete the cycling process so your aquarium becomes a stable environment. Think of it as building a small underwater engine: every part has to work together before life can thrive.