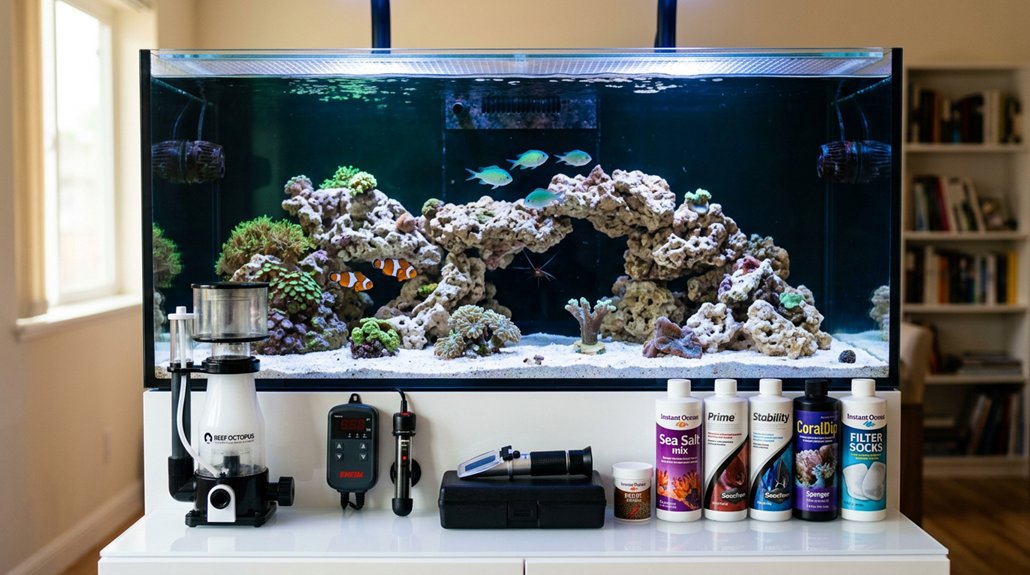
To start a saltwater fish tank, you need a properly sized tank on a level, rated stand, RO/DI water, marine salt mix, a refractometer, test kits, heater, thermometer, live rock, sand, filtration, circulation, and reef-safe lighting. Mix saltwater to about 1.025 specific gravity, then cycle the tank until ammonia and nitrite read zero. Add hardy fish slowly, keep up weekly testing and water changes, and the rest gets easier once you know what to watch.
Key Takeaways
- Use a properly sized tank on a level, rated stand, ideally 20–30 gallons or larger for beginners.
- Install essential equipment: live rock, filtration, heater, return pump, powerheads, reef-safe lighting, and a GFCI outlet.
- Prepare water with RO/DI water and marine salt mix, targeting specific gravity around 1.025.
- Cycle the tank before adding fish, testing ammonia, nitrite, nitrate, pH, salinity, and temperature regularly.
- Add live rock, sand, and cleanup crew after cycling, then stock with hardy fish gradually.
Saltwater Tank Equipment Checklist
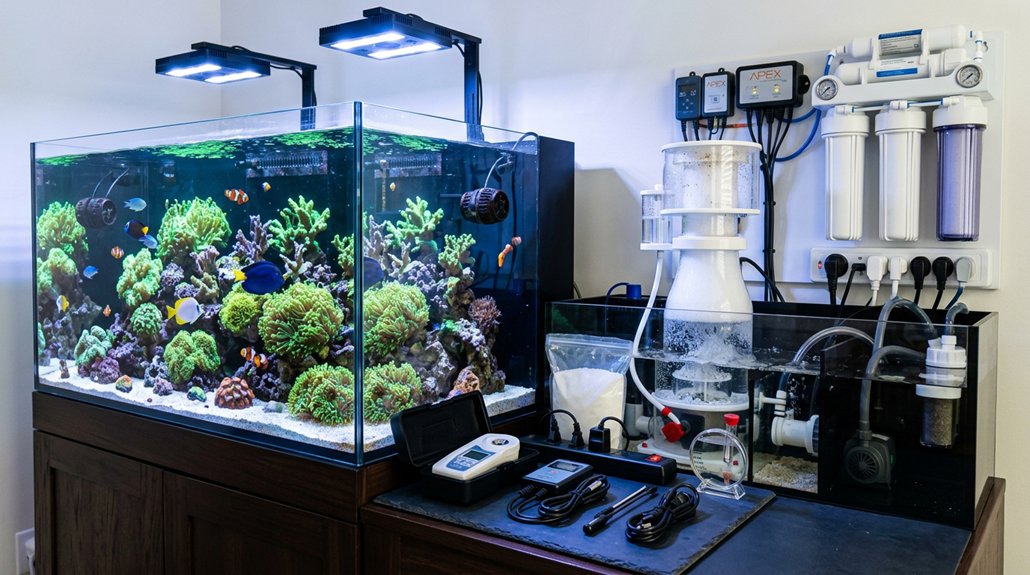
Before you set up your saltwater tank, assemble the core equipment: a nano tank up to 20 gallons, a stand that can handle about 8 lb per gallon, biological live rock at roughly 1 lb per gallon, mechanical filtration, and an appropriately sized hang-on or canister filter paired with a refugium or protein skimmer for nutrient export. Use RO/DI water, marine salt mix, and a refractometer to hit stable salinity. Add a heater, backup heater, thermometer, and test kits for ammonia, nitrite, nitrate, and pH. Plan 10–50x turnover with return pump(s) and powerheads, avoiding dead spots. Choose reef-capable LEDs with LED controllers or other appropriate lighting, and keep spare parts on hand. Don’t skip a Quarantine setup for new livestock, and put all equipment on a GFCI-protected circuit.
Choose the Right Tank, Stand, and Spot
You’ll want a tank size that gives you enough water volume for stability, with 20–30 gallons as a practical starting point for a beginner reef. Set it on a level stand rated for the full filled weight, and place it where the floor can support the load. Leave clearance for maintenance, outlets, and equipment, and avoid sunlight, drafts, vents, and high-traffic areas that can destabilize conditions.
Tank Size Matters
A well-chosen tank sets the foundation for everything that follows: for a beginner reef, aim for at least 20 gallons, since 10-gallon setups are possible but far less forgiving of water-parameter swings and require more constant maintenance. Your tank volume directly affects stability, stocking density, and your margin for error. Choose a sturdy, level stand rated for the full load; a filled aquarium weighs about 8 lb per gallon, so a 40-gallon system adds roughly 320 lb from water alone. Leave at least 5 inches behind the tank for plumbing, filters, and cable access. Verify nearby electrical capacity, and use GFCI-protected outlets or surge protection for lights, pumps, heaters, and controllers.
Pick A Safe Spot
With the tank size settled, the next step is choosing a safe, permanent location that can handle the setup’s weight and equipment needs. Put the aquarium on a purpose-built stand rated for the full load, since water alone weighs about 8 lb/gal; a 55-gallon system can exceed 440 lb. Use this checklist:
- Select a level, low-traffic floor area with verified support.
- Keep it away from direct sunlight, exterior doors, vents, and drafty windows.
- Leave at least 5 inches of wall clearance for plumbing, cords, and maintenance.
- Confirm nearby GFCI-protected outlets and pet proofing placement.
Choose a spot with stable ambient lighting and room for future hardware. Because saltwater tanks usually stay put for years, don’t squeeze one into a temporary corner.
Plan Stand And Access
Before you buy livestock or equipment, choose the tank size, stand, and final location together, because each one affects stability, maintenance, and plumbing. Start with capacity: 20 gallons or more gives better chemical and temperature stability, while nano tanks cost less but need tighter upkeep. Confirm the floor can carry the filled load; saltwater weighs about 8 lb per gallon, so a 55-gallon system exceeds 440 lb. Use a purpose-built stand that’s leveled, ventilated, and rated for the tank. Keep it away from sunlight, heat vents, and doors, with at least 5 inches behind it for rear accessibility. Place it near GFCI outlets, plan drip loops, and leave room for spare parts, straight plumbing, and service access.
Mix Saltwater and Test It
Mix your saltwater in a clean bucket using RO/DI water and a high-quality marine salt mix, then blend in an immersion heater or pump until every grain is fully dissolved. Aim for 1.025 specific gravity, and use your refractometer after mixing for exact salinity adjustment.
- Watch the water turn clear.
- Check temperature at 76–82°F.
- Let it aerate 24–48 hours.
- Retest before use.
Measure again before a water top off or transfer, correcting with fresh RO/DI water or more salt until stable. Test ammonia, nitrite, nitrate, and pH; you want 0 ppm for the first three and pH 8.0–8.3. Label each batch with date, target salinity, and temperature, then discard or re-test anything older than 48–72 hours.
Add Live Rock and Substrate
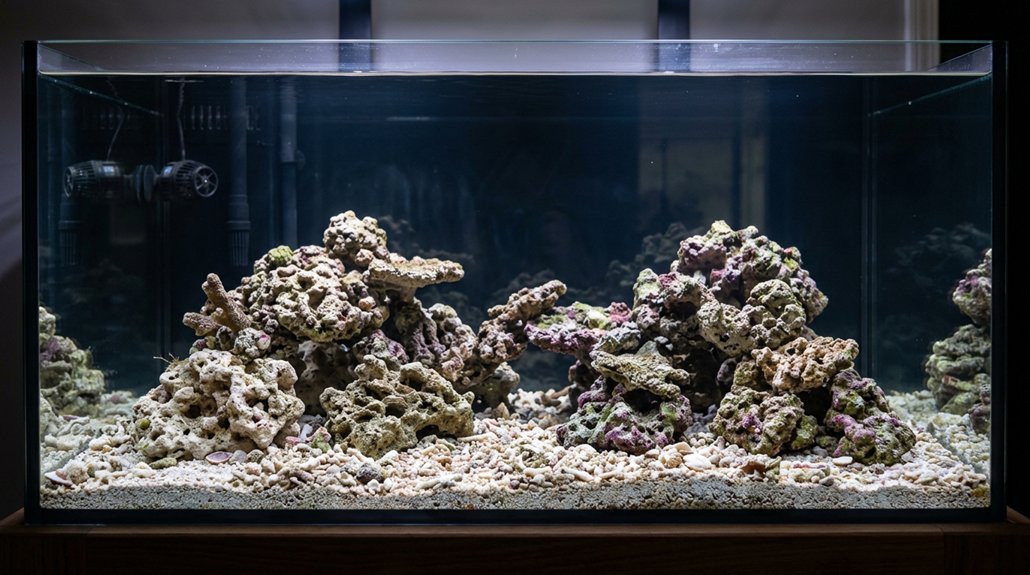
You’ll want about 1 pound of highly porous live rock per gallon of tank water, with pieces that include caves and open structure to maximize biological surface area and habitat. For most nano reef tanks, add 2–3 inches of aragonite-based sand, or calculate deeper beds using about 8 lb per sq ft per inch of depth, then place the rock on the tank bottom or a base layer of sand so it won’t shift. Before the display goes live, cure the rock in a separate tub or quarantine setup until ammonia and nitrite spike have passed, and arrange the aquascape to promote flow, light, and stable support.
Live Rock Basics
A reef tank’s foundation starts with live rock and substrate: plan for roughly 1 pound of live rock per gallon of tank water, and build the bottom with 2–3 inches of aragonite-based sand or live sand to support beneficial microfauna and stabilize rockwork. You’ll notice porosity differences matter: dense pieces provide mass, while porous shapes boost filtration and microfauna diversity.
- Rinse dry rock in saltwater before placement.
- Cure live rock separately until odor disappears and ammonia, nitrite, and nitrate spikes subside.
- Place wide-based, interlocking structures to form caves and flow paths.
- Introduce rock and sand early, then test every 2–3 days.
This layout gives bacteria more surface area and keeps the aquascape stable while your cycle completes.
Choosing Substrate
With the live rock plan in place, the next step is choosing a substrate that supports both biology and structure. Use live aragonite sand or live marine sand, usually 2–3 inches deep in display tanks, to seed beneficial bacteria and beneficial microfauna. Match grain size to livestock needs:
| Substrate | Depth | Use |
|---|---|---|
| Live aragonite sand | 2–3 in | General reef beds |
| Live marine sand | 2–3 in | Faster biological seeding |
| Coarser sand | 1–2 in | Better flow, less drift |
| Deeper bed | 4+ in | Burrowers, denitrification |
Rinse dry sand in freshwater only if it’s dusty; don’t rinse live sand. Dry sand will come alive after saltwater and rock are added. Set rock directly on the tank bottom, not on sand, and secure heavy pieces with eggcrate, PVC, or zip ties.
Cycling With Rock
Cycling the tank starts once the water is mixed, heated, and stable: add about 1 lb of cured live rock per gallon, then cover the bottom with 2–3 inches of live or dry sand to provide the surface area and microfauna needed for biological filtration. After 24–48 hours, you’ll do rock acclimation, then run full circulation and test ammonia, nitrite, and nitrate every 2–3 days. Expect this sequence:
- Ammonia rises from curing rock.
- Nitrite appears as bacteria colonize.
- Nitrate follows as the cycle matures.
- Water clears as colonies stabilize.
Keep temperature and salinity steady with a refractometer. Bacterial dosing can help start or smooth the cycle. Don’t add fish until ammonia and nitrite read zero, then wait 2–3 more days.
Cycle Your Saltwater Tank Safely
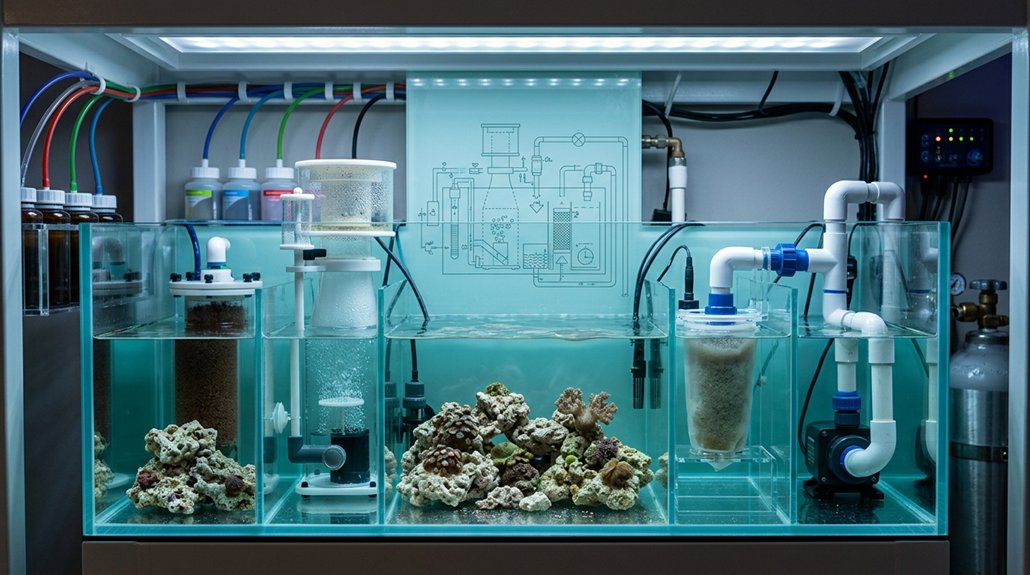
To safely cycle your saltwater tank, seed it with live rock or a bottled ammonia source and test ammonia, nitrite, and nitrate every 2–3 days until ammonia and nitrite both read zero and nitrate is present, then starting to decline. Use reliable reagent-based kits, replace reagents within a year, and verify salinity with a refractometer. Your starter bacteria need stable temperature, salinity, circulation, and lighting, so don’t keep adjusting the system. Aim for at least 1 pound of live rock per gallon to improve nitrogen monitoring and bacterial colonization. Cycling usually takes 5 days to 3 weeks, sometimes longer, even with bottled bacteria like Bio-Spira. Once readings stay at zero, wait 2–3 more days before stocking to catch delayed spikes. Avoid adding livestock or cleanup crew yet.
Add Snails, Hermits, and Algae Control
Once your tank has fully cycled and ammonia and nitrite both read 0, you can introduce a small cleanup crew of snails and hermit crabs to help manage diatoms, film algae, and detritus; a common starting point is about 1 snail and 1 small hermit per 3–5 gallons, added in a few at a time so you don’t shock the bio-load. For snail introductions, match species to the job:
After cycling, add a few snails and hermits gradually to manage diatoms, film algae, and detritus.
- Turbo or trochus on glass and hard algae.
- Nassarius to stir sand and consume waste.
- Blue-legged hermits for scavenging.
- Chaetomorpha in a refugium to export nutrients.
Watch hermit behavior and rehome excess aggressors. Expect help with diatoms, not hair algae. Control outbreaks with manual removal, water changes, and avoid copper medications.
Pick Beginner Fish and Easy Corals
With the cleanup crew in place and water parameters steady, you can start choosing hardy livestock that won’t overwhelm a new system. Pick small, resilient fish such as clownfish (Amphiprion percula/ocellaris), green chromis, and firefish gobies; they’re typically under 4–5 inches and adapt well to a range of conditions. Check species compatibility before adding anything, because territorial fish can stress tankmates in tight quarters. Avoid mandarinfish and other specialized feeders unless your tank already supports a dense copepod supply or refugium. For corals, begin with zoanthids and mushroom corals like Ricordea and Discosoma; they handle modest LED or VHO light and minor swings. Plan coral placement carefully, and skip anemones and large LPS in novice setups.
Do Weekly Maintenance and Avoid Mistakes
Weekly maintenance keeps a saltwater tank stable and helps you catch problems before they escalate. Use a routine checklist so you don’t miss salinity swings, heater faults, or rising nutrients. Test salinity, temperature, ammonia, nitrite, nitrate, and pH weekly with a refractometer and reagent kits; test more often during cycling or after changes.
- Top off evaporated water daily with heated RO/DI water.
- Do a 10–20% water change, siphoning detritus from sand.
- Rinse sponges and floss in siphoned tank water, not tap.
- Inspect skimmer cups, impellers, pumps, powerheads, and harvest algae.
This mistake prevention routine keeps salinity stable, controls nitrate drift, and preserves equipment efficiency.
Frequently Asked Questions
What Chemicals Do I Need to Start a Saltwater Tank?
You’ll need marine salt mix, RO/DI water, a dechlorinator only if using tap, and possibly calcium, alkalinity, and magnesium supplements. Add marine buffer if pH’s low; use iodine supplement only if tests justify it.
What Is the First Thing to Put in a Saltwater Tank?
First, you’ll add dechlorinated saltwater mixed to 1.025 specific gravity, then establish the cycling process with substrate and live rock. Don’t add livestock until temperature, salinity, and ammonia stay stable for safe livestock selection.
How Hard Is It to Start a Saltwater Fish Tank?
It’s challenging—you’ll manage a careful cycling process, monitor salinity, ammonia, nitrite, and pH, and plan livestock compatibility precisely. With disciplined testing, stable equipment, and patience, you can keep the system healthy and avoid costly mistakes.
Can I Start a Saltwater Tank With Tap Water?
You can, but you shouldn’t use untreated tap water; it may contain chlorine, chloramine, copper, and excess minerals. Use tap treatment, test TDS and copper, and prefer RO/DI for reef cycling and stable salinity.
Conclusion
You start with the right tank, the right salt mix, and the right test kits, and you build a stable system one step at a time. You add live rock and substrate, then you cycle the tank before you add livestock. You choose snails, hermits, beginner fish, and easy corals carefully, and you maintain the tank weekly. If you test, adjust, and observe consistently, you don’t just keep a saltwater tank—you keep a healthy reef.