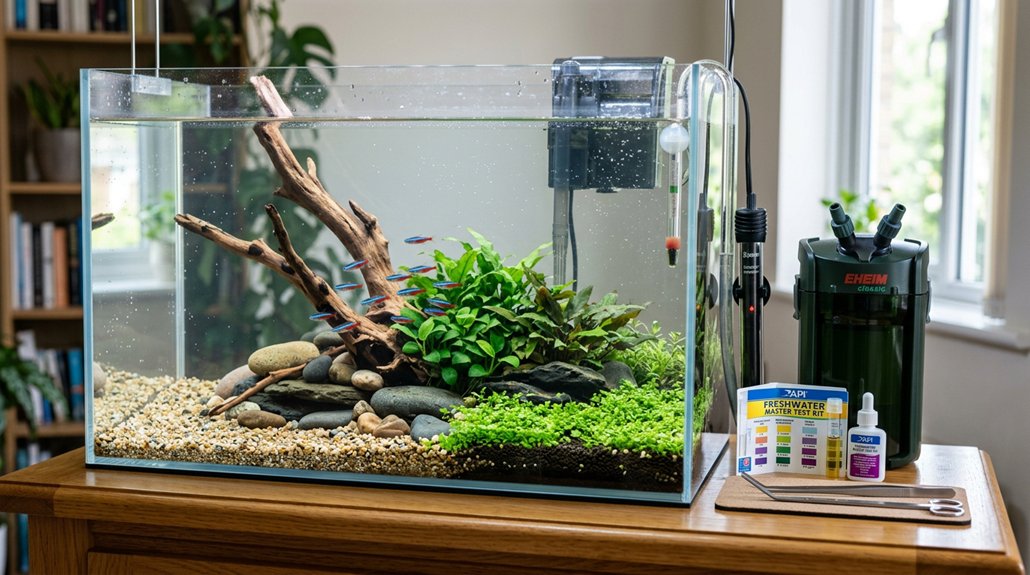
Start with a 20-gallon long tank or larger, and place it on a sturdy stand away from direct sun, vents, and drafts. Rinse the substrate well, then add the filter, heater, thermometer, and lighting. Fill with dechlorinated water, use drip loops, and keep cords dry. Run the filter nonstop, test ammonia, nitrite, and nitrate, and cycle the tank for 4–6 weeks before adding fish. If you keep going, you’ll see each step in more detail.
Key Takeaways
- Choose a 20-gallon-plus tank, place it on a sturdy stand, and keep it away from sunlight, vents, and drafts.
- Gather essentials: filter, heater, thermometer, liquid test kit, dechlorinator, siphon, buckets, and emergency air support.
- Rinse substrate thoroughly, add hardscape first, and arrange decor safely with open swim space.
- Fill carefully, install equipment, set lighting on an 8–10 hour timer, and keep temperature around 75–80°F.
- Cycle the tank for 4–6 weeks, test regularly, and add fish only when ammonia and nitrite are 0 ppm.
Choose the Right Freshwater Aquarium Size
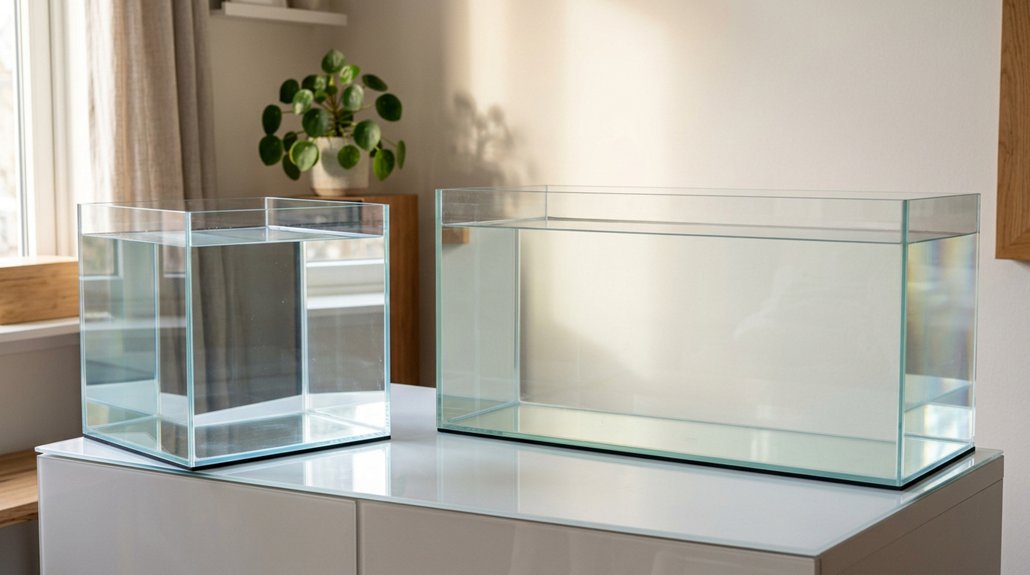
For beginners, a 20-gallon long tank is usually the best place to start because the extra water volume helps keep chemistry steadier and gives common community fish more room to swim than a 10-gallon. You’ll also get a wider footprint, which improves gas exchange and suits active species like tetras better than a tall tank. Before buying, remember a filled aquarium weighs about 8–10 pounds per gallon, so you’ll need a sturdy, level stand and solid floor support. Check adult size, behavior, and stocking guidelines, then use bioload calculations to avoid overcrowding. Fancy goldfish need about 20 gallons for the first fish and more for each additional one. If you want live plants or extra forgiveness while learning, a 30-gallon-plus setup can make mistakes less stressful.
Choose a Safe Spot for Your Aquarium
Choose a sturdy, level stand or surface that can safely support your tank’s full weight, since a filled aquarium gets much heavier than it looks. Keep it away from direct sunlight, doors, vents, and heat sources so you don’t create big temperature swings or extra algae growth. You’ll also want easy access to electrical outlets and enough room behind the tank for cords and equipment.
Weight-Bearing Support
Before you set your tank in place, make sure the stand or surface can truly handle the load: a filled aquarium weighs about 10 pounds per gallon, so even a 20-gallon setup is roughly 200 pounds before you add gravel, decor, and equipment.
Use a rigid aquarium stand, and check stand materials for strength and moisture resistance. Good load distribution matters, so keep the tank fully supported and level.
| Tank Size | Approx. Weight | Feeling |
|---|---|---|
| 10 gal | 100 lb | Safe |
| 20 gal | 200 lb | Heavy |
| 40 gal | 400 lb | Serious |
| 55 gal | 550 lb | Respect it |
If you’re on an upper floor, verify floor capacity. Avoid weak furniture; use shims for tiny gaps, and keep outlets GFCI-protected with drip loops.
Sunlight And Drafts
Once you’ve confirmed the stand or floor can handle the weight, the next step is finding a spot that won’t stress the fish or the tank. Choose a place with little direct sunlight; too much natural lighting can drive algae growth and cause temperature swings. Avoid windows and sun-facing walls. For draft prevention, keep the aquarium away from exterior doors, vents, and air conditioners, since hot or cold air can change the water temperature quickly. Aim for a stable room temperature, ideally 72–82°F for tropical fish. Leave a few inches between the tank and the wall so air can circulate and hoses stay easy to reach. Also, skip busy walkways where bumps, knocks, or frequent airflow can unsettle the aquarium.
Power Access Needs
When you’re picking a spot for your aquarium, make sure it’s close to a grounded electrical outlet, ideally within 3–6 feet, so you don’t have to rely on long extension cords for the heater, filter, and lights. Aim for at least two GFCI-protected outlets, or use a GFCI power strip, and check that the circuit can handle the load. For most small tanks, 50–150 watts is enough, but larger setups may need their own circuit. Practice drip loop safety by letting cords hang below the outlet and keeping power strips elevated.
| Item | Safe Setup | Why |
|---|---|---|
| Outlet | Nearby | Less cord use |
| GFCI | Protected | Shock protection |
| Clearance | 6–12 inches | Easy access |
Keep cords out of walkways and leave room behind the stand.
Gather Freshwater Aquarium Supplies
Before you bring home fish, you’ll want the essential tank equipment: the aquarium, a sturdy stand, a lid and light, a heater for tropical fish, and an accurate thermometer. You’ll also need a properly rated filter, some seeded media or active sponge to help cycling, plus water treatment and testing supplies like a liquid test kit and dechlorinator. Finish by gathering maintenance tools and any substrate or decor you plan to use, since these should support cleaning, stable water quality, and a safe setup for your fish.
Essential Tank Equipment
First, gather the essential freshwater aquarium equipment so you’re ready to set up the tank correctly and keep it stable. Choose a filter with enough filtration capacity to handle at least twice your tank’s volume; its media gives beneficial bacteria the surface they need to control ammonia and nitrite. Pick a heater sized for about 3–5 watts per gallon, and plan heater placement near filter flow so heat spreads evenly. Add an in-tank thermometer to check temperatures accurately. You’ll also need a reliable liquid test kit, dechlorinator, siphon or gravel vacuum, and a bucket for routine water changes and substrate cleaning. Keep a net, spare thermometer, and battery- or pump-powered air stone on hand. Seeded filter media or an active sponge can help your tank cycle faster.
Water Care Supplies
Once your tank equipment is in place, stock up on the water-care supplies that’ll keep the aquarium safe and stable. A quality liquid conditioner is nonnegotiable, and you’ll also want ammonia detoxifier as part of your emergency supplies. Buy a reliable liquid test kit—API Freshwater Master Test Kit is a solid choice—for water testing of ammonia, nitrite, nitrate, and pH. Keep a siphon gravel vacuum, dedicated buckets, and extra filter media ready for weekly maintenance and cycling support. Use a heater, thermometer, and, if needed, an air pump or battery backup to maintain temperature and oxygen.
| Supply | Why you need it | When to use |
|---|---|---|
| Conditioner | Removes chlorine | Every fill |
| Test kit | Tracks water quality | Weekly |
| Detoxifier | Handles spikes | Emergencies |
| Siphon | Changes water | Weekly |
| Heater | Stabilizes warmth | Daily |
Substrate And Decor
Substrate and decor do more than make your tank look good—they also shape how your fish live and move. Choose substrate for your livestock: fine sand suits Corydoras and Kuhli loaches, while planted tanks need nutrient-rich mix and community setups do well with medium gravel. Rinse any non-bioactive substrate until the water runs clear, and plan the right substrate depth for plants. Build your naturalistic hardscape with rocks and driftwood first; soak driftwood and watch for tannins or pH shifts before you set it in place.
- Put taller plants toward the back and sides.
- Leave open space for tetras and other swimmers.
- Avoid sharp artificial decor.
- Remove stickers and residues.
- Secure pieces so nothing can shift and injure fish.
Rinse the Substrate and Build the Aquascape
Rinse your gravel or sand thoroughly in a bucket with tap water until the runoff runs clear; sand may need several rinses to remove fine dust and help prevent cloudy water later. Then spread the substrate evenly in the tank. When you pour in water, set a plate or saucer on the bottom and let the stream hit it gently so you don’t stir up debris. Next, place driftwood, rocks, and caves, burying heavy bases a little so they stay put if fish dig. If you’re using driftwood, pre-soak it, test tannins, and check for pH changes before adding it. Build the layout with taller pieces toward the back and sides, and keep the front and center open for swim space.
Install the Filter, Heater, and Lighting
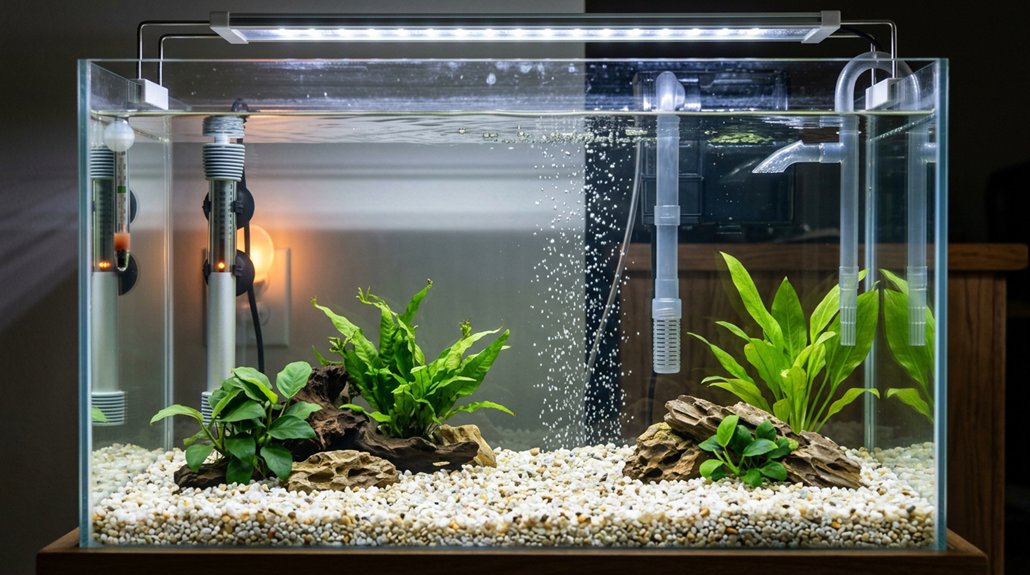
Next, install the filter, heater, and lighting so the tank can begin cycling safely and evenly. Choose a filter rated for at least twice your tank’s volume, place the intake near the substrate but clear of sand, and prime it unless it’s self-priming. Use flow control and aim for noise reduction if the unit allows it. Set the heater near the filter outflow, wait about 10 minutes after filling, then plug it in and adjust to 75–80°F. Put an in-tank thermometer opposite the heater to check the real temperature. Mount lights on a timer for 8–10 hours a day.
- Keep cords dry with drip loops
- Leave space behind the tank
- Plug in equipment in order
- Match lighting to plant needs
- Recheck settings after startup
Cycle Your Freshwater Aquarium Before Adding Fish
Cycling your aquarium gives beneficial nitrifying bacteria time to build up so they can convert toxic ammonia into nitrite and then nitrate before fish go in. This usually takes 4–6 weeks, sometimes longer. The safest method is fishless cycling: add pure ammonia to about 2–4 ppm, run the filter continuously, and test until ammonia and nitrite both read 0 while nitrate rises. If you can, use seeded media or an active sponge from a healthy tank to speed things up. A reliable liquid test kit helps you track progress accurately. Only add fish when ammonia and nitrite stay at 0 ppm and nitrates are low, ideally under 20–40 ppm. If you choose fish-in cycling, keep stocking very light and change water immediately to protect fish.
Frequently Asked Questions
What Mistakes Do Beginner Fish Owners Make?
You often make hidden mistakes: improper cycling, overfeeding mistakes, overcrowding, skipping quarantine, and using weak tests. You’ll also wipe out filter bacteria by rinsing media in tap water, then wonder why fish suddenly suffer.
How Long Should You Wait to Put Fish in a New Freshwater Tank?
You should wait until cycle completion, usually 4–6 weeks, before adding fish. Test water parameters until ammonia and nitrite are 0 ppm and nitrates rise. Then add fish slowly, or sooner with fishless cycling.
What Chemicals Do I Need to Start a Freshwater Aquarium?
You’ll need water conditioner first, then aquarium salt only for short-term treatments. Add a bacterial starter for cycling, keep a liquid test kit, and save medications and activated carbon for specific problems—not routine dosing.
What Is the First Thing You Do With a New Aquarium?
You first inspect your aquarium for cracks or leaks, then do a quick water test. After that, you’ll plan substrate selection and cycle initiation, so you’re starting safely, patiently, and with fewer problems.
Conclusion
So, you’ve assembled your tiny underwater empire, complete with glass walls, a filter, and a heater that now outranks you in importance. Before you rush in with fish, let the tank cycle—because unlike impatient humans, bacteria actually have a job to do. Choose wisely, wait patiently, and your aquarium will thank you with healthier fish and fewer disasters. In short: don’t decorate a disaster zone; build a proper home first.