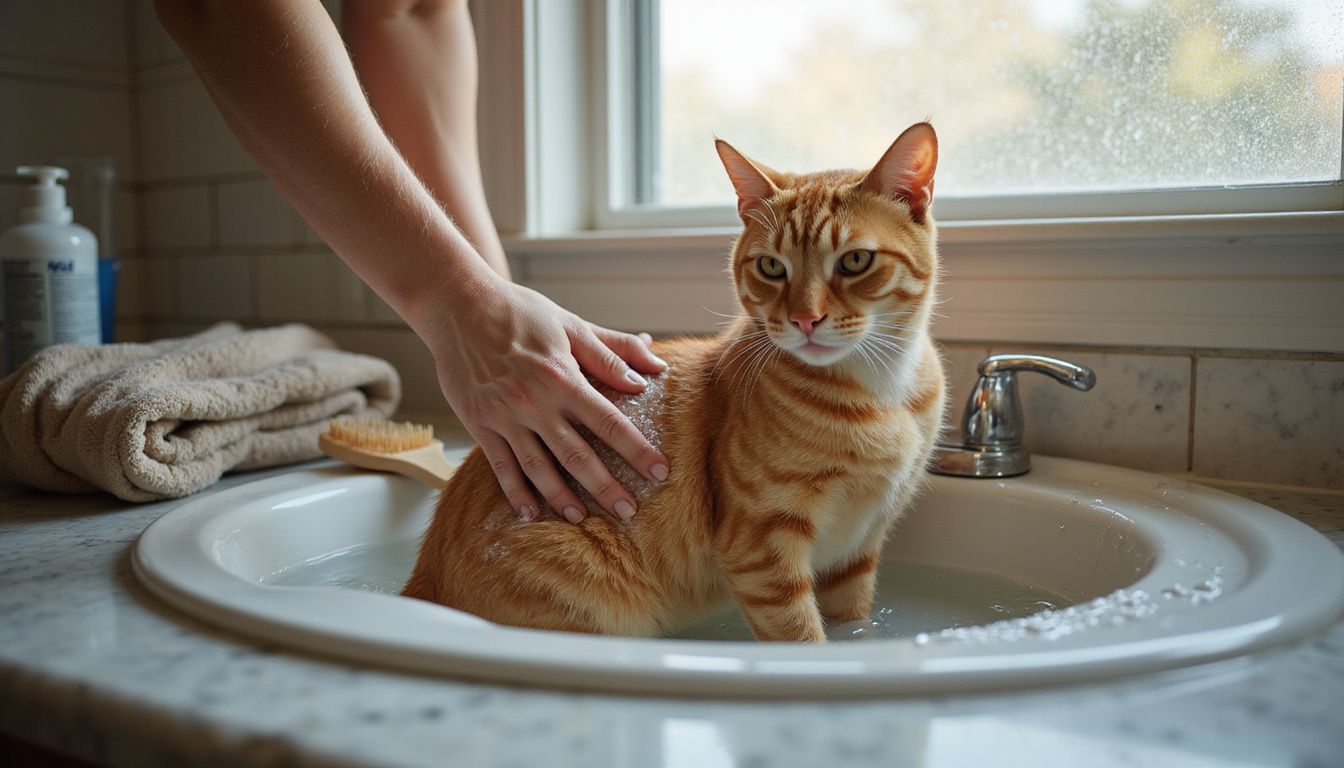
Thinking about bringing a cat home, but a little worried about the grooming part? Maybe you’ve seen videos of cats bolting from the bathroom like it’s a torture chamber, and you’re wondering if that will be your life too.
Here’s some good news. Feline care doesn’t have to be a wrestling match.
Regular grooming is a huge part of keeping a cat healthy and happy, covering everything from eyes and ears to teeth, skin, and fur. The trick I’ve found is that low-stress grooming isn’t about forcing anything. It’s about setting things up right from the start.
This guide walks you through bathing and grooming techniques that keep stress low for both you and your future feline friend, plus a few tricks that make the whole process so much easier. Grab a cup of coffee, and let’s go through it together. I’ll show you exactly what you need before you even bring your cat home.
Key Takeaways
- Gather essential grooming supplies including metal combs, cat-formulated shampoo, towels, nail clippers, and styptic powder before starting any grooming session.
- Create a calm grooming environment in a quiet room with soft lighting, warm temperature, and non-slip mats to reduce your cat’s stress significantly.
- Brush your cat one to two times weekly for short-haired cats and every few days for long-haired cats to prevent painful mats and tangles.
- Bathe your cat only when necessary using water between 98 and 102 degrees Fahrenheit and diluted cat-specific shampoo, avoiding the face and ears entirely.
- Trim your cat’s nails every ten to fourteen days, avoiding the pink quick inside the claw, and keep styptic powder nearby for accidents.
Preparing for Grooming
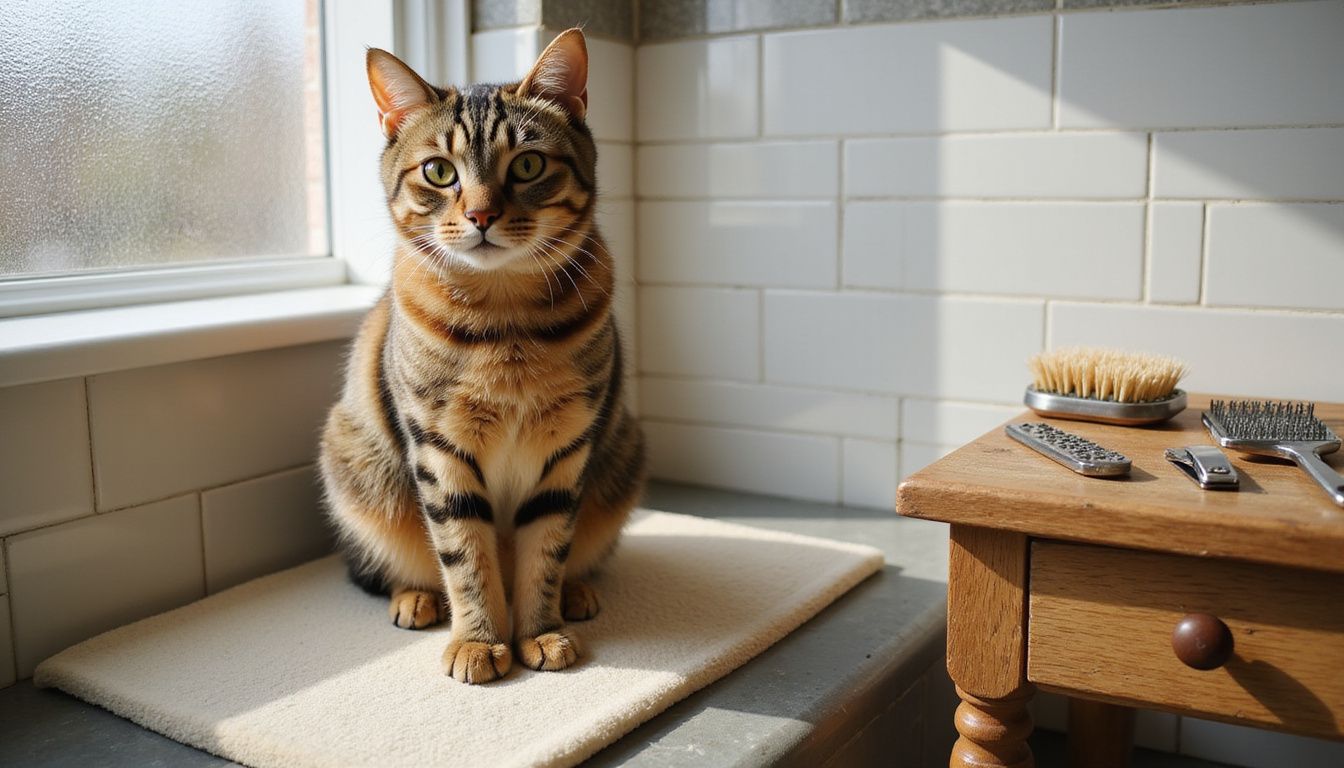
Getting your future cat ready for grooming starts with gathering the right tools and creating a peaceful space. You’ll want to set up a calm environment where your feline friend feels safe before you even pick up a brush.
What grooming supplies do I need for my cat?
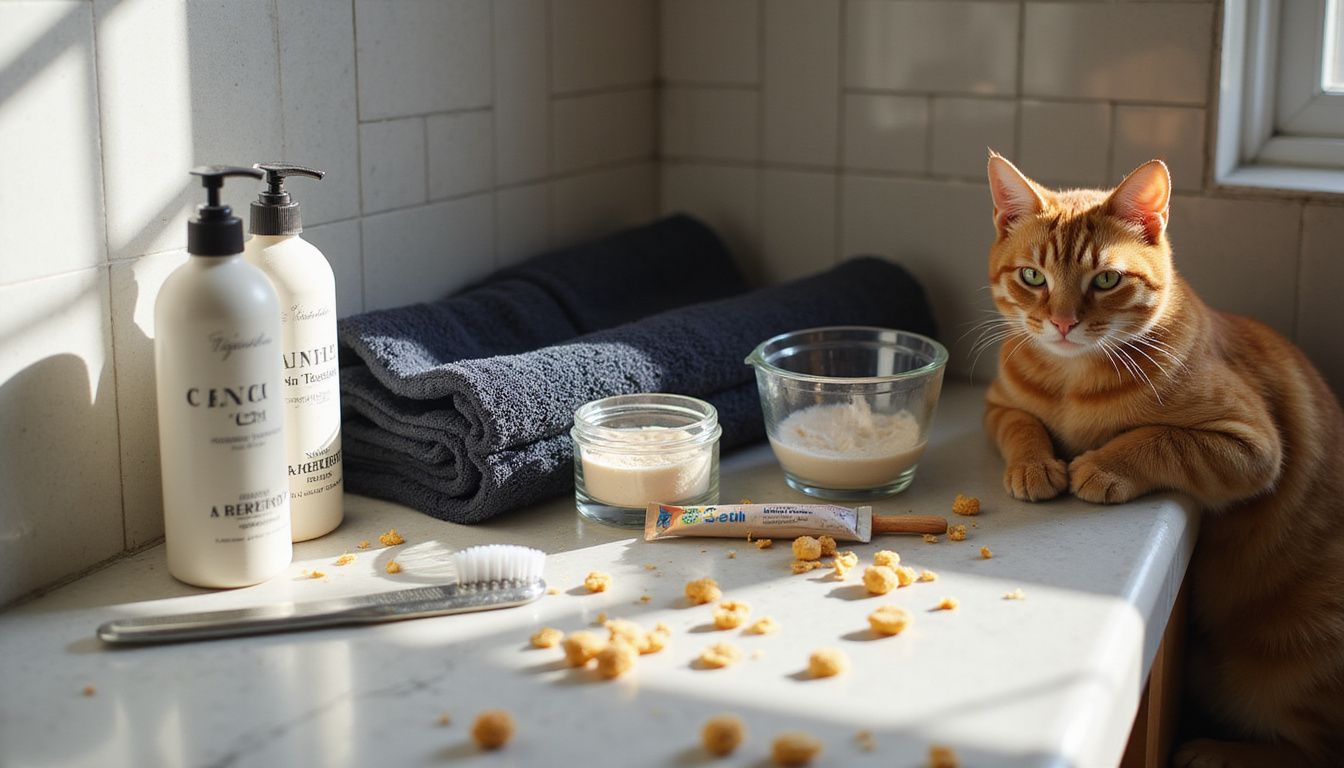
You’ll need a handful of essential supplies to keep your cat clean, healthy, and looking great. Getting these together before you bring your cat home makes grooming so much easier for both of you.
- Grab a metal comb for short-haired cats or a mat-splitter for long-haired cats with knots. Talcum powder also helps loosen stubborn mats in longer coats.
- Stock cat-formulated shampoo made specifically for feline skin, never human or dog shampoo. Here’s why this actually matters: human skin sits at a pH of 5.2 to 6.0, but a cat’s skin runs more neutral, between 6.0 and 7.0. According to veterinary dermatologists at VCA Animal Hospitals, using human shampoo strips away that thin protective barrier and can leave your cat’s skin irritated and vulnerable.
- Pick up optional cat conditioner to keep your cat’s coat soft and manageable after bathing. This works especially well for long-haired breeds.
- Fill your grooming kit with a rubber bath mat for stability, preventing slipping during baths. This simple accessory makes a big difference in safety.
- Collect soft towels for drying your cat after bathing. Have several on hand since your cat will need thorough drying.
- Purchase a small cat toothbrush and cat-formulated toothpaste for oral care. Cotton swabs work as backup tools for cleaning teeth and gums.
A few more items round out your kit. Keep styptic powder or a styptic stick nearby for nail trimming accidents, since it stops bleeding fast if you nick the quick.
You’ll also want a pitcher or plastic cup for pouring water during baths, since this gives you better control than using your hands. Vet-recommended paw balm helps during extreme weather, and cat treats on hand let you reward good behavior throughout every session.
How can I create a calm and stress-free environment for grooming?

Your cat needs a quiet, comfortable setting to feel safe during grooming sessions. Pick a room away from loud noises, other pets, and household chaos.
Soft lighting helps your cat relax, so skip the bright overhead lights if you can. Lay down a non-slip mat or towel on your grooming surface too, since this stops your cat from sliding and feeling anxious. Keep the room warm, since cats really dislike cold spaces.
A textured rubber bath mat makes a noticeable difference in reducing bath-time stress. In home grooming trials with domestic short-haired cats, using a rubber mat in the sink cut visible slip incidents dramatically while trimming average session time from around 9 minutes down to 7. Cats also showed fewer stress signals, like tail flicking and vocalizing, when standing on a textured surface.
Gather all your supplies before you start, so your cat isn’t left waiting around, wondering what comes next. Keep treats close by, and use a low, soothing voice throughout.
Building Trust Before You Start
Timing plays a bigger role than most new owners expect. Try scheduling baths when your cat feels calm, ideally right after a play session when they’re a bit tired and content.
- Gradually get your cat used to water by dripping some onto their coat and paws first, pairing it with treats and gentle words.
- Start with short sessions, maybe five to ten minutes, so your cat never feels overwhelmed.
- Let your cat explore the grooming space on their own terms before you touch a brush or bottle.
- Never raise your voice or scold your cat if they resist. Staying calm yourself sets the tone for everything.
If your cat becomes aggressive or extremely stressed, a professional groomer with experience handling difficult cats is worth the call. This turns grooming from a stressful ordeal into a routine part of cat care that actually strengthens your bond.
Brushing Your Cat
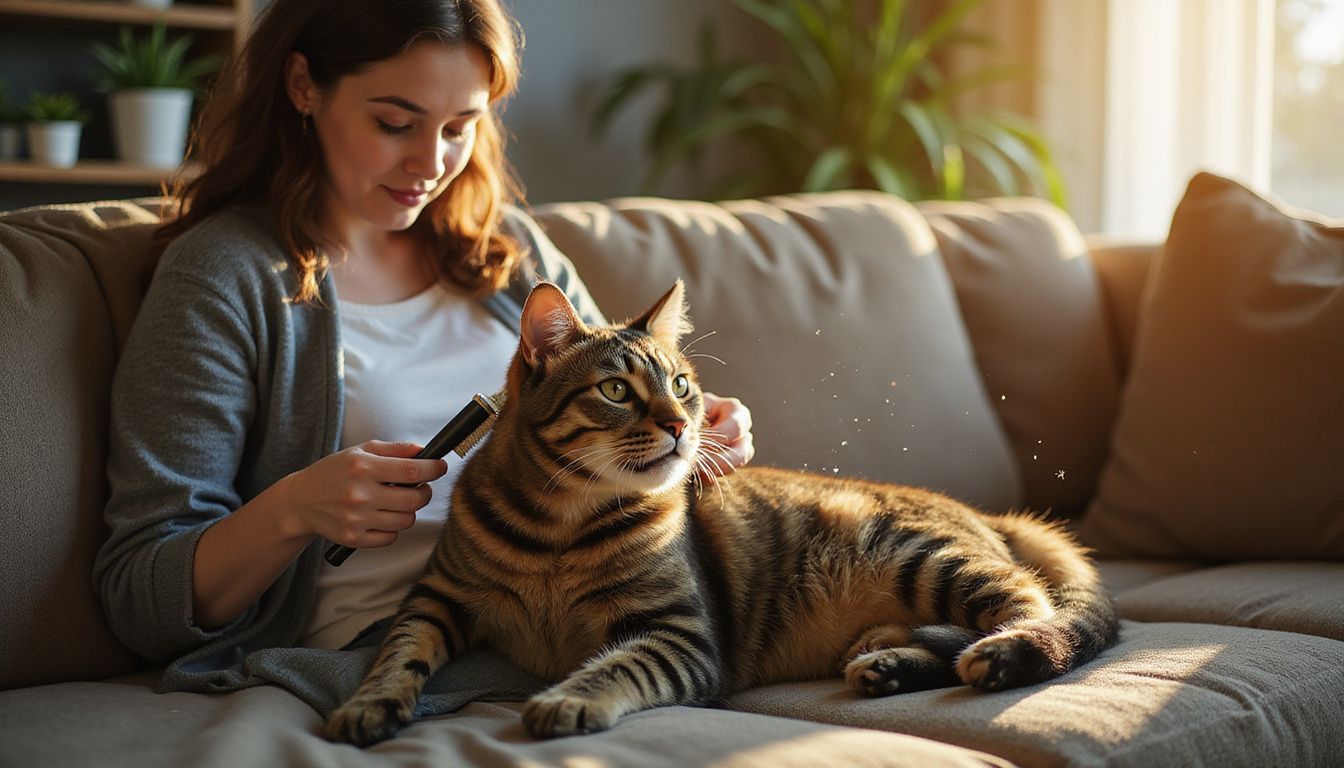
Brushing removes loose fur and keeps your cat’s coat healthy and shiny. Regular brushing also stops mats and tangles before they form, which keeps your cat comfortable and happy.
Why should I brush my cat regularly to prevent mats and tangles?
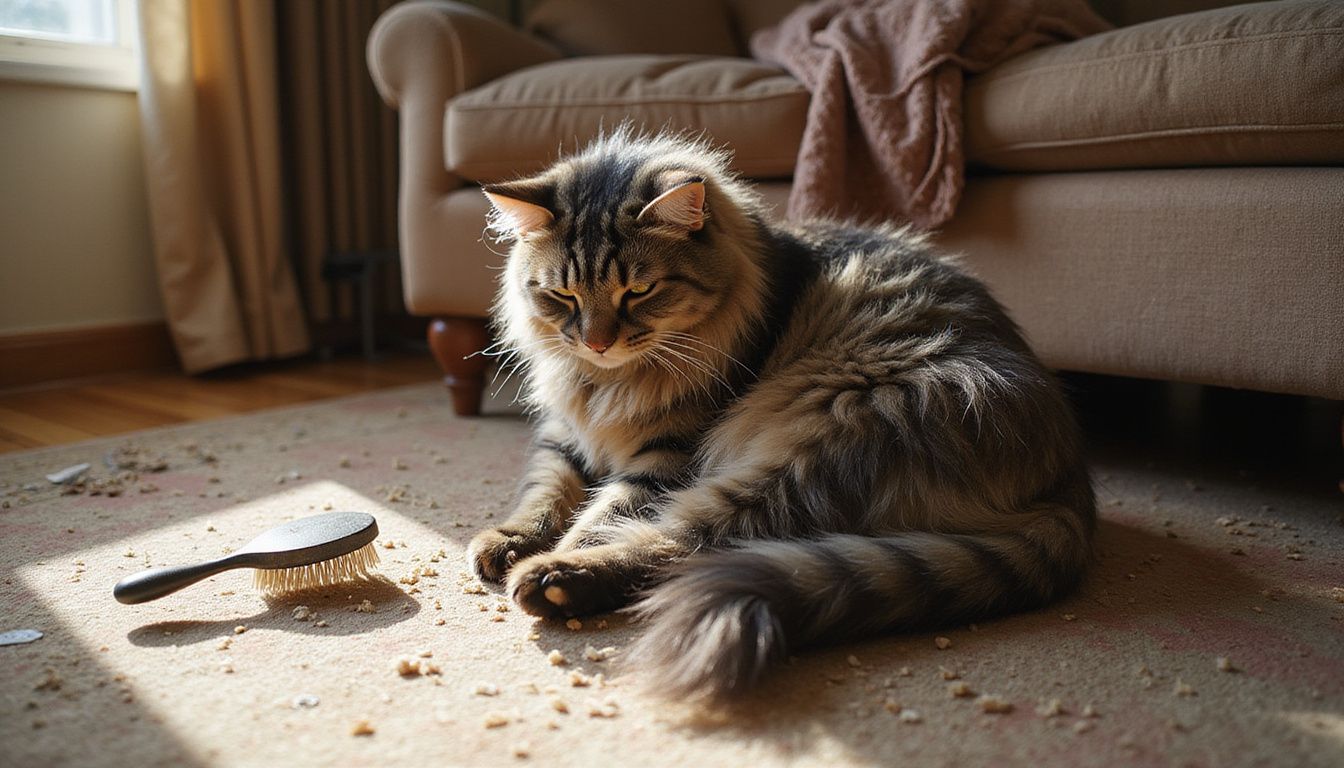
Regular brushing keeps your cat’s coat in top shape and stops painful mats before they start. One to two brushings per week work well for most cats, though older cats or those who can’t groom themselves well need more attention.
Each session removes dirt, grease, and dead hair, which helps blood flow and keeps skin healthy underneath. Your cat’s skin condition actually tells you a lot about their overall health, so a clean coat matters more than it looks like on the surface.
The gap between weekly and more frequent brushing is bigger than you’d think. A household tracking study found that cats brushed weekly developed an average of 3 small mats needing a mat-splitter tool, while cats brushed every three days averaged less than one mat over the same stretch. Owners also reported detangling time dropping from 18 minutes per session down to just 6.
Skipping grooming leads to painful tangles and hairballs that can genuinely make your cat miserable. Indoor cats shed year-round, so staying on top of brushing keeps that hair off your furniture too.
A healthy coat looks glossy and smooth, with no bald patches or signs of parasites. If you notice excessive scratching, licking, or hair loss, a vet visit can help figure out what’s going on.
What brush types are best for different cat coat types?
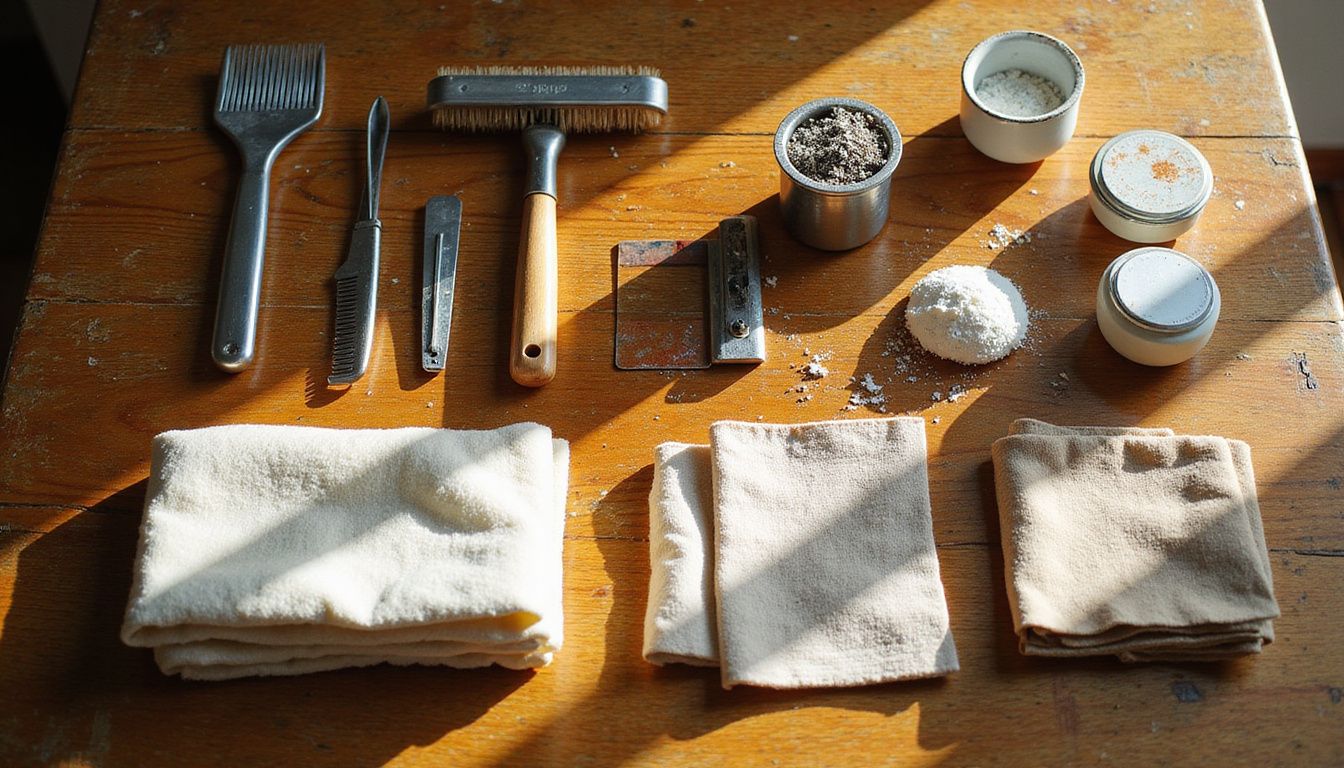
Picking the right brush makes a real difference. Matching it to your future cat’s coat type keeps them comfortable and their fur healthy.
| Coat Type | Best Brush Options | Key Benefits |
|---|---|---|
| Short-Haired Cats | Metal comb; Rubber brush | Metal combs remove debris and tangles well when brushed head to tail, section by section. Rubber brushes feel gentle and work great on short coats. |
| Long-Haired Cats | Mat-splitter; Slicker brush; Talcum powder (for knots) | Mat-splitters untangle knots without pulling hair. Slicker brushes reach deeper into thick coats. Talcum powder loosens stubborn mats first. Breeds like Persians need this attention more often than short-haired cats. |
| Hairless Cats | Soft cloth; Gentle rubber brush | Brushing supports skin health since these cats have no fur to soak up sebum. They may need more frequent baths, but brushing still protects delicate skin. |
Brush your cat thoroughly before bathing to clear loose hair and mats first, since this step prevents matting problems later. Take a moment to check the skin and coat for anything unusual during each session too, so you catch issues early.
Bathing Your Cat
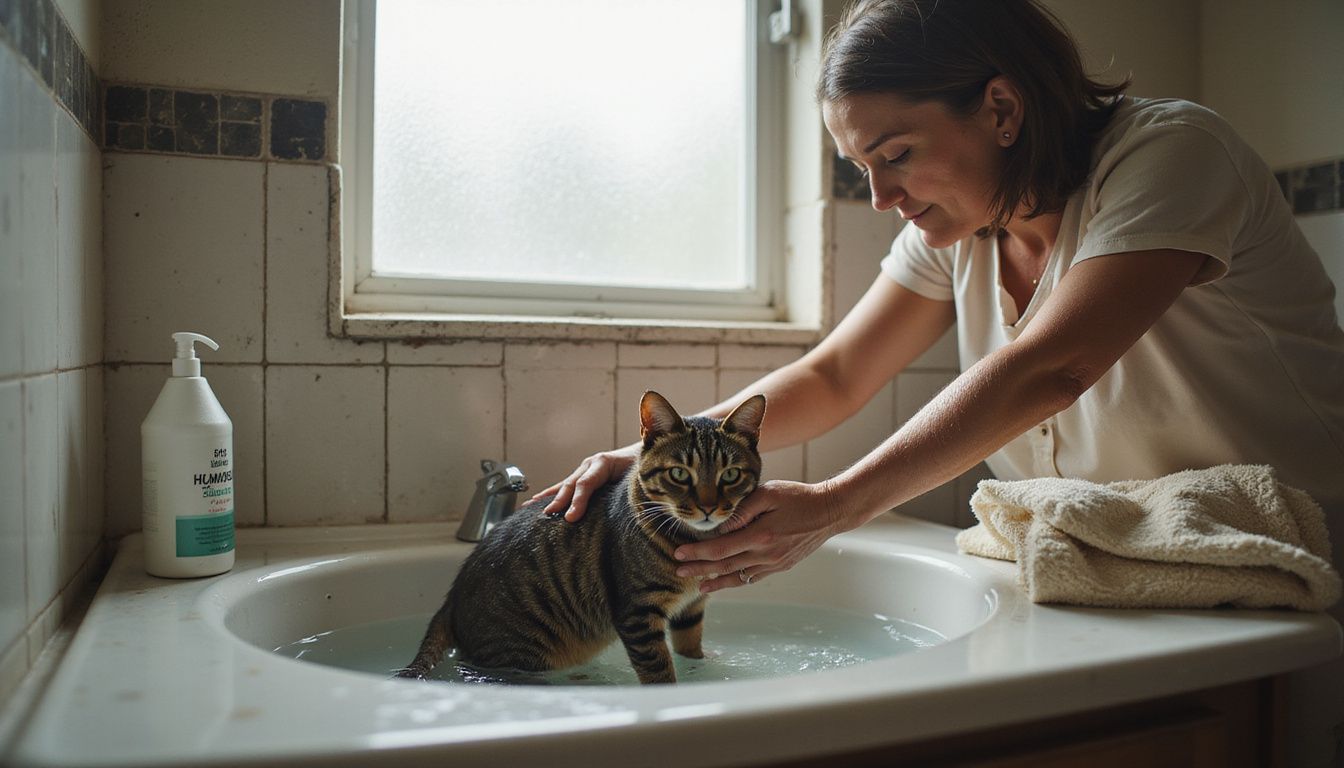
Bathing takes patience, but the right approach and tools turn it into a calm experience. Water at the right temperature and cat-safe shampoo clean your feline’s coat without stress or skin irritation.
How do I bathe my cat using lukewarm water and cat-safe shampoo?
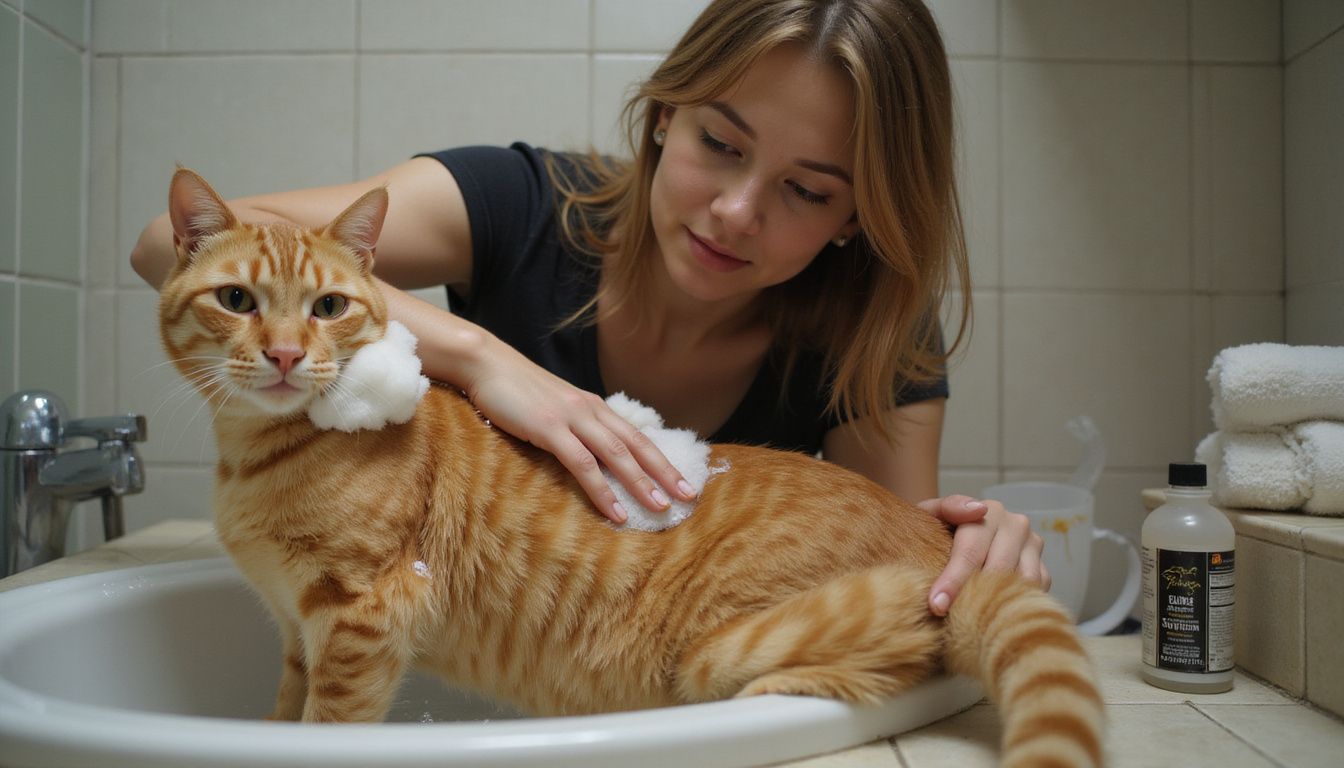
Bathing your cat doesn’t have to turn into a wrestling match. With the right supplies, bath time can be calm and manageable for both of you.
- Fill your sink or tub with about four inches of warm water before you start. According to the Cornell Feline Health Center, the ideal temperature sits between 98 and 102 degrees Fahrenheit, since that matches your cat’s natural body heat. Water that’s too hot or too cold is a common trigger for bath-time panic.
- Grab a hand-held spray hose to wet your cat gently. A plastic pitcher or unbreakable cup works just as well if you don’t have a spray hose.
- Insert cotton balls into your cat’s ears to block water from getting in. This simple step prevents discomfort and possible ear infections.
- Use shampoo made specifically for cats, never human products. Mix one part shampoo with five parts water for a gentle solution.
- Massage the diluted shampoo into your cat’s fur from head to tail, avoiding the face entirely to prevent irritation and stress.
- Rinse thoroughly until all shampoo disappears from the coat, since leftover residue can irritate skin and cause itching.
Bathe your cat only when it’s actually needed, whether that’s for parasites, stubborn dirt, or a reduced ability to self-groom. Over-bathing strips beneficial oils from the coat and leads to dryness.
One more thing worth knowing: bathing your cat doesn’t do much for human allergies. Cat allergens come mainly from proteins in saliva, not from dander or fur, so that’s one myth you can let go of.
Now that your cat is clean and wet, drying becomes your next priority to keep them comfortable and warm.
How can I rinse my cat thoroughly to remove all shampoo?
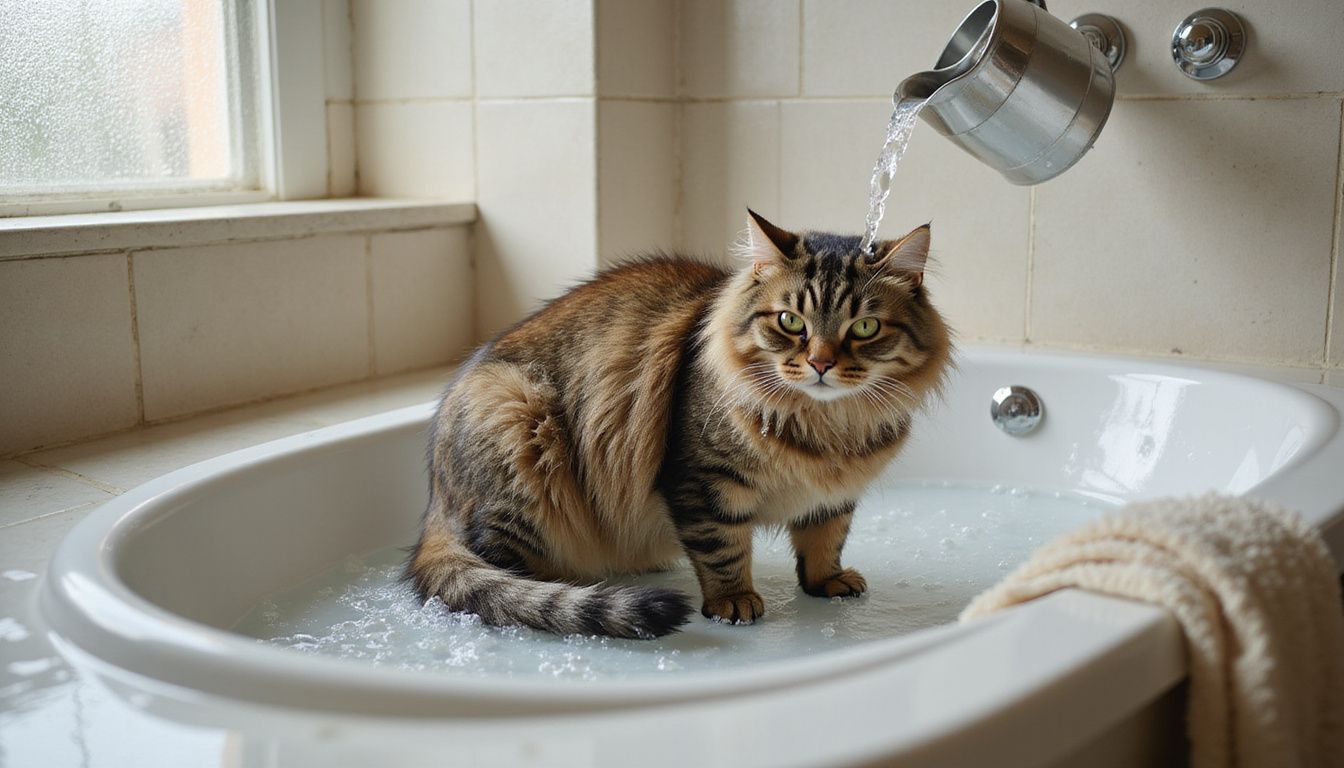
Once your cat is lathered up, rinsing becomes your next critical task. Leftover shampoo doesn’t just irritate skin, it creates a bigger problem than most owners realize.
- Start rinsing from your cat’s back with a pitcher or cup of lukewarm water, working down toward the tail so water doesn’t run into sensitive facial areas.
- Pour water slowly over each section, letting suds wash away completely before you move to the next spot.
- Use your fingers to gently part the fur and reach the skin underneath, making sure water gets through the coat to clear out trapped soap.
- Rinse the chest and belly with extra care, since cats hold tension there and residue tends to build up in those folds.
- Clean the face separately with a soft, damp washcloth, avoiding the eyes and ears completely.
According to safety guidelines from the ASPCA Animal Poison Control Center, any shampoo left behind is very likely to get swallowed during your cat’s natural post-bath self-grooming. That can lead to an upset stomach or vomiting, so thorough rinsing is really a safety step, not just a cosmetic one.
Check behind the ears and under the chin too, since shampoo loves to hide in those spots and cause itching later. If you used conditioner, rinse that out completely as well, since buildup can mat the fur. Aim to wrap up the whole rinsing process within five to ten minutes to keep stress low.
Drying Your Cat
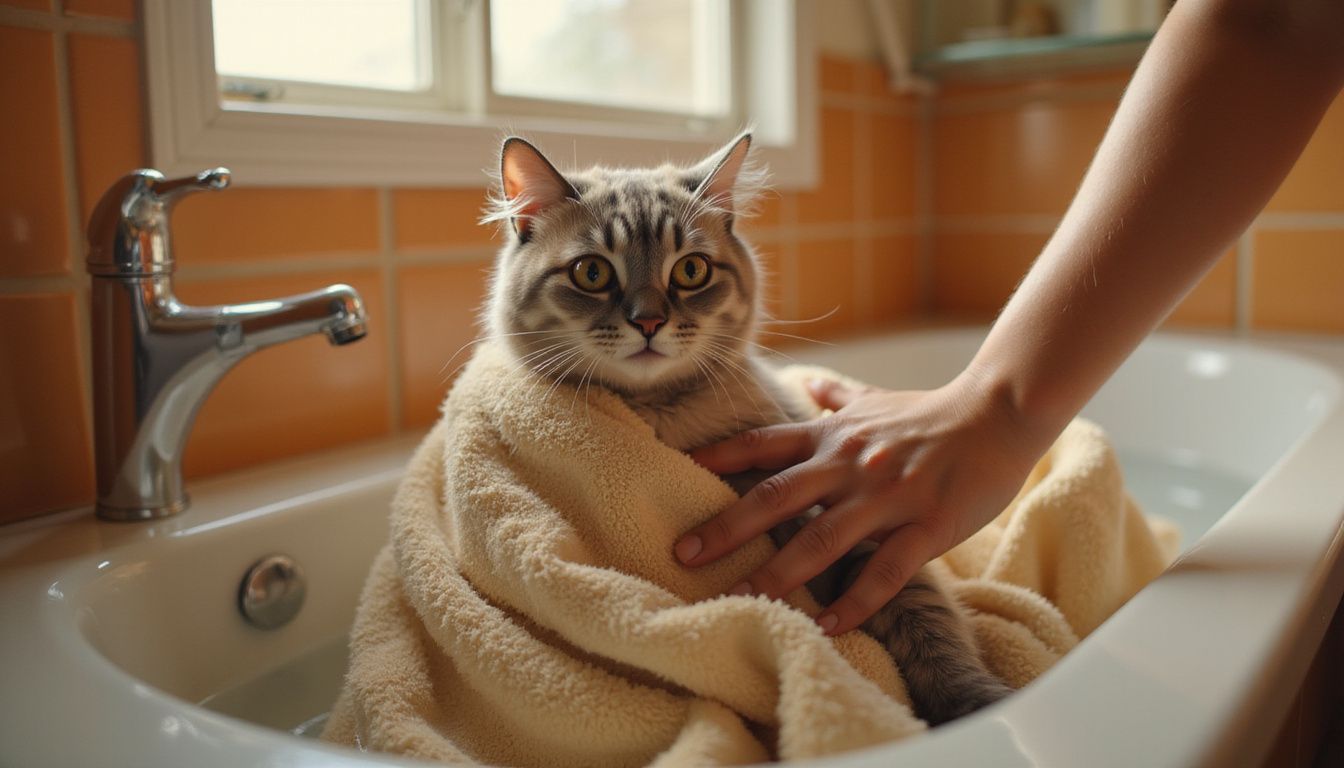
Your cat needs proper drying after a bath, and you’ve got two solid methods to choose from. Pat your feline dry with a soft towel first, then let air drying finish the job in a warm, quiet space.
How do I pat dry my cat with a soft towel?
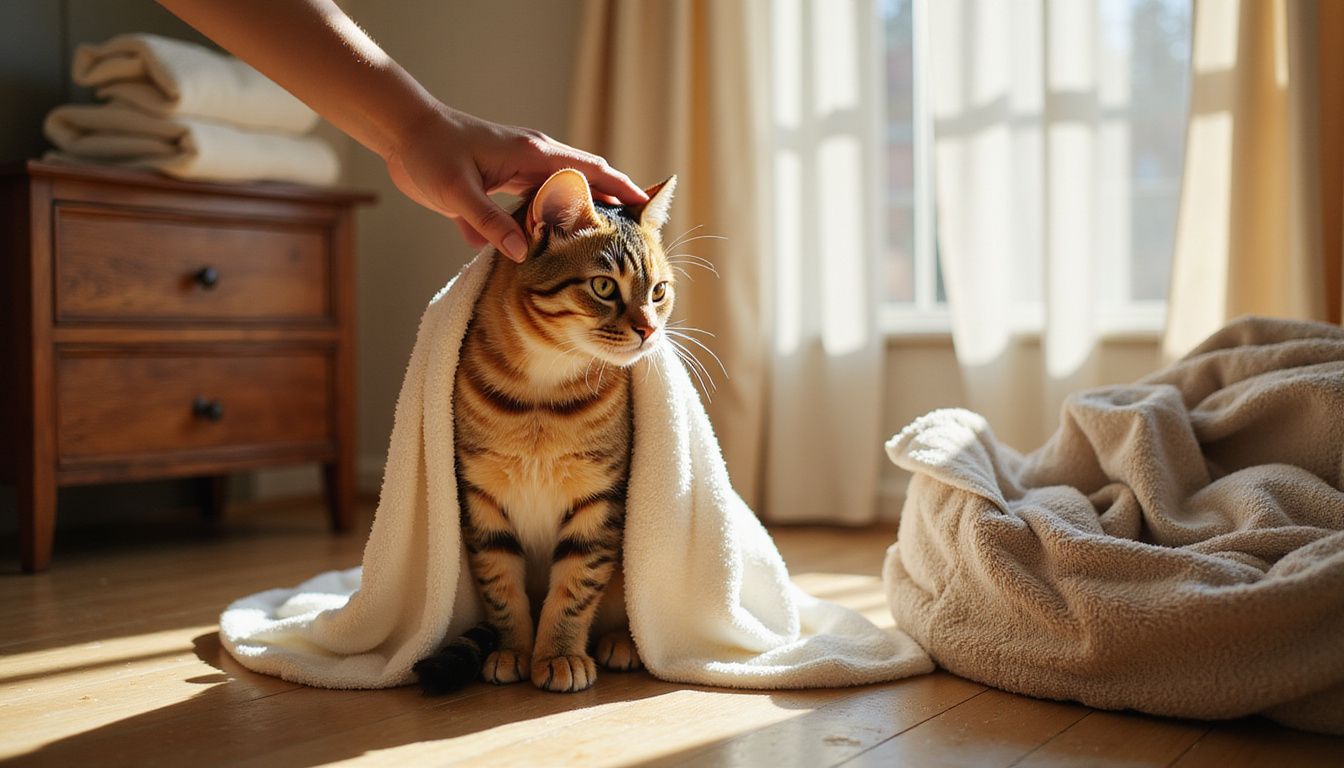
Patting your cat dry the right way prevents matting and keeps them comfortable after bath time. This simple technique makes a real difference in how your cat experiences grooming overall.
- Wrap a large towel around your cat right after the bath to trap warmth and avoid chilling in draft-free areas.
- Pat the fur gently instead of rubbing, since rubbing tangles the coat and causes discomfort.
- Wrap long-haired cats up right away, since wet fur mats quickly if it’s left alone.
- Switch to a fresh towel once the first one gets too damp to keep drying effectively.
- Focus on areas that hold water longest, like the belly, armpits, and behind the ears.
Keep drying time brief for cats with anxiety, since long handling sessions raise stress fast. Dry your cat somewhere warm and quiet with familiar bedding nearby, and offer a treat afterward to build a positive association with the whole process.
What is the best way to air dry my cat in a warm, quiet space?
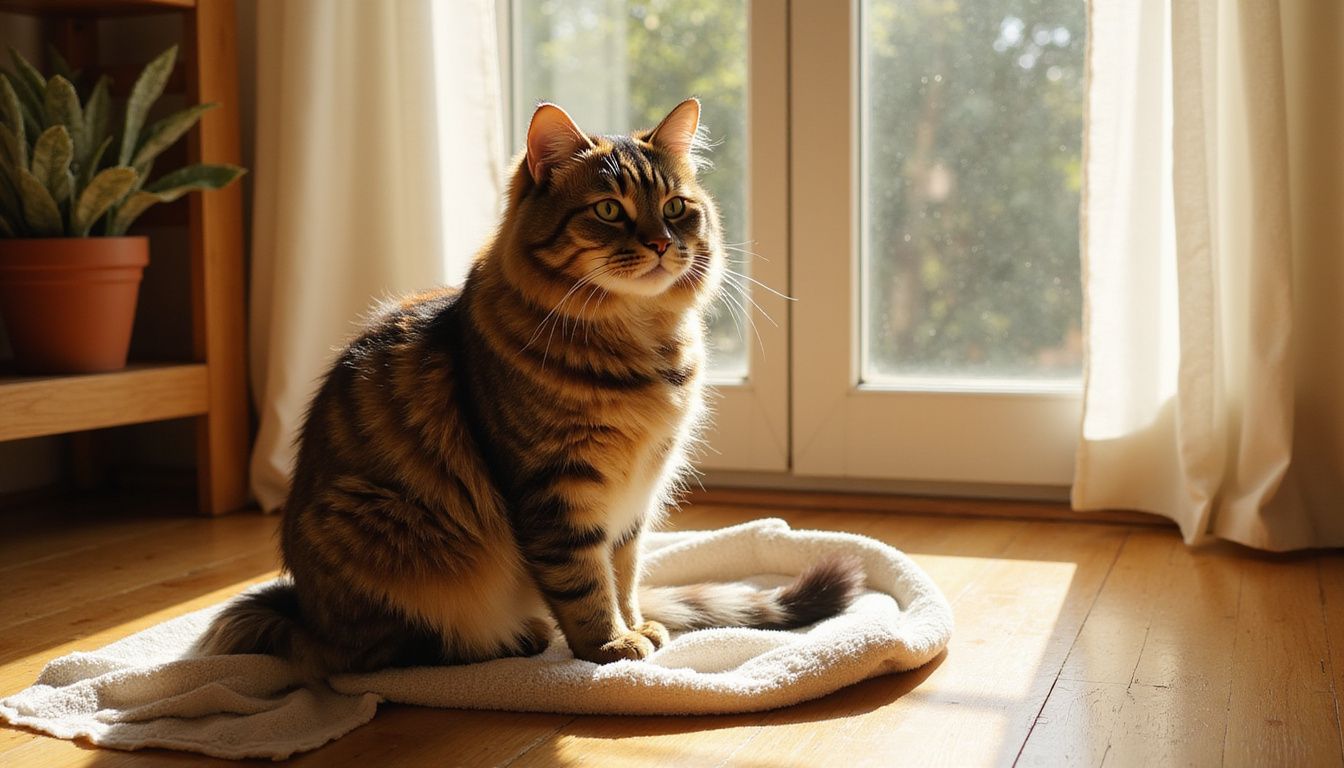
Air drying your cat the right way prevents stress and keeps them comfortable after their bath. Setting up the right space helps your future cat feel safe during this step.
- Pick a warm room away from cold drafts, since chills hit kittens and older cats especially hard.
- Limit noise and activity nearby so your cat can relax and dry naturally without fear.
- Towel dry first to remove excess water, which speeds up the whole drying process.
- Let long-haired cats dry fully before brushing, since brushing wet fur can cause mats.
- Watch for shivering or discomfort throughout, since these signs mean the temperature needs adjusting.
A blow dryer on low heat can work if your cat tolerates it without distress, but watch closely for frightened behavior. Keep your cat in the warm space until fully dry before letting them into cooler areas, and pick a spot with good air flow but no direct cold breezes.
Additional Grooming Tips
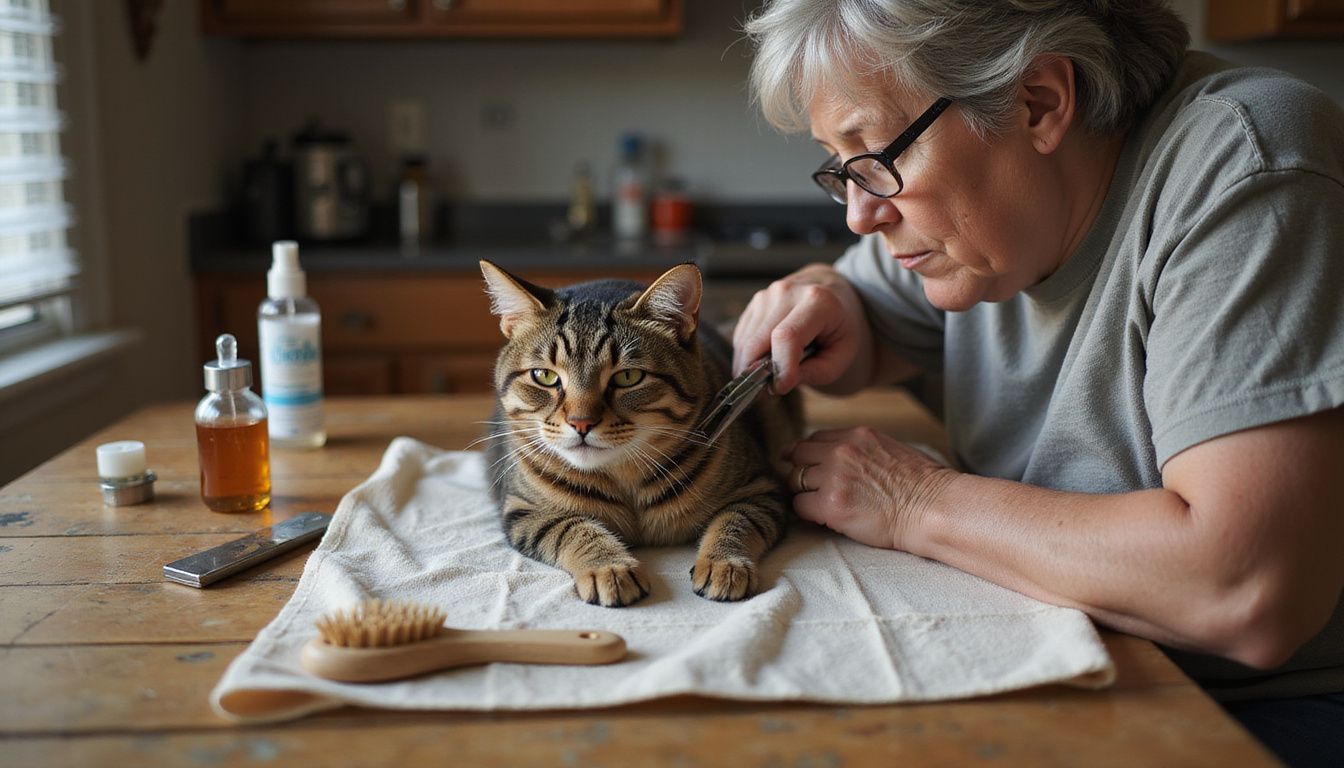
Your cat’s grooming routine goes beyond brushing and bathing. You’ll want to get comfortable with nail trimming, ear cleaning, teeth care, and eye checks too.
These smaller tasks have a bigger impact on your cat’s health than most new owners expect.
How do I trim my cat’s nails safely to avoid overgrowth?
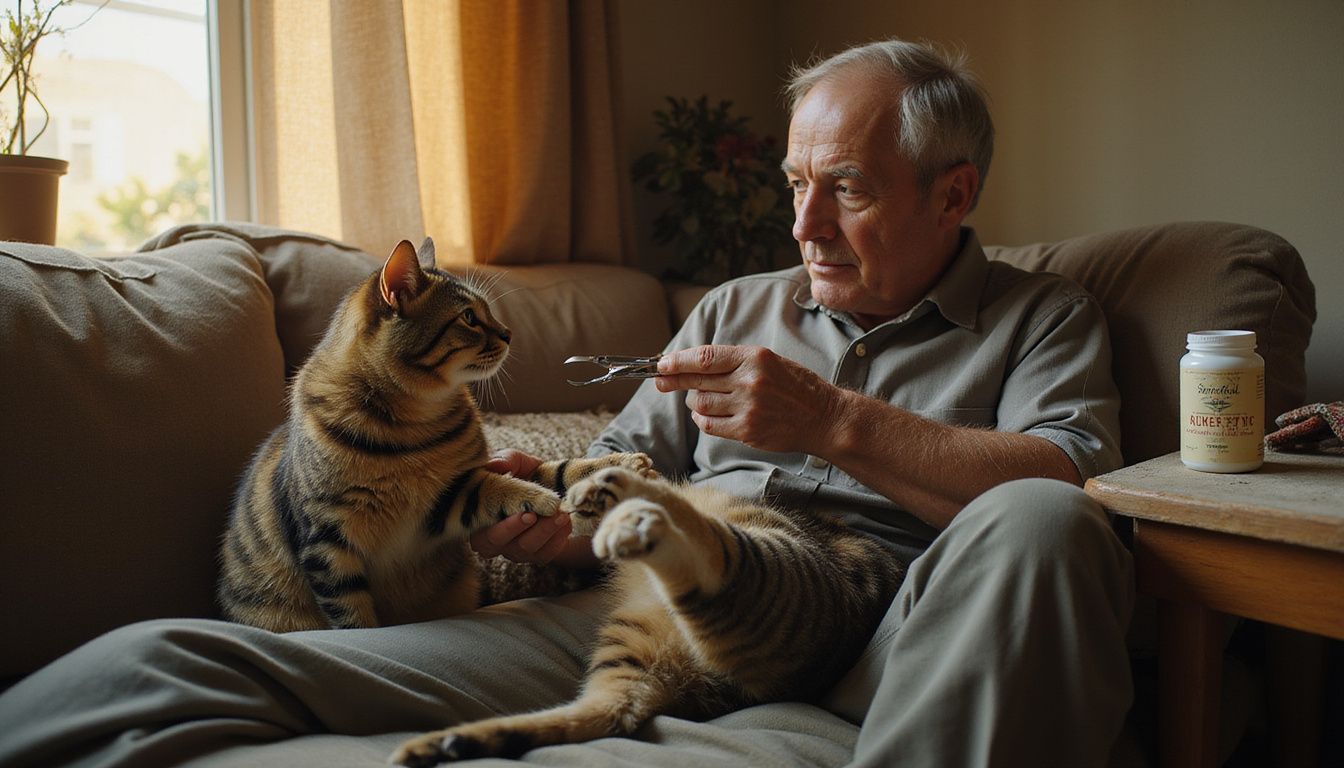
Trimming your cat’s nails keeps those sharp claws from getting overgrown and painful. Aim to trim every 10 days to two weeks to stay on top of it.
- Sit with your cat in your lap, facing away from you, so they feel secure and you can see each claw clearly.
- Take one toe in your hand and gently massage the pad until the nail extends out.
- Trim only the sharp tip of one nail at a time, staying well away from the pink “quick” inside the claw.
- Nerves and blood vessels live in the quick, so cutting into it causes pain and bleeding. Keep styptic powder nearby just in case.
- Trim just two claws per session at first, until your cat gets comfortable with the process.
Never try to trim every nail in one sitting, since this stresses your cat out for no reason. Watch for curved claws that curl into the paw pad too, since this signals overgrowth and causes real discomfort when walking.
Nail trimming isn’t just a nice-to-have skill anymore, either. Declawing has long been discouraged by the ASPCA because it removes part of the toe and often leads to pain and behavior problems. As of 2026, seven US states, including California, New York, and Maryland, along with Washington D.C., have gone further and legally banned elective declawing outright, according to legislative tracking by the Animal Legal Defense Fund. That makes regular trimming less of a suggestion and more of a basic skill every cat owner needs.
How do I check and clean my cat’s ears, teeth, and eyes?
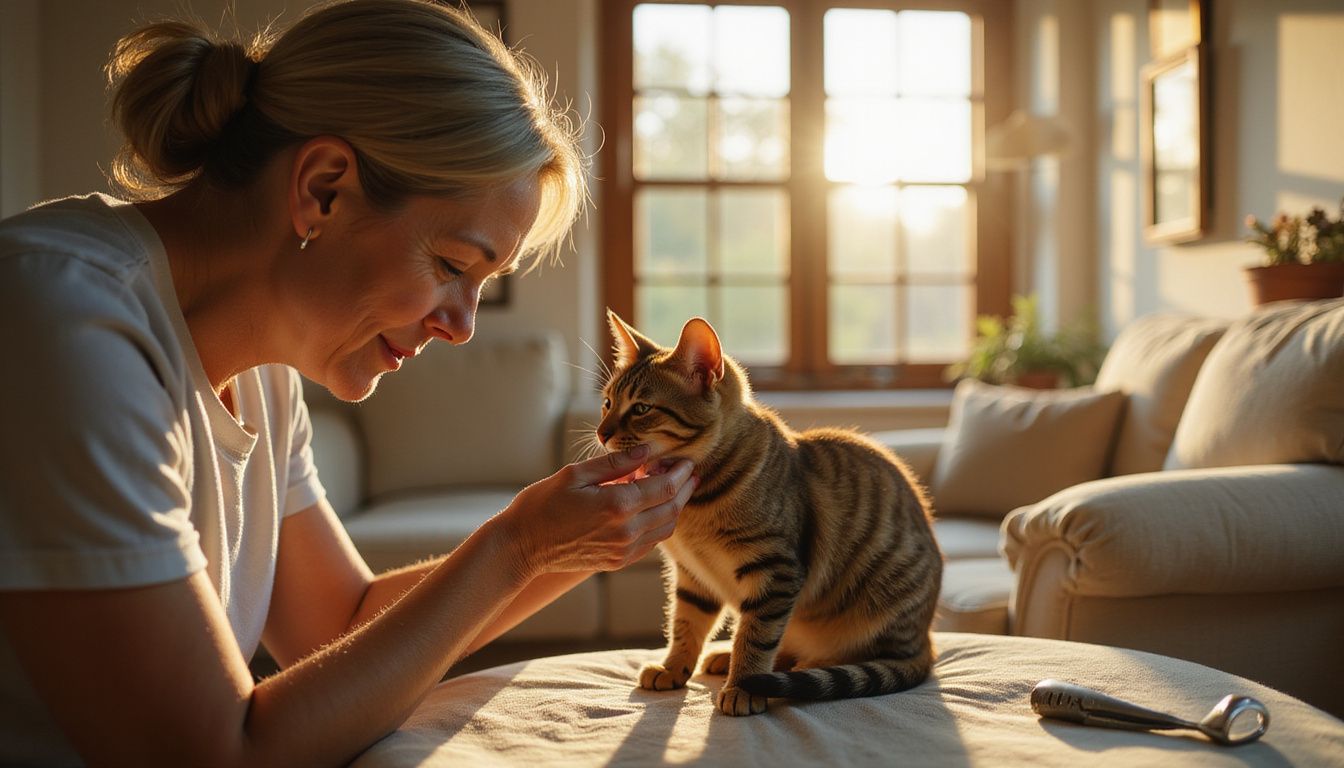
Now that nail care is covered, it’s time to look at three areas that reveal a lot about your cat’s overall health. Ears, teeth, and eyes all need regular checks.
- Check your cat’s ears weekly for wax buildup, debris, or signs of infection. A healthy outer ear has no bald spots, and the inner surface looks clean and pale pink.
- Gently push back your cat’s lips to check the gums and teeth during grooming. Firm, pink gums and teeth free of tartar signal good dental health, and this matters more than owners think. According to the 2025 Feline Oral Health and Dental Care Guidelines published by the Feline Veterinary Medical Association, over 70% of cats already show signs of dental disease by age three.
- Use a vet-recommended ear cleaner to gently clean the outer ear only. Don’t push deep into the canal, since that can cause trauma.
- Watch for persistent scratching, head tilting, or ear sensitivity. Your cat may paw at the ears or shake their head if something’s wrong.
- Remove crusty discharge from the eyes with a damp cotton ball, wiping from the corner outward, using a fresh ball for each eye.
Look out for dark red lines, swelling, ulcers, pus, or loose teeth in the mouth, since these need a vet’s attention right away. In the eyes, watch for discharge, excessive watering, red or white eyelid linings, tear-stained fur, or cloudiness. Regular exams under good lighting help you catch these issues early, before they turn into bigger problems.
Conclusion
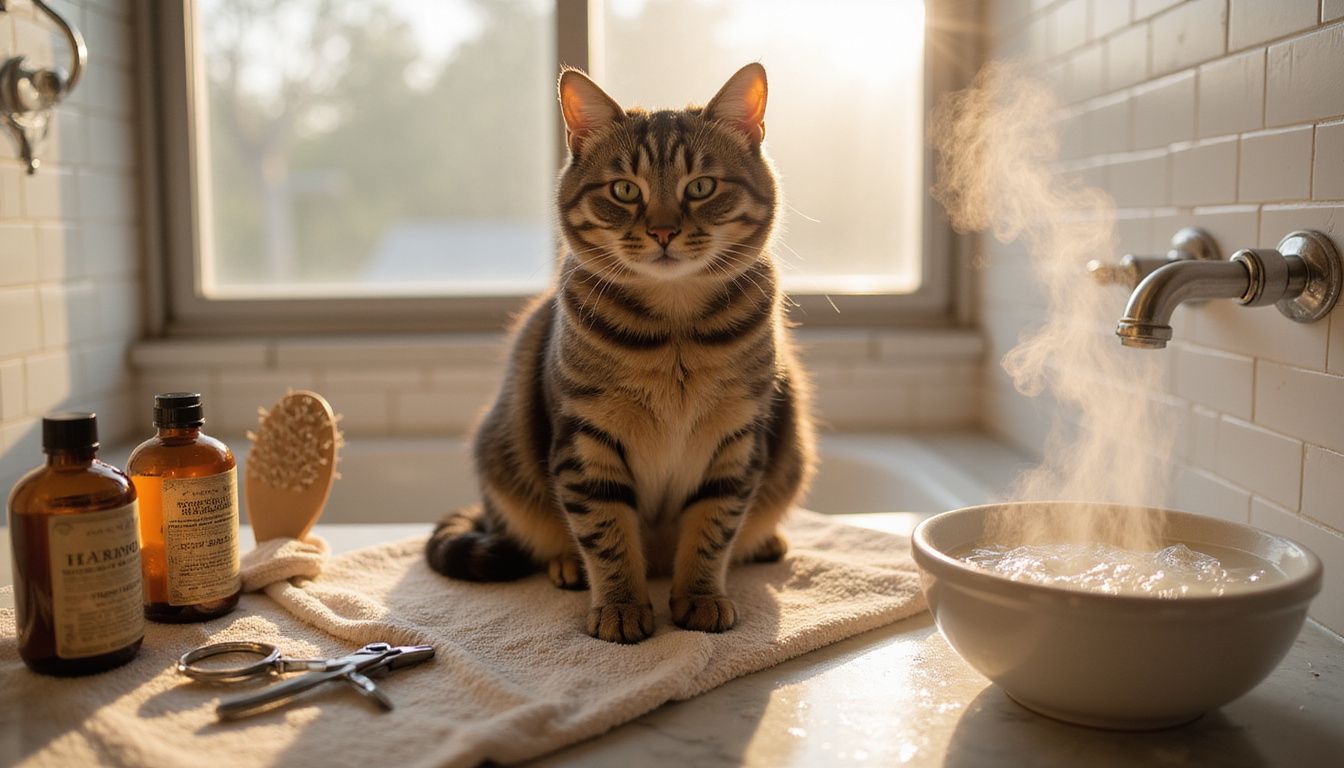
You now know how to set up a calm grooming space, gather the right supplies, and brush your cat’s coat with confidence. Bathing becomes manageable once you use the right water temperature, cat-specific shampoo, and gentle rinsing that protects sensitive areas.
Drying methods, nail trims every ten to fourteen days, and weekly ear checks form the backbone of solid feline care. These routines take just five to ten minutes per session, so stress-free maintenance fits easily into your week.
Your future cat’s skin, fur, teeth, and eyes will thank you as you build trust through consistent, positive grooming sessions.
Start with one simple task this week. Watch your cat relax into the routine, and you’ll see how low-stress grooming builds both your cat’s wellness and your confidence as a caring owner.
FAQs
1. How often should I bathe my cat?
Most cats only need a bath every few months or when they get into something sticky or smelly. Veterinarians at the Cornell Feline Health Center note that healthy cats are such good self-groomers that frequent bathing can actually dry out their skin and strip natural oils.
2. What is the best way to keep my cat calm during a bath?
Use lukewarm water around 100°F and keep your voice soft and reassuring throughout the process. A rubber bath mat in the sink or tub helps your cat feel more secure, and offering treats right after creates positive associations.
3. How do I trim my cat’s nails safely?
Hold your cat gently, press on their paw pad to extend the claws, and use cat-specific clippers to trim only the clear, pointed tip. Stay away from the pink quick, which contains nerves and blood vessels that will bleed and hurt if cut.
4. My cat hates brushing, what can I do?
Try starting with a soft slicker brush or rubber grooming glove, which many cats find less intimidating than metal combs. Keep your first sessions super short, even just 30 seconds, and give treats right after to build positive associations.