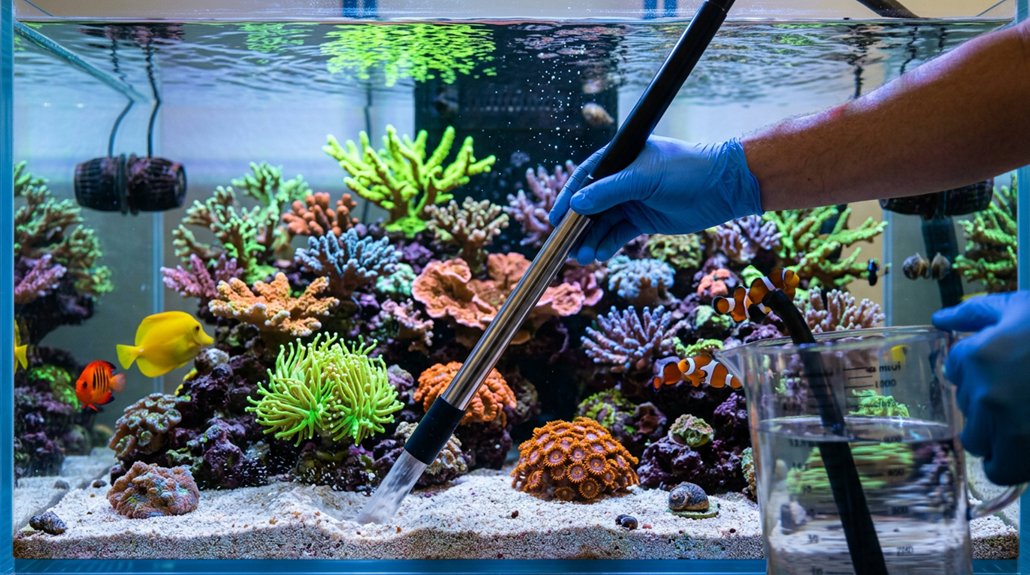
Start by mixing RO/DI water with marine salt to 1.025–1.026 specific gravity, then match it to your tank’s 78°F temperature. Turn off the return pump, skimmer, ATO, and heaters before you drain 10–20% of the water. As you remove it, siphon detritus from the substrate. Add the new saltwater slowly over 10–60 minutes, then recheck salinity and restart equipment. Keep a steady schedule, and you’ll get the details that make each change safer.
Key Takeaways
- Mix new saltwater in advance with RO/DI water and marine salt to about 1.025–1.026 specific gravity.
- Match the new water’s temperature and salinity to the aquarium before adding it.
- Turn off return pumps, skimmer, heaters, and ATO to prevent dry-running or overflow.
- Drain 10–20% of the water, siphoning detritus from substrate and hidden areas if needed.
- Add the new saltwater slowly, then restart equipment and recheck salinity, temperature, and water level.
Mix Saltwater to the Right Salinity
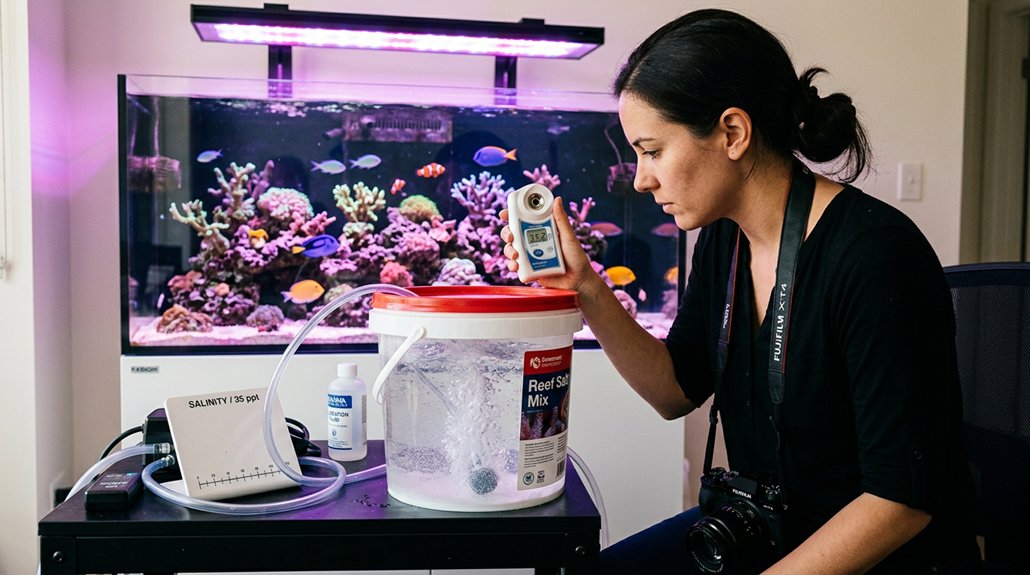
Before you add any water to the tank, mix fresh saltwater with RO/DI water and marine salt to a target specific gravity of about 1.025–1.026, or roughly 35 ppt, and verify it with a refractometer. Use the manufacturer’s dosing as a starting point, but don’t rely on it alone; salt composition can vary, so measure and adjust. Your mixing technique should be to fill the container with RO/DI water first, then add salt, not the reverse. Circulate the batch with a powerhead or pump and keep it covered. Let it mix 3–24+ hours until fully clear and the salinity stabilizes. If the reading’s low, add salt in small increments, retest, and continue until you hit target. Recheck before each water change.
Match the Tank’s Temperature
Measure the tank temperature with the same calibrated thermometer you’ll use on the new saltwater, and verify readings at both the surface and mid-depth. Warm or cool the mixed water gradually until it’s within 0.5–1.0°F of the tank, ideally matching the same thermometer reading. If you’re adding a large volume, transfer it slowly so any small remaining difference equalizes without stressing livestock.
Measure Tank Temperature
Keeping the replacement water within the tank’s temperature range is critical to avoid thermal shock. Use the same calibrated thermometer for both samples, and verify they’re within ±1°F (±0.5°C). Account for probe placement, since readings near the sump or return reflect the delivery point better than surface water. Thermal inertia can mask drift, so let the mixed batch circulate 30–60 minutes before rechecking.
- Target about 78°F (25.5°C) for reef systems.
- Match tank and new water before pumping.
- If mixing the night before, store near 70°F.
- Raise it to tank temperature before transfer.
- Monitor 15–30 minutes after filling; pause if deviation exceeds 1°F.
Warm New Saltwater
Once your saltwater is mixed, warm it to within 1°F (0.5°C) of the aquarium’s temperature—typically about 78°F (25.5°C) for a reef tank—before you add it. Mix it a day ahead, use a circulation pump, and place the heater so heater placement minimizes thermal stratification in the Brute or tote. In colder months, a 150–300W heater can bring a ~70°F batch up to tank temp over 3–24 hours.
| Action | Purpose |
|---|---|
| Heat with circulation | Equalizes temperature |
| Use same thermometer | Confirms matched readings |
| Add slowly | Limits localized swings |
Measure with the same thermometer you use on the tank, and transfer the warmed water slowly into the sump or display. Don’t let cold pockets remain; even brief gradients can stress livestock.
Match Within One Degree
Match your pre-mixed saltwater to the display or sump within ±1°F (≈±0.5°C) before adding it, because even a small temperature gap can trigger thermal shock in fish and corals. Use the same calibrated thermometer you use in the tank for accurate temperature matching, since probes can differ by 0.5–1.0°F.
- Heat or cool the mix before transfer
- Circulate it for 3–12 hours
- Target uniformity, not just the setpoint
- Pause slow additions if the gap exceeds 1°F
- Recheck at the end of the transfer
If you’re using a barrel, bring the water to about 70°F, then raise it to tank temperature with an inline or bucket heater. During gradual equilibration, monitor both source and tank temps, especially across long hoses or seasonal swings, and only continue when the final mixed water is within 1°F.
Turn Off Pumps and Skimmer First
Before you drain any water, shut off the return pump and protein skimmer so the sump doesn’t run dry and air doesn’t get pulled into the system. Disable the ATO, too, so it can’t add freshwater and hide sump-level drops that could leave equipment exposed. If your pump placement or skimmer maintenance layout leaves powerheads, lights, or heaters near the waterline, switch them off as well; you don’t want splash, stress, or heater damage during service. Keep heaters unplugged whenever they may sit in air, then restore them only after the system is refilled to normal operating level. Use a GFCI-protected power strip or clearly labeled breakers so you can shut down and restart each device quickly and safely once the change is complete.
Remove the Old Aquarium Water
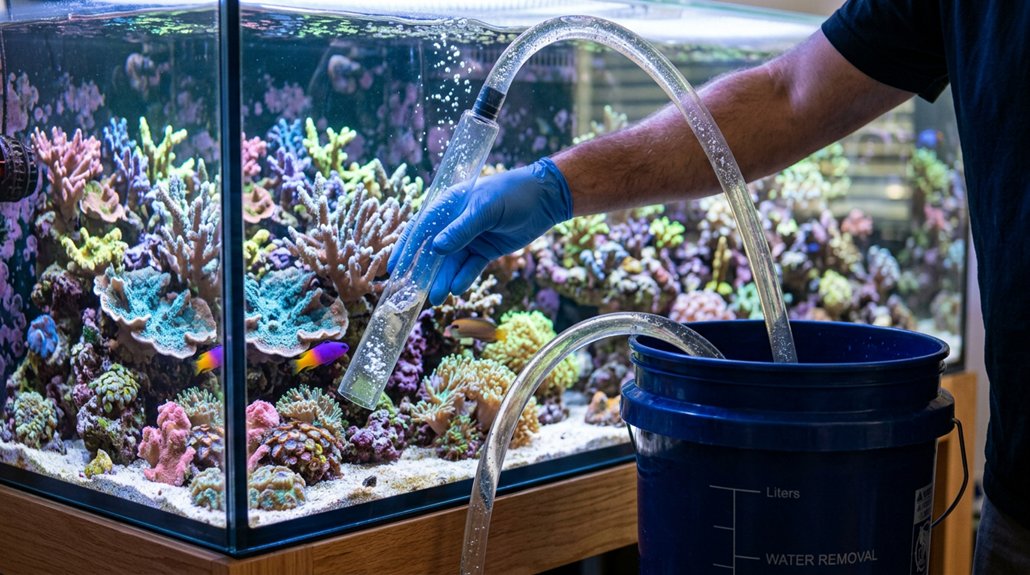
With the system safely shut down, drain the old aquarium water in a controlled way using a siphon hose, Python, or utility pump. Measure the volume first, using marked sump lines or 5-gallon buckets, so you remove the planned 10–20% without stressing the system.
- Route hoses securely to a Brute can or drain.
- Keep all pumps on GFCI protection.
- Watch the sump level closely.
- Stop before the skimmer chamber runs dry.
- Rinse and store containers after use.
During drainage, you can lightly siphon suspended debris and make brief livestock relocation adjustments if needed, but don’t disturb animals unnecessarily. This step supports equipment maintenance by preventing dry-running pumps, unwanted ATO refills, and overflow issues. When you reach the pre-marked minimum, stop, dispose of water per local rules, and prepare for the next stage.
Use Drain Time to Clean Detritus
As the tank is partially drained, take advantage of the lower water level to siphon out detritus from the sand, substrate surface, and areas under rockwork. Use targeted siphoning with a hose or pump intake to vacuum loose waste without collapsing the bed. Direct the outflow into a bucket as you work in short passes, and stop when the discharge looks clearer. Focus on hidden pockets behind rock ledges, in overflow boxes, and inside skimmer or sump chambers, where muck often accumulates. If needed, briefly redirect a powerhead to lift trapped debris into the removal stream. Keep motion slow and controlled so you don’t resuspend fine particles. When cleaning the sump, service the skimmer and refugium first, then brush or siphon settled solids from the return section.
Add New Saltwater Slowly
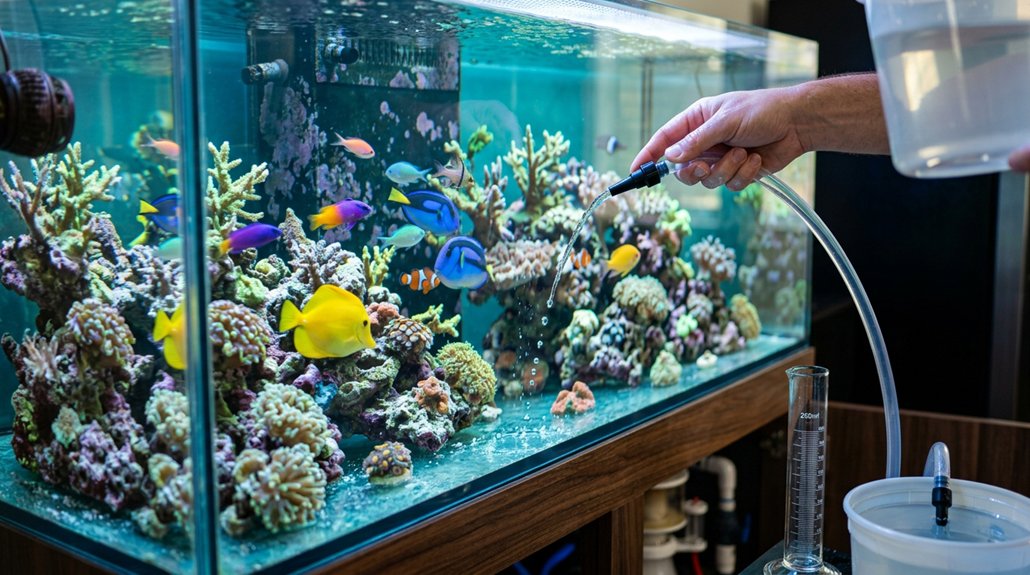
Add new saltwater slowly so you replace the removed volume over 10–60 minutes, using a controlled pump flow or a gentle sump overflow to avoid sudden parameter shifts. If you’re pouring manually, diffuse the inflow through a cup or pitcher so it spreads softly instead of blasting corals or sand. Keep the temperature within ±1°F and specific gravity within ±0.001 before adding, then monitor the system for 5–10 minutes after startup.
Gentle Sump Overflow
Route the new mixed saltwater into the sump through an overflow or return line so it trickles in slowly and evenly, keeping the fill rate to roughly 1–2 inches per minute to avoid abrupt flow changes. Use a sump overflow path with flow diffusion by directing the inlet into a cup or deflector.
- Match temperature within 1°F.
- Match salinity within 0.002–0.005 SG.
- Use a 200–800 GPH pump or gravity feed with a ball valve.
- Keep the mixing barrel circulating.
- Watch sump min/max marks, then verify salinity after equilibration.
If you add water directly to the display, shut off return pumps and powerheads, and disable ATO or skimmer temporarily to prevent overfill. After the level stabilizes, restore equipment and confirm both tanks read correctly.
Cup Diffusion Method
A simple way to soften the introduction of new saltwater is to use a cup or pitcher as a diffuser inside the tank or sump, then feed the tubing into that container so the water overflows gently rather than blasting directly into the aquarium. Before use, perform cup sterilization or rinse the vessel in aquarium-safe water, and choose overflow placement where flow won’t hit corals or sand. Match temperature within 1°F and specific gravity to your tank, around 78°F and 1.025–1.026, before starting. Reduce pump speed or use a valve so the cup fills slowly, creating a drip-like overflow. Watch salinity and water level during transfer; if livestock looks stressed or the sump nears capacity, pause. Afterward, restore equipment and discard or rinse the cup.
Controlled Pump Flow
Throttle the fill pump so new saltwater enters slowly enough that the sump or display rises no more than 1–2 inches per minute, or about 1–3 GPM in most home systems, to prevent turbulence that can stress fish and corals. Use flow calibration with an inline valve, discharge ball valve, or variable-speed pump.
- Aim the hose into a cup, overflow box, or spill plate.
- Match temperature within ±0.5°F.
- Match salinity within ±0.002 SG.
- Secure hoses, drip loops, and a catch container.
- Watch sump level so the ATO or overflow doesn’t trigger.
Keep the stream dispersed, not blasting sand or sessile inverts. Inspect pump maintenance items before each transfer, then adjust until the fill stays smooth and controlled.
Check Salinity Before You Refill
Before you refill, check salinity on both the aquarium and the new saltwater with a calibrated refractometer or reliable hydrometer; your display should read around 1.025–1.026 specific gravity, and the replacement water should match within about ±0.001 SG. Test refractometer readings immediately before dosing, because evaporation, mixing error, and seasonal adjustments can shift salinity. Mix replacement water ahead of time, then adjust salt until it matches the tank. Recheck temperature and salinity just before adding; aim for within 1°F and the same SG. If you top off between changes, use only RO/DI water for evaporation, not for refilling drained volume. Label containers with the final reading and test time so you don’t pour in an off-spec batch and stress livestock.
Keep a Regular Water Change Schedule
Keep a regular water change schedule to keep nutrients, trace elements, and overall chemistry stable; for most saltwater aquariums, that means changing 10–20% every 1–2 weeks, or about 5% several times per week if your bioload is heavier or nutrients rise quickly. Consistent timing supports nutrient management and reduces swings.
- Mix RO/DI water with reef salt to 1.025–1.026 SG.
- Heat and circulate new water 3–24+ hours.
- Verify salinity and temperature before use.
- Remove waste water, then add new water slowly.
- Reenable equipment after levels equalize.
Use pure RO/DI for evaporation top-off only. Keep containers clean between changes, and dispose of old water per local rules. If you track tests, you can adjust the schedule before problems build.
Frequently Asked Questions
How Often Should I Do a Water Change in a Saltwater Tank?
You should change water every 1–2 weeks at 10–20% of volume, or about 25% monthly. Increase frequency for heavy feeding; use seasonal adjustments if bioload shifts. Smaller, more frequent changes’re usually steadier.
Should I Remove Fish When Doing a Water Change?
No, you usually shouldn’t remove fish; during my 10% water change, mine stayed calm like passengers on a bus. You’ll only net-transfer them for large changes, heavy cleaning, or treatment—use matched water, then return them gently.
Can I Do a 100% Water Change in My Fish Tank?
No, you generally shouldn’t do a 100% water change; it risks sudden stress and zero 100% effectiveness. You’d need identical temperature, salinity, and fully prepared livestock housing, or you’ll likely crash biological filtration.
How Do I Change the Water in My Fish Tank Without Killing the Fish?
You’ll avoid killing fish by matching water chemistry; 90% of losses come from abrupt changes. Use gradual acclimation: mix new water, match temperature/salinity, remove 10–20%, add slowly, restart equipment, then recheck salinity.
Conclusion
By following these steps, you’ll make each water change a steady tide of renewal for your saltwater aquarium. When you match salinity and temperature, you’re setting a precise course; when you remove debris and refill slowly, you’re steering clear of shock. Regular water changes act like a quiet engine, keeping chemistry stable and livestock healthy. Keep your schedule tight, and your tank won’t just survive—it’ll run like a well-tuned reef system.