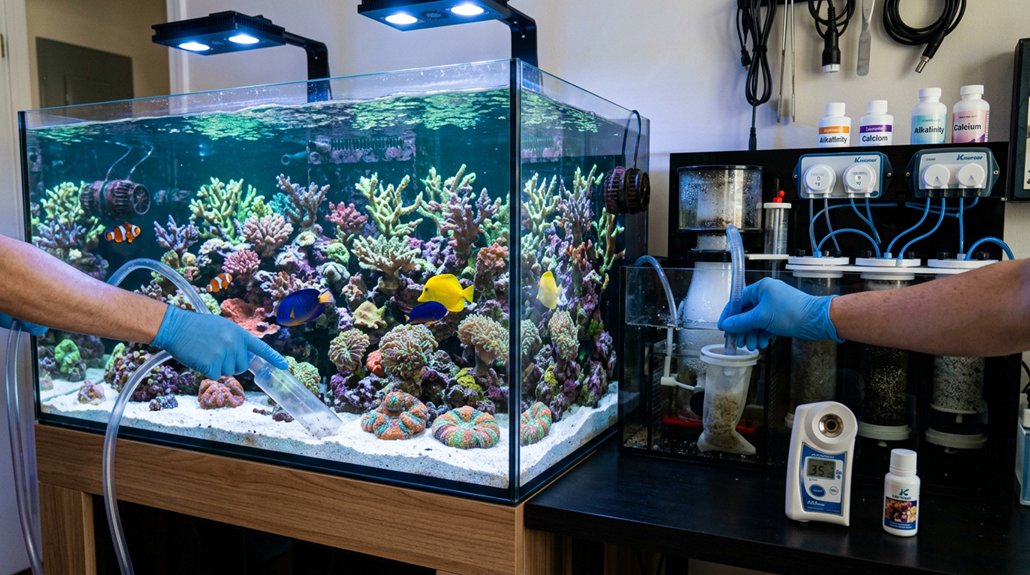
To cycle your saltwater aquarium properly, you’ll need strong circulation, steady heat around 78°F, and daily liquid testing for ammonia, nitrite, and nitrate. Dose pure ammonium chloride to about 2 ppm for a fishless cycle, then let Nitrosomonas and Nitrobacter build the biofilter as ammonia falls, nitrite rises, and nitrate appears. Keep lights off and avoid skimmers or carbon. The cycle’s done when ammonia and nitrite hit zero within 24 hours, and there’s more to verify.
Key Takeaways
- Use a fishless ammonia source, dosing to about 2 ppm to start the nitrogen cycle.
- Test ammonia, nitrite, and nitrate daily with liquid kits; do not rely on test strips.
- Keep strong flow, steady 78°F temperature, and high oxygen with pumps running continuously.
- Seed the tank with live rock, sand, or mature filter media, or use bottled bacteria if needed.
- Consider the cycle complete when ammonia and nitrite hit zero, and nitrate is measurable for several days.
Saltwater Aquarium Cycling Basics
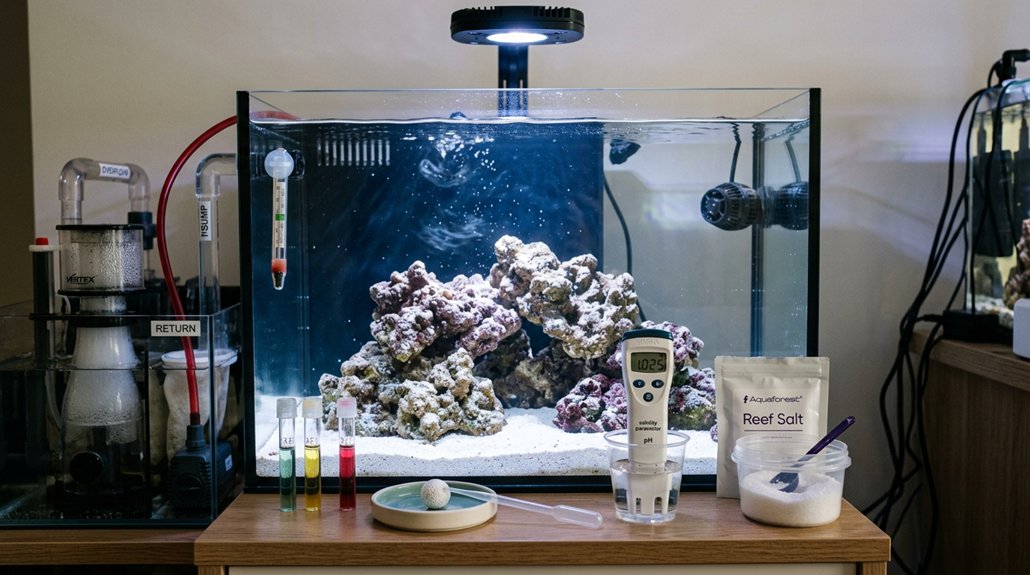
Cycling a saltwater aquarium establishes the aerobic nitrifying bacteria—first *Nitrosomonas*, then *Nitrobacter*—that convert toxic ammonia into nitrite and then nitrate, and it usually takes 2–6 weeks to finish. You’re building a biological filter in the aquarium substrate, live rock, and media, while controlling water chemistry. During a fishless cycle, dose about 2 ppm ammonia or use a decomposing shrimp, then test NH3/NH4+, NO2-, and NO3- daily. Seeded bacteria from live rock, established filter media, or bottled starters can speed the process. Keep flow strong, oxygen high, and temperature near 78°F; leave lights off to suppress algae. Don’t skim, run carbon, or change water unless needed. When ammonia and nitrite read zero and nitrate is measurable, your tank’s ready for livestock.
Gather Your Cycling Supplies
You’ll need reliable liquid test kits for ammonia, nitrite, and nitrate, and you should test daily to track cycling accurately. Set up a stable ammonia source, such as ammonium chloride dosed to about 2 ppm or a dead shrimp, and add seeded media if you can get live rock, live sand, or established biomedia. Keep your heater at 78°F, powerheads running for oxygenation, RO/DI water ready for top-offs, and bottle bacteria on hand as backup seeding.
Essential Cycling Supplies
Before you add water or salt, gather the tools that let you control and verify the cycle: reliable liquid test kits for ammonia, nitrite, and nitrate; a fishless ammonia source such as pure ammonium chloride or a dead shrimp; and, if possible, seed material from an established tank plus a bottled bacteria product as backup. You’ll also want RO/DI water, a refractometer or hydrometer, and a notebook to log doses and results. Keep strong circulation, a heater near 78°F, and lights off to suppress live algae. Don’t run carbon, GFO, or rely on a protein skimmer to remove waste during the initial cycle. Test daily, hold ammonia near 2 ppm, and watch for its drop to zero, nitrite decline, and nitrate rise.
Bacteria Sources Ready
Once your test kits, ammonia source, and basic gear are on hand, the next step is picking the bacteria source that will seed the cycle fastest and most reliably. If you can, use live rock or sand from an established tank that’s at least 6 months old; place it where flow is strong, such as the sump or display, so nitrifiers colonize quickly. You can also transfer mature filter media, like ceramic biomedia, old bio-balls, or sand, in mesh bags near the overflow or filter sock to avoid pests. If that isn’t possible, bottled products such as Dr. Tim’s One & Only, Fritz TurboStart/900, or Prodibio BioDigest can help. During a fishless cycle, dose ammonia to about 2 ppm, keep temperature near 78°F, and maintain oxygenation.
Run Flow and Heat, Keep Lights Off
You’ll want to keep strong water flow running 24/7 so oxygen reaches the live rock, biomedia, and sand bed, which supports nitrifying bacteria growth. Hold the tank temperature steady around 78°F to keep that biology active and avoid slowing the cycle. Keep the lights off during the first month so you don’t trigger nuisance algae before the bacterial colonies are established.
Maintain Strong Water Flow
Keep strong circulation running throughout the cycle, with powerheads and return pumps moving water across live rock and filter media so nitrifying bacteria stay well oxygenated. You should target at least 10–20× tank volume per hour in the display, with strong localized flow around media and rockwork. Use careful powerhead placement to eliminate dead spots, and adjust return orientation so surface agitation improves gas exchange and keeps dissolved oxygen high. Run all pumps continuously, even during water tests or brief maintenance, because stopping flow lets detritus settle and can create anaerobic patches. Keep the lights off during the first month, or until ammonia and nitrite stay at zero, so nuisance algae don’t compete for nutrients and oxygen.
Keep Temperature Stable
Hold the aquarium at about 78°F (25.5°C) with a reliable heater and thermostat so nitrifying bacteria stay active and the cycle doesn’t stall from temperature swings. Place the heater near strong flow so warm water disperses evenly; poor heater placement can create hot spots and cold zones. Account for thermal inertia in the tank, rock, and water volume, since they’ll buffer short changes but not sustained drift. Keep powerheads and the filter running continuously to deliver oxygen and move ammonia and nitrite to the media. Leave lights off for the first month to suppress nuisance algae while bacteria colonize surfaces. Top off evaporated water with RO/DI daily to hold salinity steady, and skip water changes, skimming, carbon, and GFO unless you’re correcting a specific problem.
Start a Fishless Cycle
Kick off the cycle by dosing pure ammonia to about 2 ppm in a filled, heated tank kept at roughly 78°F with circulation running and no livestock present; this gives nitrifying bacteria a steady food source to establish. Keep that level on your cycling schedule by redosing daily as needed. Test ammonia, nitrite, and nitrate with liquid kits each day: you’ll usually see ammonia rise first, then nitrite, then nitrate as the biofilter matures. If you’ve got live rock, established media, or mature sand, add it now to speed the process; fishless additives can also help as a backup. The cycle’s complete when 2 ppm ammonia disappears within 24 hours, and both ammonia and nitrite read zero. Then confirm nitrate is acceptable before adding livestock.
Seed the Tank With Beneficial Bacteria
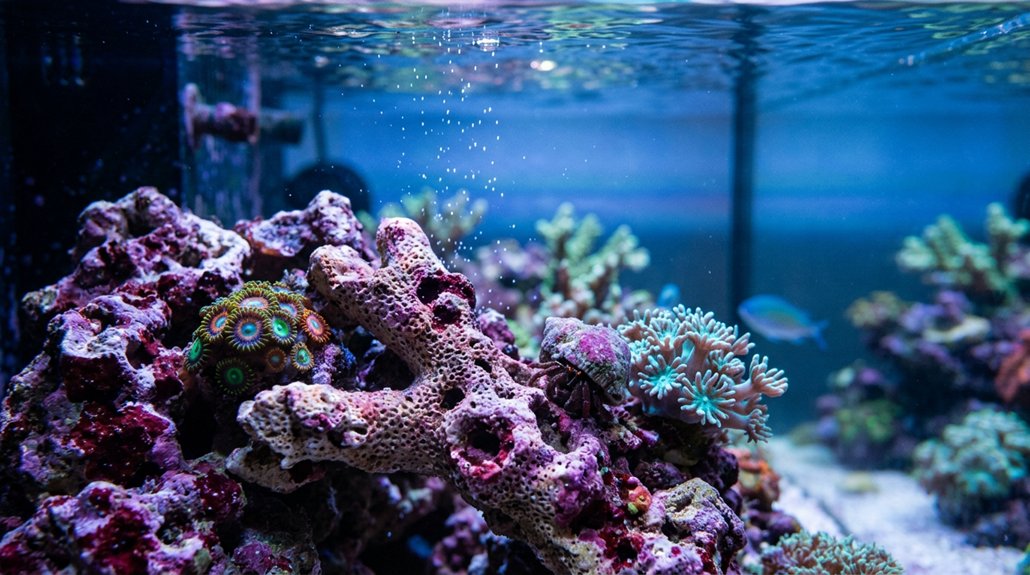
Transfer a small amount of established live rock, live sand, or ceramic biomedia from a mature system into your new tank or sump to seed nitrifying bacteria on available surfaces quickly. This substrate inoculation helps you introduce bacteria where biofilm can attach and colonize fast. Place the media near strong flow, such as the overflow or filter sock inlet, so oxygen-rich water reaches Nitrosomonas and Nitrobacter efficiently. If you can’t get mature media, use a bottled starter like Dr. Tim’s One & Only or Fritz TurboStart, ideally with a little established material.
Seed your new tank with a small amount of mature live rock, sand, or biomedia to jumpstart nitrifying bacteria.
- Porous rock with pale crevices
- Fine sand grains in moving water
- Ceramic rings in a sump tray
Avoid heavy cleaning, carbon, GFO, skimmer pads, and big water changes now; they can strip away the colonies you’re trying to build.
Dose Ammonia to 2 PPM
Dose pure ammonia or ammonium hydroxide to reach 2 ppm total ammonia nitrogen, giving the biofilter a steady food source for the fishless cycle. Use ammonia calibration with a liquid test kit, not strips, then adjust the dose to your tank volume. A practical guideline is 0.5 mL per gallon, but verify by testing and refine dosing frequency as needed.
| Target | Action | Purpose |
|---|---|---|
| 2 ppm | Add measured ammonia | Feed nitrifiers |
| 78°F | Hold temperature steady | Support bacteria |
| High aeration | Keep water oxygenated | Aid aerobic growth |
| No skimmer/carbon | Leave ammonia available | Prevent premature removal |
Keep lights off during this phase. Re-dose only after ammonia is consumed, so the system repeatedly sees a stable 2 ppm load.
Test Ammonia, Nitrite, and Nitrate
Once you’ve added ammonia, the cycle becomes a testing game: check ammonia, nitrite, and nitrate every day with liquid drop kits, since levels can change quickly and strips usually aren’t accurate enough. Keep your test frequency consistent and do daily logging with the date, time, and each reading. Around a week in, you’ll often see ammonia start falling, nitrite rise, and nitrate begin to appear as nitrifiers establish.
Test ammonia, nitrite, and nitrate daily; watch ammonia fall, nitrite rise, and nitrate appear as the cycle develops.
- Clear water sample in a test vial
- Yellow ammonia shifting toward green, then blue
- Orange nitrate reading climbing in a neat chart
Aim for about 2 ppm ammonia in a fishless cycle, then watch whether the tank can reduce it to 0 within 24 hours. That pattern tells you your biological filter is still developing and needs more time.
Tell When the Cycle Is Finished
You’ll know the cycle is finished when ammonia and nitrite both test at 0 ppm consistently, while nitrate is present and still rising; for reef tanks, that nitrate is commonly kept below 20 ppm. Use accurate liquid-drop tests, not strips, and confirm that a dosing target such as 2 ppm ammonia falls to 0 within 24 hours, with nitrite following the same pattern. Maintain daily zero readings for both compounds for 2–7 consecutive days before livestock introduction timing. A practical capacity check is to redose to your planned bioload and verify overnight clearance. Measurable nitrate accumulation confirms active nitrification; if nitrate stays absent, the cycle may not be complete. Record these results for long term maintenance and future stocking decisions.
Fix a Slow or Stalled Cycle
If ammonia or nitrite has stayed elevated for more than 2–3 weeks, the cycle is likely stalled and needs a bacterial boost: add seeded live rock, sand, or established filter media from a mature tank (at least 6 months old), placing it in strong flow near the overflow so nitrifying bacteria can repopulate oxygen-rich surfaces. Keep a fishless ammonia dose near 2 ppm and test daily; if it won’t fall to 0 within 24–48 hours, dose a commercial bacteria culture per label. Maintain 78°F, strong aeration, and avoid large water changes, carbon, GFO, or skimming during the stall.
Boost stalled cycles with seeded media in strong flow, keep ammonia near 2 ppm, and maintain aeration.
- A porous rock stack in fast current
- Gently stirred sand releasing trapped debris
- Clear water under steady oxygen enrichment and substrate aeration
Frequently Asked Questions
What Is the Fastest Way to Cycle a Saltwater Tank?
Use established live rock or seeded filter media, then dose bottled bacteria and ~2 ppm ammonia. Keep 78°F, strong flow, and test daily; you’ll often cycle in about a week.
How Long Should You Cycle a Saltwater Tank?
You should cycle your saltwater tank for 2–6 weeks, usually around 3; like waiting for bread to rise, you’re monitoring ammonia, nitrite, and nitrate. Follow your maintenance schedule, then verify livestock compatibility before adding animals.
Does a Saltwater Tank Need to Be Cycled?
Yes, you do need to cycle it before adding livestock; acclimation comes later. Cycling establishes nitrifying bacteria, while careful substrate maintenance preserves them. Test ammonia, nitrite, and nitrate until ammonia and nitrite stay at zero.
How Do You Know if a Saltwater Tank Is Cycled?
You know it’s cycled when your tests say ammonia’s 0, nitrite’s 0, and nitrate’s rising; water clarity can improve, but nitrate monitoring confirms it. If ammonia drops from 2 ppm in 24 hours, you’re ready.
Conclusion
By cycling your saltwater aquarium properly, you give beneficial bacteria time to convert toxic ammonia into nitrite and then nitrate, creating a stable environment for livestock. In many systems, nitrifying bacteria can establish in 2 to 6 weeks, but testing is the only reliable way to confirm progress. Keep monitoring ammonia, nitrite, and nitrate, and don’t rush the process. If you wait for zero ammonia and nitrite, you’ll start with a safer, more predictable tank.