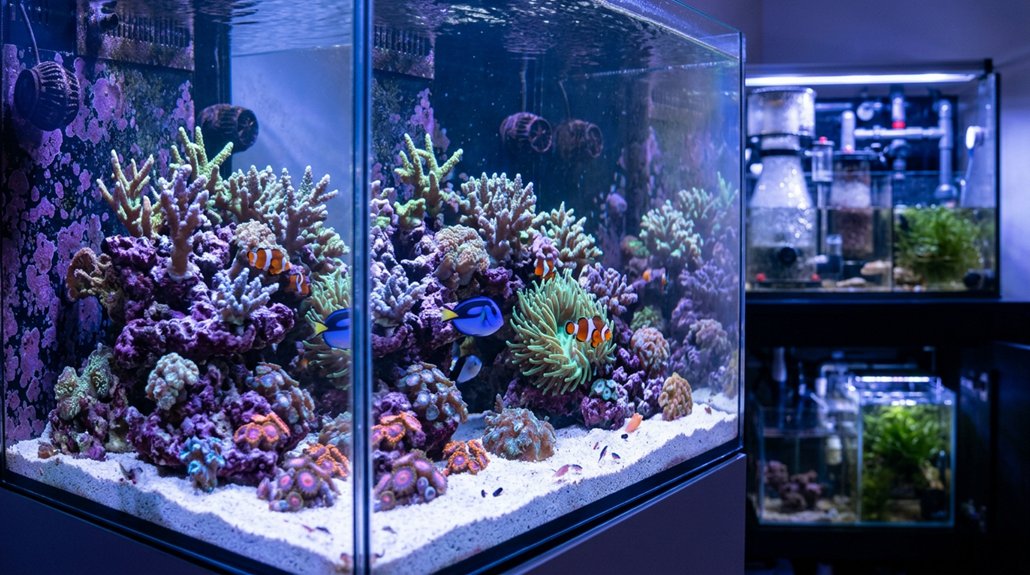
Before you start a saltwater tank, choose a stable size, usually 40–75 gallons, and make sure the stand and floor can handle the weight. You’ll need an RO/DI system, a refractometer, two heaters with a controller, and test kits for ammonia, nitrite, nitrate, alkalinity, and phosphate. Plan for a sump, strong random flow, and porous rock plus rinsed sand. Then cycle slowly, testing often, until ammonia and nitrite stay at zero, and you’ll see why each choice matters.
Key Takeaways
- Start with a 40–75 gallon tank for better stability, easier maintenance, and room for livestock.
- Verify stand and floor strength, since a filled 75-gallon setup can weigh 800–900 pounds.
- Buy essential equipment first: RO/DI water, refractometer, heaters with controller, test kits, and proper lighting.
- Plan flow, sump space, and aquascape with enough rock and sand for filtration, hiding places, and secure coral placement.
- Cycle the tank patiently, testing frequently, and add livestock only after ammonia and nitrite stay at zero.
Choose the Right Saltwater Tank Size
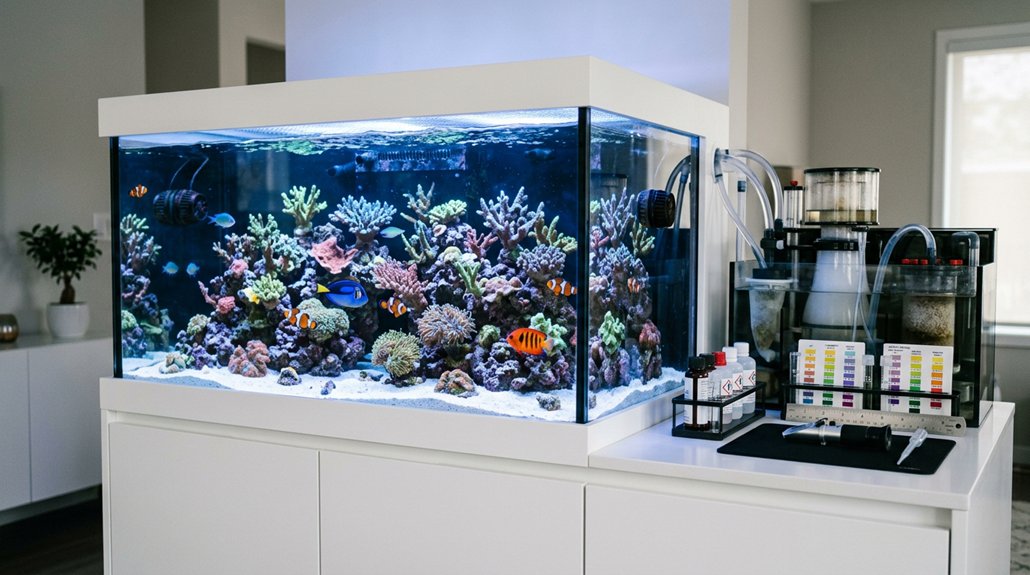
One of the biggest decisions you’ll make is tank size, because it directly affects stability, maintenance, and your chances of long-term success. You’ll usually do better starting with 40–75 gallons, since larger tanks buffer temperature, salinity, and chemistry swings more effectively than nanos. Very small systems under 20 gallons need frequent testing and water changes, and they’re less forgiving of mistakes. When planning tank placement, verify the stand and floor can handle the load; a filled 75-gallon setup can weigh 800–900 lb. Also match dimensions to your goals: taller tanks suit vertical rockwork, while longer, shallower tanks improve swimming space and access. Finally, size it to your budget, time, and livestock capacity, because bigger tanks cost more upfront but reduce long-term instability.
Pick Essential Saltwater Tank Equipment
Start by locking in the core equipment that makes saltwater stability possible, not just possible-looking hardware. First, buy an RO/DI unit so you’re mixing salt with purified water, not chlorine, chloramine, heavy metals, and organics. Next, choose a refractometer with tight refractometer accuracy; keep salinity at 1.025–1.026. Add two heaters plus an external controller for redundancy.
| Equipment | Purpose |
|---|---|
| RO/DI unit | Pure mixing water |
| Refractometer | Salinity control |
| Heaters + controller | Temperature stability |
| Test kits | Cycling and nutrient checks |
Then select controllable DC pumps or variable-speed wavemakers for total flow around 10–50× tank volume. Stock alkalinity, nitrate, phosphate, ammonia, and nitrite kits, and use a PAR meter to match lighting to your corals.
Plan Your Stand, Sump, and Flow
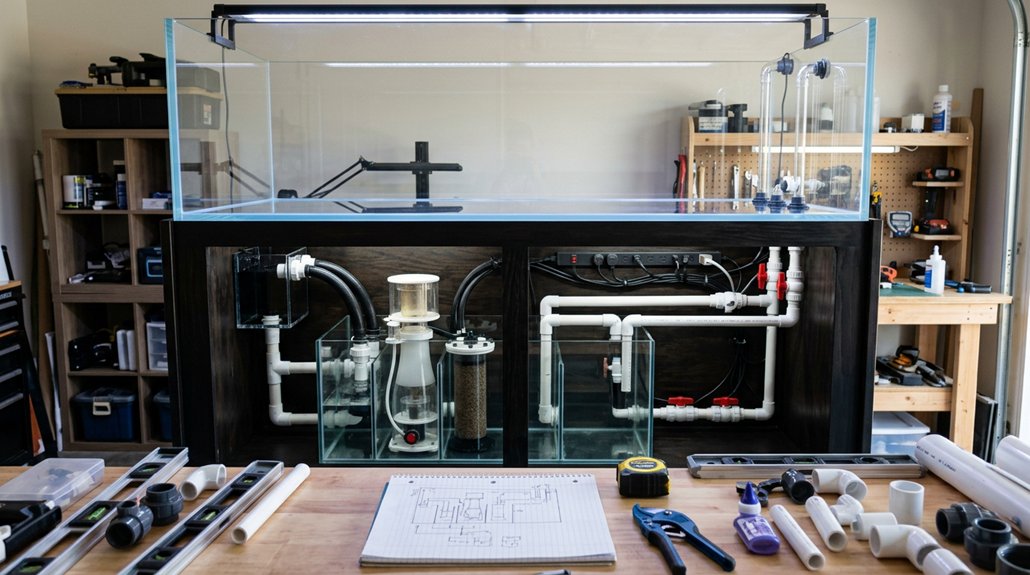
With the core gear selected, the next job is to build the support system that keeps it all running safely and consistently. Put the display tank over the sump, and verify stand strength and floor load first; a filled 75-gallon system can exceed 800 to 900 pounds. Size the sump at 10% to 20% of system volume, leaving room for skimmers, heaters, reserve saltwater, and refugium placement. Use a direct gravity overflow to a return pump rated near 10x turnover, then add controllable powerheads for 10x to 40x extra movement. Design baffles, filter socks, and skimmer clearance for easy service, and keep electronics above splash zones. Aim flow to eliminate dead spots while preserving varied, randomized circulation.
Choose Rock and Sand for Your Reef Tank
Choose rock and sand to build both the biology and the structure of your reef system: aim for about 1 lb of highly porous live rock per gallon, or 1 to 1.5 lb/gal if you want a heavier aquascape with more caves, ledges, and coral attachment points. Prioritize porosity benefits, since open rock internal space gives you more surface area for filtration and secure mounting points. If you use sand, size it at 8 lbs per square foot per inch of depth, with 0.5 to 4 inches typical. Match grain selection to your livestock: fine sand suits burrowers and sensitive invertebrates, while coarse sand holds more detritus. You can start with dry rock and sand to avoid hitchhikers, or cure live rock in flow until it doesn’t smell rotten. Rinse materials in saltwater before placing them.
What Happens During Cycling and Startup?
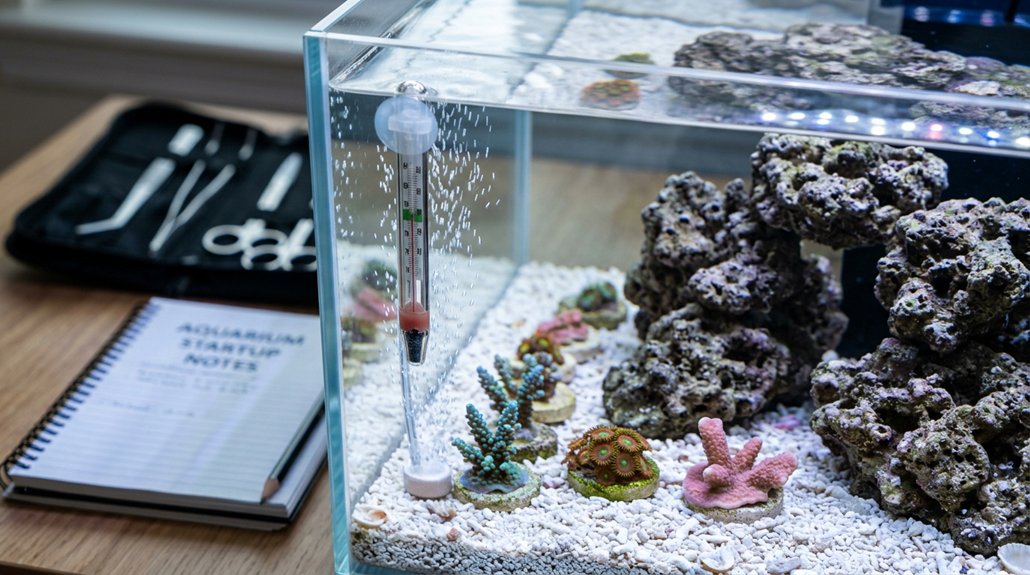
Cycling establishes the beneficial nitrifying bacteria that turn toxic ammonia from fish waste, decaying food, and curing live rock into nitrite and then into the less harmful nitrate, and this process usually takes a few days to several weeks. You’ll see the ammonia timeline start with an ammonia rise, then a nitrite peak, then both dropping near zero. Test at least twice weekly, or daily during active spikes, to track bacterial succession accurately. Live rock and live sand can seed bacteria and often shorten startup, while bottled starters may help but don’t replace monitoring. Keep temperature stable, salinity matched with RO/DI water, and circulation strong so bacteria colonize the sump, rock, and substrate. Use partial water changes and mechanical filtration to control organics, and don’t add a full bioload until ammonia and nitrite stay zero for several days.
Frequently Asked Questions
What Is the First Thing to Put in a Saltwater Tank?
You should put in substrate first, then arrange live rock before adding water; that stable base prevents shifting. Keep a quarantine tank ready for livestock later, and don’t add fish until cycling’s complete.
How Soon Can I Put Fish in a New Saltwater Tank?
Not until your cycling process is complete: you’ll want ammonia and nitrite at 0 ppm, with low nitrate for several days. Then add fish slowly, following quarantine protocols and drip acclimation.
Is It Hard to Keep up a Saltwater Tank?
Yes, it can be, but you can manage it with routine testing, water changes, and equipment upkeep. You’ll need a time commitment for daily checks, weekly maintenance, and careful monitoring, especially early on.
What Do You Need for a Beginner Saltwater Tank?
You’ll need a tank, stand, heater, return pump, powerhead, reef light, RO/DI water, live rock, protein skimmer, refractometer, and test kits. Saltwater’s “simple” charm demands weekly water changes, stable salinity, and patience.
Conclusion
Starting a saltwater tank takes planning, but the payoff is worth it. You’ve got to match tank size, equipment, rock, sand, and flow before adding fish or coral. As the adage goes, “measure twice, cut once,” and that applies here too. If you cycle the system properly and verify stable salinity, temperature, and nutrients, you’ll avoid most early setbacks. Take it step by step, and your reef will have a much stronger start.