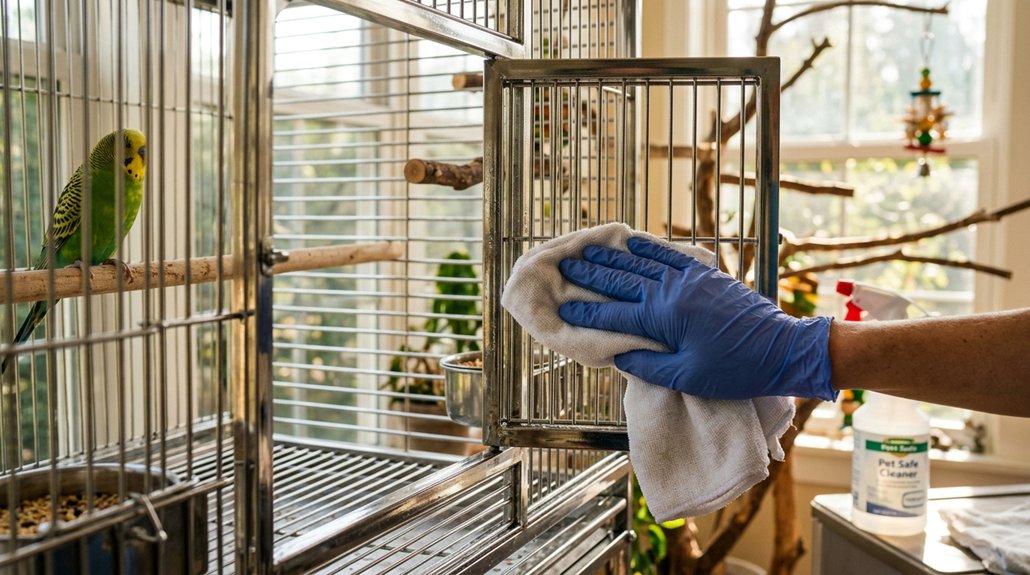
To clean a bird cage the right way, you remove your bird first and keep it in a safe carrier or room. Use bird-safe cleaner or diluted white vinegar, hot soapy water, and non-abrasive tools to wash the cage, dishes, and toys. Scrub dried droppings, rinse well, and dry every part completely. Reassemble only when surfaces are residue-free, odor-free, and ventilated, then return your bird. Keep going, and you’ll learn the full routine.
Key Takeaways
- Remove the bird to a safe carrier or room before cleaning; never clean the cage with the bird nearby.
- Replace paper liners daily and wash food and water dishes with hot, soapy water every day.
- For deep cleaning, remove accessories, soak, scrub with bird-safe cleaner, and rinse thoroughly.
- Dry everything completely in good ventilation before reassembling to prevent mold, odors, and residue.
- Avoid toxic cleaners, scented products, and unsafe bedding; inspect hardware, perches, and toys for damage.
How to Deep Clean Your Bird Cage
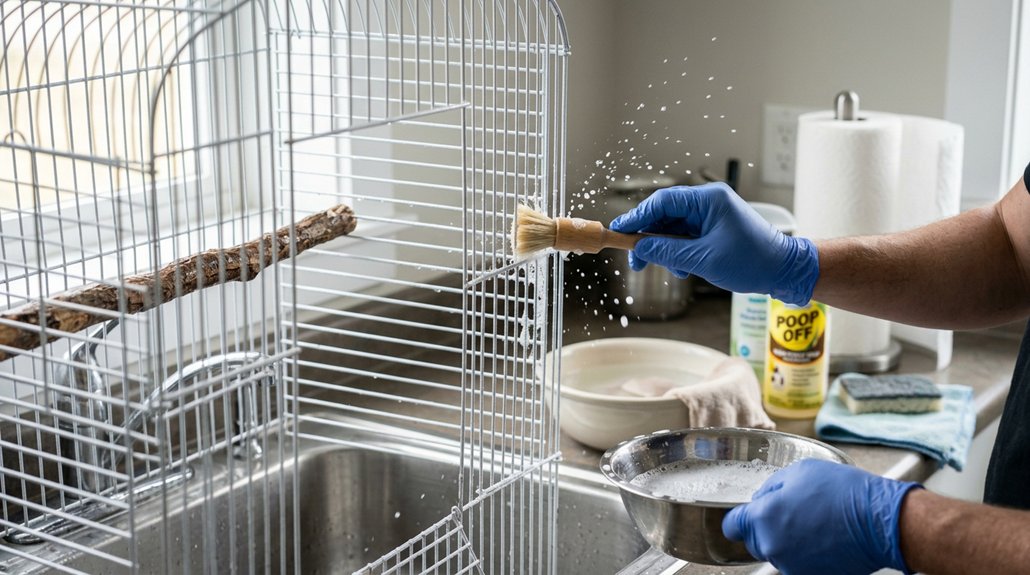
To deep clean your bird cage, first remove your bird and all accessories, including bowls, perches, toys, the grate, and the tray, and soak the removable items in hot water mixed with 1/4 cup Simple Green per 2 cups water, or mild soapy water, to loosen grime. Rinse the cage with a detachable showerhead or garden hose, then spray it with 1 ounce Simple Green per 2 cups water or a bird-safe disinfectant. Let it remain wet for the labeled contact time, then scrub with a non-abrasive brush and a toothbrush for corners. Rinse thoroughly, drain well, and remove all residue from food-contact items. Towel- or air-dry completely before reassembly. Inspect perches and toys, replace damaged items, and maintain avian enrichment and ventilation maintenance when you return clean accessories and your bird.
What You Need to Clean a Bird Cage
Before you start, gather a small bird-only cleaning kit and keep it near the cage: bird-safe disinfectant or white vinegar, a spray bottle, high-quality dish soap, a non-abrasive scrub brush and toothbrush, disposable liners or newspaper, a soak tub or bucket for dishes and toys, a small shop vacuum or hand broom for debris, quick-dry towels, and a scraper for stuck-on droppings. Use only labeled, bird-safe supplies to prevent cross-contamination and keep your cleaning schedule efficient. Add replacements and temporary holding options to your safety checklist.
| Item | Purpose | Note |
|---|---|---|
| Liners | Catch waste | Replace daily |
| Brush | Scrub surfaces | Non-abrasive only |
| Towels | Dry cage parts | Clean, quick-dry |
| Carrier | Temporary housing | Ready before cleaning |
Keep gloves and ventilation ready if using stronger disinfectants.
How to Clean Bird Cage Accessories and Toys
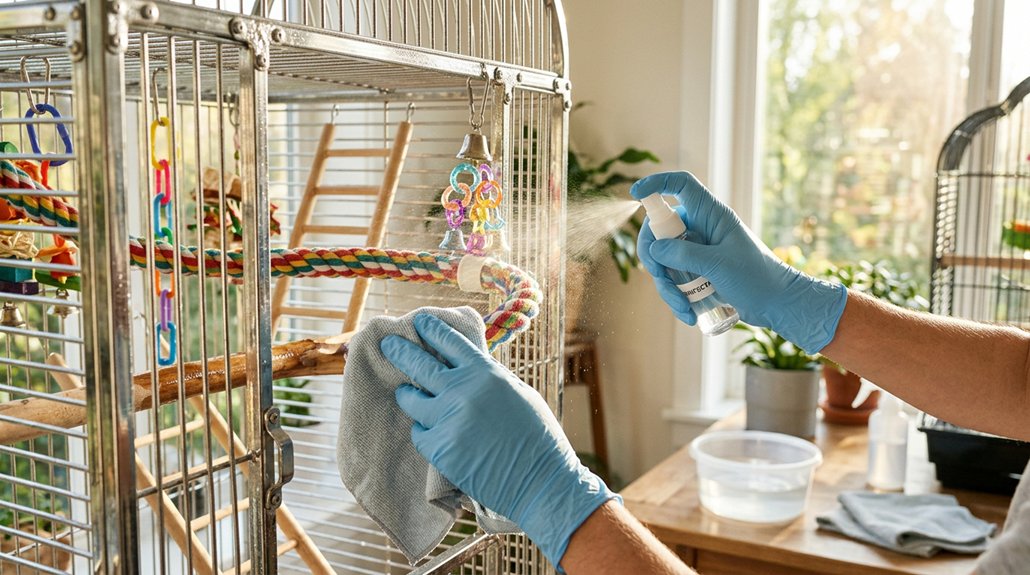
Start by removing all accessories and toys from the cage, then clean them according to their material so you don’t spread bacteria back into the enclosure. For non porous plastic, metal, and ceramic items, soak them about 10 minutes in 1/4 cup Simple Green per 2 cups hot water, or use a 1:2 vinegar and water mix for gentler sanitation. Scrub, rinse thoroughly, and air-dry completely. Wash wooden perches and porous non toxic toys with hot soapy water; spot-sand dried debris if needed, then replace natural wood every 6–12 months. Launder fabric and soft rope toys in hot water with mild detergent, inspect daily for fraying, and discard damaged items. Use rotational hygiene weekly, and replace heavily worn rope toys every 2–6 months.
How to Remove Dried Droppings and Odors
When dried droppings or urine crusts build up, mist the affected areas with a 1:1 to 1:2 white vinegar-and-water solution, or diluted Simple Green at 1 oz per 2 cups water, and let it sit for 1–2 minutes to soften the debris. Use a non-abrasive brush, then toothbrush detailing for seams. This vinegar soak loosens residue.
| Surface | Action |
|---|---|
| Bars | Scrub gently |
| Corners | Detail with toothbrush |
| Tray | Rinse thoroughly |
| Perches | Sand or replace |
| Cage | Air-dry completely |
For odor control, replace liners daily and wash dishes in hot soapy water. Clean the tray and grate weekly or as needed. Rinse all surfaces, avoid strong-smelling disinfectants, and ventilate well before returning birds.
How Often to Clean a Bird Cage
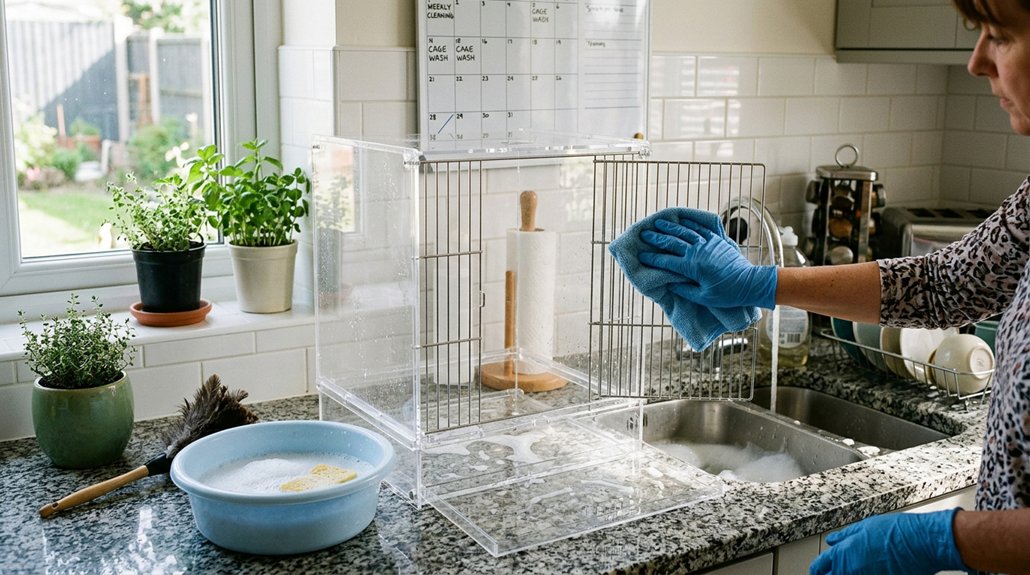
Daily maintenance keeps a bird cage sanitary and makes it easier to catch health changes early. You should change disposable paper liners every day to remove droppings, discarded food, and seed hulls; this also supports daily monitoring of stool quality and odor. Wash food and water dishes with hot, soapy water daily, and spot-clean heavily soiled areas as needed. Once a week, remove the tray and grate, apply a diluted cleaner, scrub, rinse, and replace the liner. Perform a deep seasonal overhaul at least monthly, or quarterly for low-use cages: soak toys and perches, scrub bars and tray, disinfect, rinse thoroughly, and air-dry completely before reassembly. Clean porous items more often and replace them every 2–12 months.
Bird Cage Cleaning Mistakes to Avoid
You shouldn’t use sandpaper liners, wood shavings, or other particulate bedding, because they can hide droppings, be ingested, and interfere with stool monitoring. You also shouldn’t clean the cage while your bird is still in the room; remove your bird first, then allow full contact time, rinsing, and ventilation before reentry. Avoid strong-smelling or aerosol cleaners such as bleach fumes, ammonia, and pine oils, since your bird’s respiratory system is highly sensitive to toxic vapors.
Using Unsafe Liners
Unsafe cage liners can create more hygiene and health problems than they solve, so it’s important to avoid sandpaper liners, wood chips, shavings, clay, cat litter, corncob bedding, shredded particulate bedding, and sand or grit trays marketed as “natural.” These materials can hide feces, retain moisture, and promote fungal growth, while sandpaper products may also be ingested and cause gastrointestinal obstruction. You should also avoid scented papers, oil-infused liners, and non-food-grade prints, because fumes and toxic inks can irritate your bird’s respiratory tract. Don’t rely on reusable cloth or porous liners for primary waste capture; they harbor bacteria and can’t be disinfected fully. Use plain newsprint or paper towels instead, change them daily, and monitor droppings closely for early signs of illness or dietary change.
Skipping Bird Removal
Never clean a bird cage with the bird still inside, because disinfectants, vinegar sprays, aerosolized cleaners, hot water, and steam can produce fumes, noise, and sudden temperature changes that may trigger severe respiratory distress, panic, or escape. You need supervised relocation before you scrub, rinse, or rearrange anything. Use a travel carrier or a separate safe room; don’t rely on an adjacent room alone.
- Fumes can injure the lungs.
- Loud cleaning can provoke stress.
- Falling debris can cause trauma.
- Unsuspected particles can contaminate feathers.
- Stressful escapes happen fast.
Even a quick spot-clean isn’t safe if the bird stays nearby. Loose perches and toys can strike, entangle, or startle it. Proper supervised relocation prevents injury, contamination, and avoidable panic.
Overusing Harsh Cleaners
Harsh cleaners can do more harm than good when they’re used too aggressively or not rinsed properly. You shouldn’t use bleach, broad disinfectants, or concentrated vinegar without correct dilution and complete rinsing, because chemical exposure and residue buildup can irritate your bird’s respiratory tract. Bleach at 1 cup per gallon still needs thorough rinsing. Avoid fragranced sprays and essential-oil products; many essential oils are toxic, even in small amounts. Don’t spray and leave disinfectants that require 10–15 minutes of contact time, or you’ll reintroduce your bird too soon. On porous perches and toys, harsh solvents can soak in and leave contamination behind. Use bird-safe cleaners, follow label directions exactly, and replace porous items every 6–12 months when cleaning isn’t enough.
How to Reassemble a Bird Cage Safely
Before reassembly, you must make certain the cage, all accessories, and your hands are completely dry to reduce the risk of mold and rust. Next, install a fresh liner, secure the grate, and replace perches, toys, and dishes in a layout that keeps food and water away from soiled areas. Tighten all fittings to manufacturer specifications, and don’t return your birds until surfaces are residue-free, odor-free, and fully ventilated.
Dry All Parts Completely
Once the cage has been washed and disinfected, dry every component completely before reassembly. Use quick-dry towels first, then apply air dry techniques in a well-ventilated area or indirect sunlight. With humidity monitoring, you’ll reduce mold risk and speed safe drying.
- Tray
- Grate
- Perches
- Toys and bowls
- Bars and hardware
Reassemble only when metal shows no water beads and wood feels dry to the touch, not darkened. Trapped moisture can foster fungal growth and wood rot. Inspect clips, screws, welds, and attachment points for corrosion or looseness; tighten or replace any compromised hardware. Before returning birds, confirm the cage is dry, odor-free, and ventilated for several minutes. That final check protects them from residual fumes and hidden dampness.
Replace Items In Order
When every part is fully dry, reassemble the cage in a set order to reduce contamination and guarantee each component is secure. First, you should install cleaned, inspected perches, then adjust perch placement so natural wood perches differ from the prior layout and sit far enough apart to keep droppings out of food bowls. Next, reattach food and water dishes only after confirming they’ve been rinsed free of disinfectant and fully air-dried. After that, add toys and non-porous accessories, using accessory rotation to replace frayed or damaged items and to limit repetitive wear. Secure each attachment tightly and keep items clear of dishes. Finish with a fresh paper liner in the tray, slide it into place, and return your bird only after a final visual check that no fastenings are loose or residues remain.
Frequently Asked Questions
Can You Use Dawn Dish Soap to Clean Bird Cages?
Yes, you can use Dawn dish soap on cage surfaces if you choose feather safe ingredients, use mild non toxic degreasers, and apply quick rinse methods; you’ll need thorough rinsing to remove all residue.
Can Birds Get Sick From Dirty Cages?
Yes—dirty cages can make your birds sick; that grim film of waste isn’t decoration. Poor avian hygiene permits pathogenic buildup, fostering bacteria, fungi, and ammonia exposure that can trigger respiratory, gastrointestinal, and systemic disease.
How Often Should a Bird’s Cage Be Cleaned?
You should clean it daily, with weekly spot-cleaning, monthly deep scrubbing, and a full deep clean every 1–3 months, depending on mess level; you’ll also benefit from cage rotation to reduce buildup.
Can I Use Clorox Wipes to Clean My Bird Cage?
No, you shouldn’t use Clorox wipes on your bird cage with birds present. You’ll need surface safety and a bleach alternative; they can’t be rinsed from porous parts, and fumes can harm birds.
Conclusion
When you finish, your bird’s cage should look crisp, smell clean, and feel safe—like a bright, well-kept nest after a fresh rain. By scrubbing surfaces, washing accessories, and reassembling everything carefully, you give your bird a healthier space and yourself fewer problems later. Keep up with regular cleaning, and you’ll stop odors, buildup, and bacteria before they take hold. A clean cage isn’t just neat; it’s essential care your bird can rely on.