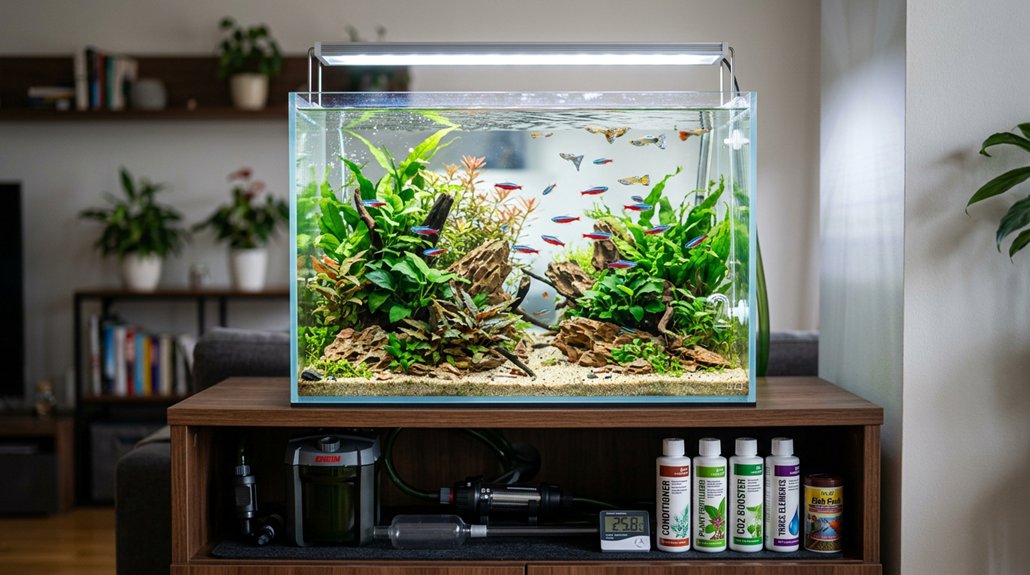
You need a properly sized tank, a sturdy level stand, and a lid or hood with lighting to prevent jumps and reduce evaporation. Add a filter rated for 3–5 tank turnovers per hour, a heater matched to the tank’s size, and an in-tank thermometer. Use substrate and safe decor, plus water conditioner, test kits, a siphon, bucket, algae scraper, and net. With the right gear, you’ll set up a stable aquarium and learn how each piece works.
Key Takeaways
- Choose a tank and stand rated for the filled weight, placed on a level, waterproof surface.
- Install a filter sized for 3–5 times tank turnover per hour with mechanical, biological, and chemical media.
- Use an adjustable heater and thermometer to keep tropical fish near 74–80°F.
- Add a secure lid, proper lighting, and safe decor with smooth substrate, rocks, wood, and hiding places.
- Keep water conditioner, test kits, siphon, bucket, and cleaning tools for conditioning and maintenance.
What You Need for a Fish Tank Setup
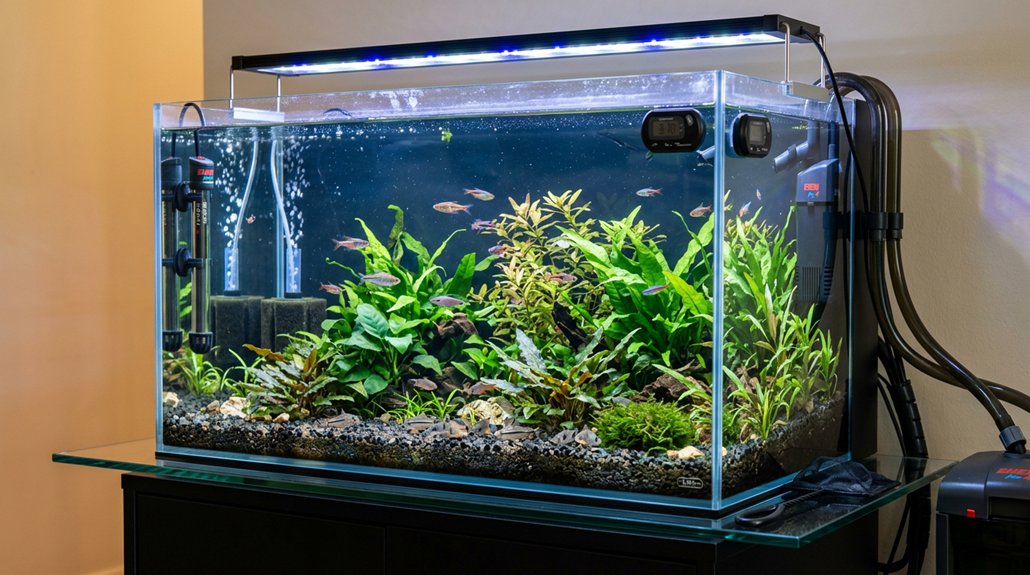
To set up a fish tank properly, you’ll need a properly sized aquarium—typically 20 to 55 gallons for stable water conditions—placed on a sturdy, level stand that can support about 10 pounds per gallon when full. Next, choose filtration that turns the tank volume over 3–5 times per hour and includes mechanical, chemical, and biological media; this supports aquarium cycling and keeps ammonia in check. Add an adjustable heater rated around 3–5 watts per gallon, plus an in-tank thermometer, to hold tropical water near 74–77°F. Use lighting matched to your setup and a fitted lid to limit evaporation and jumping. Keep dechlorinator, a siphon, a clean bucket, and test kits on hand to manage stocking limits and weekly water changes.
Choose the Right Tank and Stand
When you’re choosing a tank and stand, start with a size that fits both your space and your livestock goals: 20–30 gallon aquariums work well for smaller rooms, while 55 gallons or larger gives you more water stability but demands more floor space and stronger support. Prioritize tank placement on a hard, flat, waterproof surface near power and water access, then verify stand leveling before adding substrate or water. Choose a shorter, longer tank when possible for better swimming room and gas exchange.
| Option | Use |
|---|---|
| Glass tank | Scratch-resistant, economical |
| Acrylic tank | Lighter, shatter-resistant |
| Rated stand | Supports filled weight |
| Flat floor | Prevents stress and wobble |
Acrylic needs full-bottom support, so avoid uneven stands. Check the stand’s load rating at roughly 10 pounds per gallon, plus equipment.
Pick a Lid, Hood, and Light
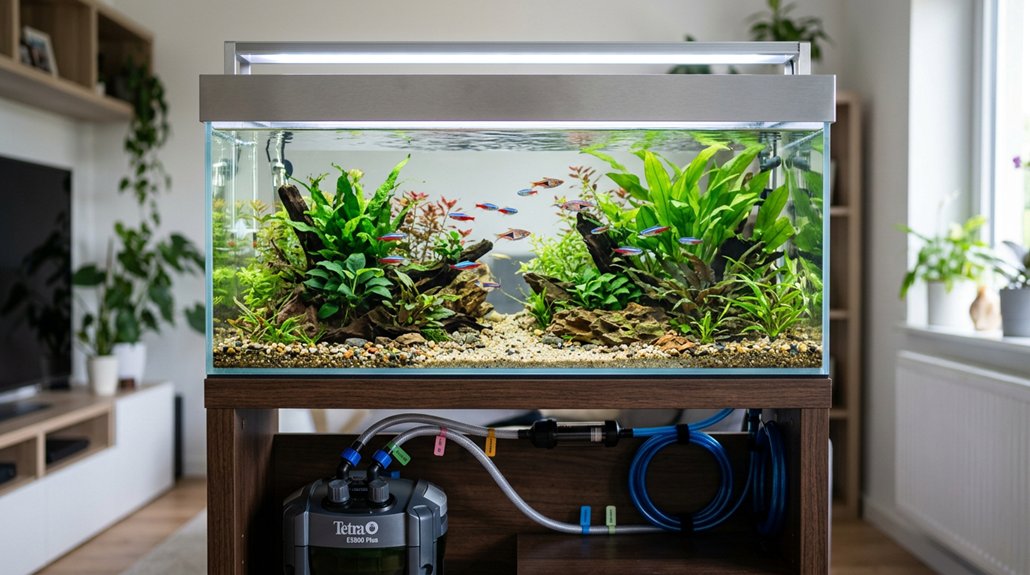
You’ll want a lid or hood that blocks jumping, cuts evaporation and heat loss, and still leaves room for tubing, filter intakes, and cords; make sure it sits securely on the tank rim or full-top support without gaps. Glass lids fit tighter and stay cleaner, while plastic hoods are lighter and more impact-resistant, and many hoods come with built-in fluorescent or LED lighting. If you buy the light separately, check that bulbs are included, that the fixture matches the hood and tank length, and that LED is efficient for most setups while higher-output lighting may be needed for planted tanks.
Lid and Hood Options
A good lid or hood helps lock in your tank’s environment by preventing fish from jumping, cutting evaporation, and reducing heat loss. You can buy a separate glass lid or a plastic hood with built-in lighting.
| Option | Pros | Cons |
|---|---|---|
| Glass lid | Clean look, tight fit | Heavier, fragile |
| Plastic hood | Light, often includes light | Less modular |
| Acrylic lid | Lightweight, durable | Can warp |
| LED fixture | Low heat, efficient | Needs mounting |
| Fluorescent | Proven, bright | More heat |
Choose ventilation cutouts for cords and tubing, and use childproof latches if the tank’s in a shared space. LEDs are usually best when the lid sits close to the water because they use less electricity and add minimal heat. If you use acrylic, keep full support under the tank and avoid contact with bulbs or heaters.
Glass Versus Plastic
If you’re deciding between a glass lid and a plastic hood, the main tradeoff is seal quality versus weight and built-in convenience. Glass lids sit flatter, look cleaner, and seal better, so you lose less evaporation and heat; they’re also harder to scratch, especially with scratch resistant coatings. Plastic hoods are lighter, tougher against impact, and often include a built-in light, but they can be bulkier and need full support to avoid warping. If you use acrylic, leave openings for heaters, filters, and tubing, and keep ventilation clear. Many hoods use LEDs, which are efficient and low-heat. Glass lids are usually sold separately, letting you pick a dedicated fixture and add sound dampening pads if the cover rattles.
Choose Efficient Lighting
Choose a lid, hood, and light as a matched system so the setup fits your tank, reduces maintenance, and delivers the right output for your livestock. Pick a glass lid if you need a tight seal and custom cord cutouts, or a plastic hood if you want lighter weight and integrated lighting. For beginner freshwater tanks, fluorescent fixtures are economical and cool, but energy efficient LEDs usually draw less power, run cooler, and last longer. Match intensity to use: fish-only tanks need about 1–2 W/gallon equivalent, while planted tanks need stronger output and spectral tuning for plants. Verify aquarium rating, coverage across tank length, and whether bulbs are included. Use a timer to keep consistent photoperiods and limit algae growth.
Select the Best Filter
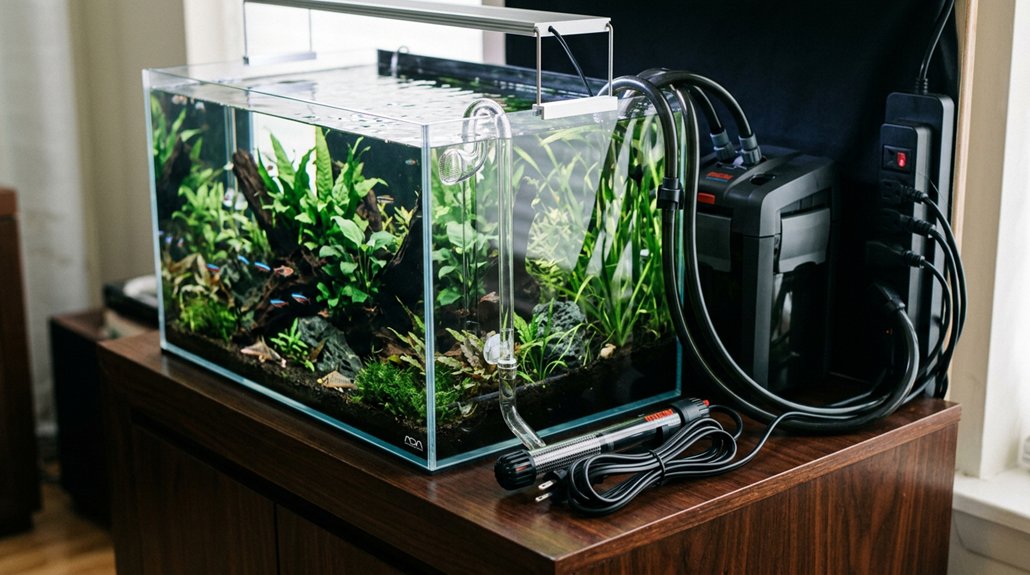
You’ll want to choose a filter that matches your tank’s volume and provides mechanical, biological, and optional chemical filtration, since it’s the main system that removes debris and supports nitrifying bacteria. Aim for a turnover rate of at least 3–5 times per hour—so a 20-gallon tank needs roughly 60–100 GPH—and pick the type that fits your setup, such as a hang-on-back for ease, a canister for larger tanks, or a sponge filter for gentle flow. Keep maintenance simple by using model-rated media, rinsing biological media in tank water, and cleaning or replacing pads on schedule so filtration stays efficient.
Filter Types
The filter is the aquarium’s workhorse, and it should be rated to turn the full tank volume over at least 3–5 times per hour; for example, a 20-gallon tank needs roughly 60–100 GPH. For most beginners, a hang-on-back power filter is the easiest pick: it packs mechanical, chemical, and biological media, and many models include a bio-wheel for biofilm cultivation. If you want stronger particulate removal and more media capacity, a canister filter’s worth the added cost and maintenance on larger, heavily stocked tanks. Sponge filters are simple, dependable, and ideal when you need gentle flow, such as in breeding or quarantine tanks, while also supporting noise reduction. Choose the best unit you can afford, and for tanks over 40 gallons, consider redundancy with dual filters for reliability.
Flow Rate
A filter’s flow rate should turn the tank volume over at least 3–5 times per hour, so a 20-gallon aquarium needs roughly 60–100 GPH at the tank. For pump sizing, use flow measurement from the manufacturer as a starting point, then add margin for media, tubing, and tank layout that reduce output. A hang-on power filter with a bio-wheel often gives you balanced mechanical, chemical, and biological filtration for small-to-medium setups. If your calculation lands borderline, choose the higher GPH, but don’t overpower fish that need gentle water.
- A clear stream sweeping across gravel
- A filter box pulsing beneath the rim
- Two jets meeting in a 40-gallon tank
For tanks over 40 gallons, a canister or dual-filter setup usually improves circulation and redundancy.
Easy Maintenance
Once you’ve sized the flow correctly, the next step is choosing a filter that’s easy to live with long term. For most beginners, the best affordable choice is a hang-on power filter with a bio-wheel; for bigger aquariums, a canister filter gives stronger capacity. In small tanks or betta setups, a sponge filter is low effort, time saving, and gentle, with built-in biological filtration. Whatever you pick, make sure it turns the tank over 3–5 times per hour and includes mechanical, chemical, and biological media. That three-stage design keeps water clearer and reduces problems, but it isn’t maintenance-free. You’ll still need regular media rinsing, water changes, and minimal supplies for weekend upkeep. Match filter size to your stocking level so you get reliable performance without overcomplicating your routine.
Size the Heater and Thermometer
Dial in heater size by matching output to tank volume: use roughly 3–5 watts per gallon, leaning toward about 5 W/gal for small tanks and about 3 W/gal for larger ones, so a 20-gallon aquarium typically needs a 60–100 W heater. For tanks over 40 gallons, split heat with two smaller heaters at opposite ends. Choose a submersible model with a clear temperature dial, and size up if your room runs cool. Keep the target near 74–80°F for most tropical fish. For reliable readings, use an in-tank thermometer, not just a stick-on strip, and check thermometer calibration regularly.
Match heater watts to tank size; use two heaters for larger aquariums and verify with an in-tank thermometer.
- Heater placement near the filter outflow
- A digital probe reading steady water temperature
- Two heaters warming a long tank evenly
Add Substrate and Decor
With the heater and thermometer set, you can build the tank’s base layer and aquascape. Rinse gravel or sand in a bucket until the water runs clear; that keeps clouding down. Aim for about 1 pound per gallon for a 1-inch bed, or 2 lb/gal for 2 inches.
| Material | Use |
|---|---|
| Smooth gravel | surface area for substrate probiotics |
| Aquarium sand | natural look, less visible debris |
| Driftwood/rock | structure and cover |
Spread substrate 1–2 inches deep, slightly higher in back for depth. For planted tanks, use deeper zones and plant anchors. Rinse decor, boil or soak porous wood if needed, then test rocks and wood in fresh water. Choose caves and hiding places with large openings, but leave open swim lanes and avoid sharp edges.
Condition Water and Test It
Now treat the filled tank with a water conditioner before any fish go in, because tap water often contains chlorine, chloramine, and heavy metals that can damage gills and beneficial bacteria. Dose water conditioners exactly for the gallons you’ve added, then mix thoroughly. During cycling, use test kits daily or every few days to check ammonia, nitrite, and pH; ammonia and nitrite should stay at 0 before you stock normally.
- A clear vial against a white card.
- A strip changing color in seconds.
- A stable reading beside a calm tank.
After cycling, test weekly for ammonia, nitrite, and nitrate, aiming for nitrate as low as practical. Store test kits per instructions, and if readings spike, do a partial water change and recondition the new water instead of relying on quick-fix chemicals.
Gather Cleaning Tools for Maintenance
Once the water is conditioned and the cycle is stable, set up a dedicated maintenance kit so you’re not improvising later. Keep a brand-new bucket labeled “For Aquarium Use Only” for water changes and mixing treated tap water; never let soap residue near it. Add an aquarium siphon/gravel vacuum for weekly 25% changes and substrate debris removal. Store an algae scraper or magnet cleaner for glass film; magnets speed maintenance and reduce hand immersion. Reserve two soft brushes or sponges for decor and rocks, and never use household cleaners. Keep a spare fishnet plus dedicated measuring and dispensing tools for conditioner and test kits. This separation supports biofilm prevention, reduces contamination risk, and makes sanitizer rotation easier because each tool stays aquarium-only, clean, and organized.
Frequently Asked Questions
What Do I Need for a Fish Tank Setup?
You’ll need a tank, stand, filter, heater, thermometer, lid, light, substrate, conditioner, siphon, bucket, and water testing kit. Choose proper aquarium placement, then cycle the tank before adding fish, plants, and décor.
What Mistakes Do Beginner Fish Owners Make?
You’ll often make mistakes like overstocking tank too soon, skipping cycling, and using improper filtration. You’ll also neglect dechlorinating water, testing ammonia and nitrite, or choosing a heater and stand that aren’t properly sized.
How Long Should a Fish Tank Be Set up Before You Put Fish in It?
You’ll love the “quick setup” myth—your fish won’t. Let the tank cycle 1–2 weeks, with water conditioning and testing; add fish only when ammonia and nitrite hit zero and pH’s stable.
What Are the Basic Equipment for Aquarium?
You’ll need a filter, heater, thermometer, lighting options, substrate, decor, siphon, bucket, dechlorinator, and test kits. Choose filter types that cycle the tank 3–5x hourly, and match equipment to your fish’s needs.
Conclusion
With the right equipment, you set your tank up for long-term success. A properly sized tank, reliable filter, heater, light, substrate, and water test kit help you create a stable environment before you add fish. Since many aquarium failures happen in the first few weeks, careful setup matters. You’ll also need basic cleaning tools to keep water quality consistent. If you test, maintain, and adjust regularly, you’ll give your fish a healthier, safer home.