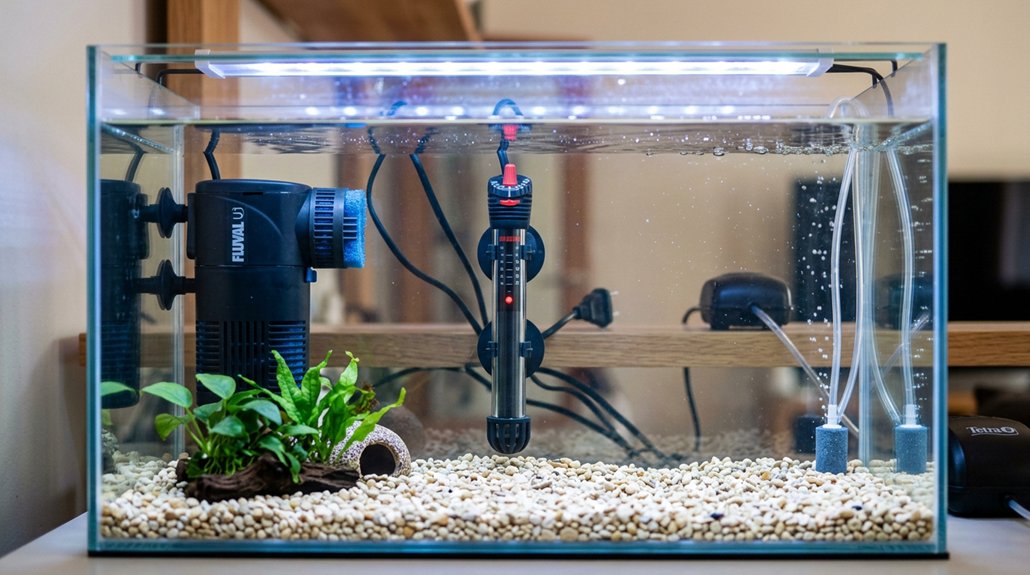
Start with a tank and stand that can handle the load; a 55-gallon setup can weigh about 550 pounds, so choose a sturdy stand and keep it away from sun and vents. Use a reliable heater rated around 3–5 watts per gallon, plus a tight-fitting lid. Pick a hang-on-back or sponge filter that turns the tank over 3–5 times per hour, then add proper lighting, rinsed substrate, and safe decor. More setup details can help you avoid costly mistakes.
Key Takeaways
- Choose a 20–55 gallon tank, preferably 55 gallons, and ensure the stand can support the full filled weight.
- Use a properly sized heater, ideally redundant in larger tanks, plus a tight-fitting lid to maintain temperature and prevent escapes.
- Select filtration that turns the tank over 3–5 times per hour, with easy-to-clean media and gentle flow for beginners.
- Pick lighting, substrate, and decor based on livestock needs, while leaving open swimming space and pre-soaking driftwood.
- Dechlorinate, match water temperature, and cycle the aquarium for 3–6 weeks before adding fish gradually.
Choose the Right Tank and Stand
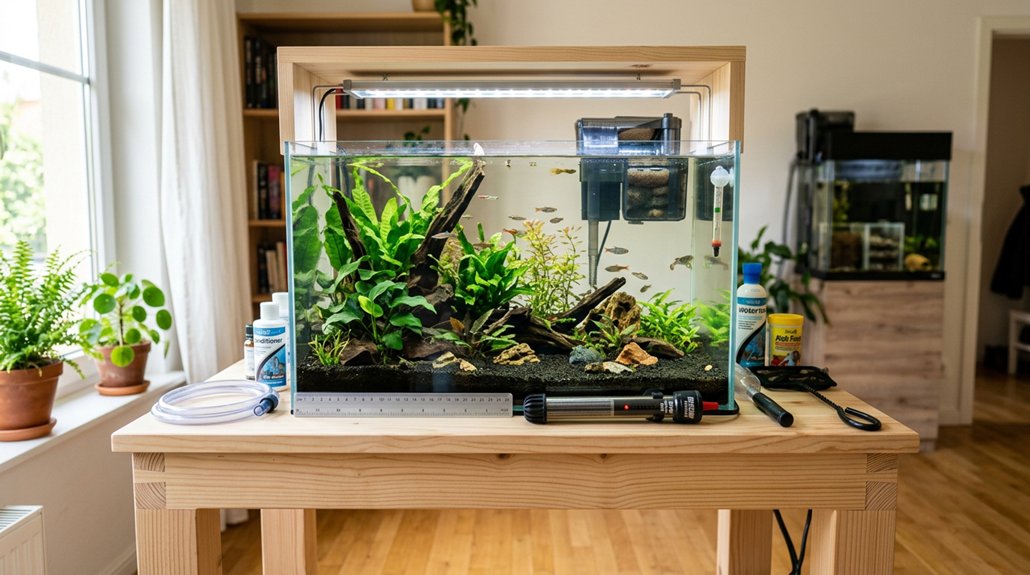
When choosing your tank and stand, start with a size that balances stability and available space; for most beginners, 20–55 gallons is a strong range, with 55 gallons preferred if you can accommodate it because larger volumes dilute toxins and are far more forgiving than small tanks. For tank placement, use a purpose-built aquarium stand or another level surface rated for about 10 lb per gallon, and verify stand strength before filling. A filled 55-gallon setup weighs roughly 550 lb, so the load must be carried by all four corners on rimmed glass tanks; acrylic needs full-bottom support. Keep the site away from direct sun, HVAC vents, and exterior doors, and choose a spot near water and drainage.
Pick a Simple Heater and Lid
Once your tank is in place, choose an adjustable submersible heater rated at about 3–5 watts per gallon, and scale up with redundancy in larger setups—for example, two 100 W heaters are better than one 200 W unit in tanks over about 40 gallons. Mount it mid-depth near the filter outflow, secure the suction cups, and verify readings with an in-tank thermometer. A simple glass lid helps retain heat, blocks jumpers, and limits evaporation. Prefer a tight-fitting glass lid for durability; a hinged plastic hood is acceptable if it includes removable sections for feeding and cord routing.
| Item | Recommendation | Why |
|---|---|---|
| Heater type | Adjustable heater | Precise temperature control |
| Large tanks | Two smaller units | Redundancy if one fails |
| Placement | Near outflow | Even heat distribution |
| Lid | Glass lid | Tight fit, durability |
| Function | Cover tank | Reduce loss and escapes |
Set Up Basic Filtration
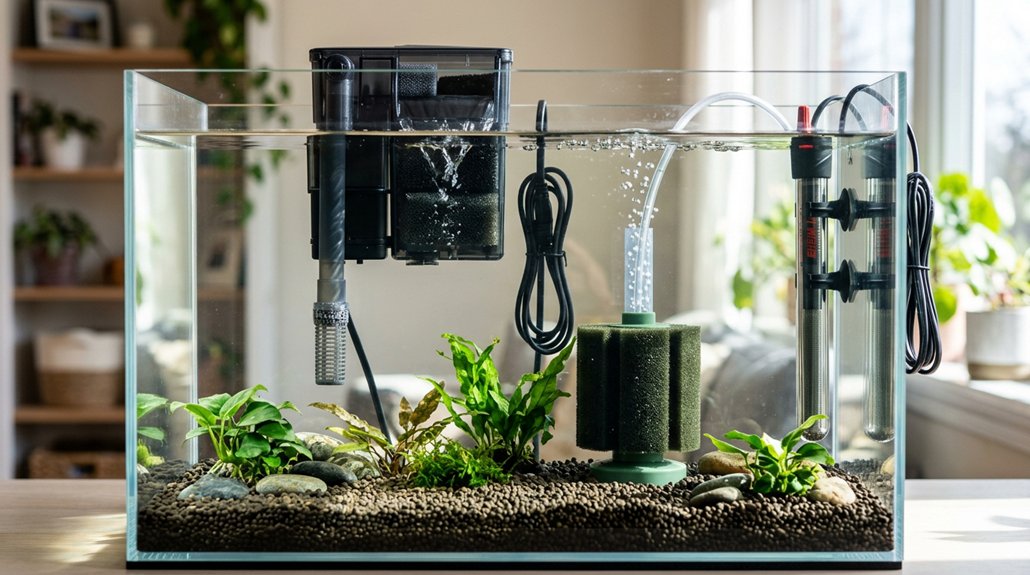
For reliable water quality, choose a filter that turns over your tank volume at least 3–5 times per hour—so a 20-gallon tank needs roughly 60–100 GPH—and increase capacity for heavier stocking. For filter selection, beginners should favor a hang-on-back or sponge filter; HOB units are efficient and simple to service, while sponge filters are inexpensive, gentle, and strong for biological filtration.
Choose a filter that turns over your tank 3–5 times hourly; beginners often do well with HOB or sponge filters.
- Mechanical pads trap debris.
- Porous media or sponge supports nitrifying bacteria.
- Activated carbon is optional, not mandatory.
- Match flow to species and oxygen demand.
Integrate this into your maintenance routine by rinsing media in removed aquarium water, never replacing everything at once. Preserve the bacterial biofilm that converts ammonia to nitrate. If flow is excessive, baffle the outlet; if gas exchange is low, add an air stone or uplift.
Add Lighting, Substrate, and Decor
Next, choose lighting, substrate, and decor to match both the tank’s inhabitants and its maintenance needs. For planted tanks, target 2–5 watts per gallon, or use LED fixtures rated for planted use; fish-only community tanks usually need 1–2 watts per gallon. Buy the best light you can afford that fits the tank length, and use a lid or canopy that transmits light while stopping jumpers. Rinse gravel or sand until the water runs clear, then install about 1 lb per gallon for a 1-inch bed or 2 lbs for 2 inches. Dark, fine substrate improves appearance; nutrient-rich substrates suit demanding plants. Add rocks, caves, and driftwood for cover, pre-soaking wood for tannin reduction. Plan plant placement to keep open swimming space.
Condition Water and Start Cycling
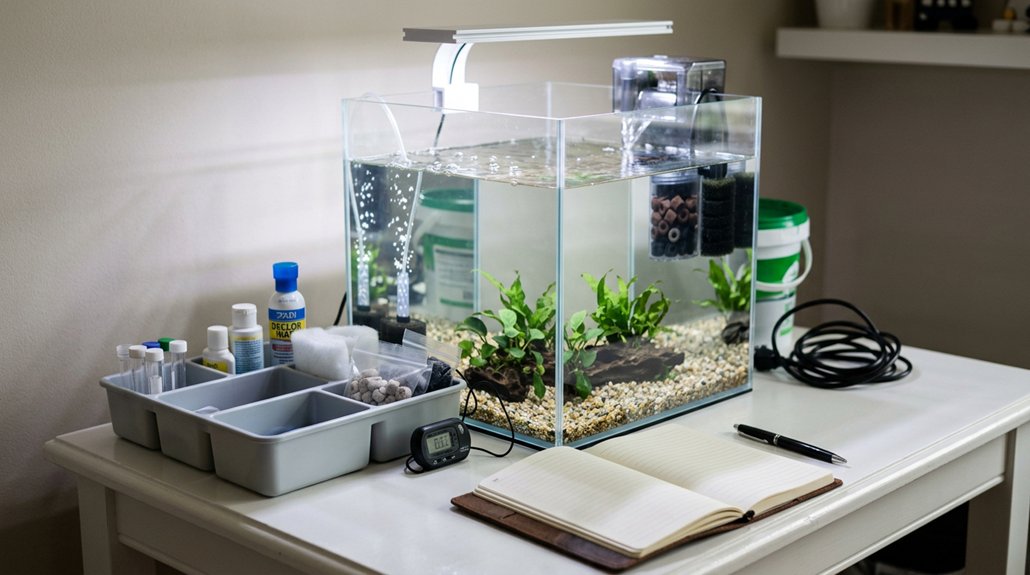
Conditioning the water before it enters the tank is essential, especially if your tap water contains chlorine or chloramine, which must be neutralized with a sodium thiosulfate–based dechlorinator before fish or beneficial bacteria are exposed. Follow your dechlorination protocol for every fill and water change, treating new water at roughly five times the label dose unless chloramine directions differ. Pour it in gently.
Condition water first: neutralize chlorine or chloramine with dechlorinator before adding it to the tank.
- Dose conditioner first
- Match temperature closely
- Avoid filter cleaning
- Track test results
To start cycling, add a tiny daily ammonia source and leave the system alone for 3–6 weeks. Expect cloudy water during the cycling timeline. Don’t rely on bottled bacteria; seeded media works better. Test ammonia, nitrite, and nitrate: the cycle advances when ammonia and nitrite fall, nitrates rise, and you can introduce fish gradually.
Frequently Asked Questions
How Do I Budget for My First Aquarium Setup?
Estimate your initial cost for tank, filter, heater, lighting, substrate, and decor, then add ongoing expenses like food, water treatments, and electricity. You’ll avoid surprises by setting aside a monthly maintenance fund.
Which Fish Are Best for a Beginner Tank?
Start with sturdy, small species: you’ll do best with guppies, platies, and mollies; for a single-fish option, a betta works. Focus on livebearer selection and betta care, matching your tank’s temperature, filtration, and schooling needs.
How Often Should I Clean Aquarium Equipment?
You should clean aquarium equipment every 2–4 weeks, inspecting filter hoses, heater thermostat, gravel vacuum, sponge filter, air pump, and protein skimmer; you’ll maintain flow, stability, and biofiltration without disrupting beneficial bacteria.
What Maintenance Tools Should Every Beginner Own?
You should own a gravel vacuum, algae magnet, water test kit, bucket, siphon hose, and soft brush. You’re cleaning substrate, clearing glass, and verifying chemistry—each tool prevents buildup, stress, and avoidable aquarium failures.
When Should I Upgrade to Larger Equipment?
Upgrade when your tank’s bioload, fish size, or maintenance demands exceed current gear. You’ll need better flow rate and space planning once filtration struggles, oxygen drops, or added livestock consistently stresses equipment performance.
Conclusion
By now, you’ve got the essentials lined up, and that’s no accident: the right tank, heater, filter, light, and substrate all work together to create a stable start. When you set up your aquarium with care, you’re not just assembling equipment—you’re building predictable water conditions your fish can actually thrive in. Finish by conditioning the water and cycling the tank, and you’ll give your aquarium the best chance for long-term success.