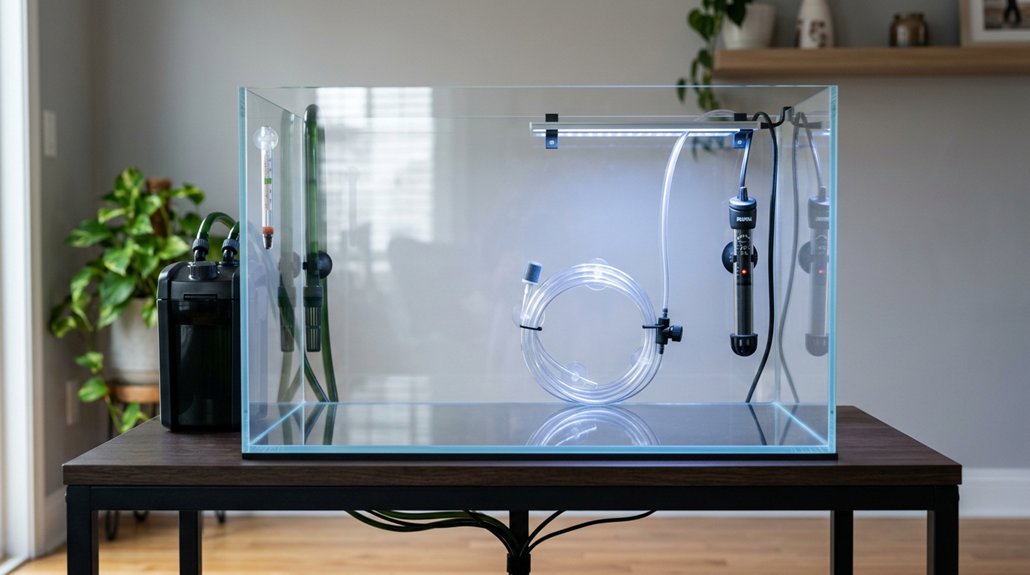
Start with a 20-gallon long tank for better stability and swimming room, set on a rigid, level stand with a lid that prevents jumps and cuts evaporation. Use a cool-running LED, a filter that turns the tank over 3–5 times per hour, and an adjustable heater with an accurate thermometer. Add safe substrate and décor, then condition tap water, test ammonia and nitrite, and keep aquarium-only cleaning tools, nets, and plant care essentials ready for a smooth setup.
Key Takeaways
- Choose a 20-gallon long tank with a sturdy, level stand and a secure lid for stability and less evaporation.
- Use an LED light, adjustable heater, and thermometer to maintain stable tropical temperatures around 74–77°F.
- Install a filter that turns the tank over 3–5 times per hour and includes biological media for beneficial bacteria.
- Add rinsed substrate, safe rocks, driftwood, and hides to support fish, plants, and natural behavior.
- Treat tap water, test ammonia and nitrite, and perform weekly water changes with an aquarium-only bucket and siphon.
What Aquarium Size Should You Start With?
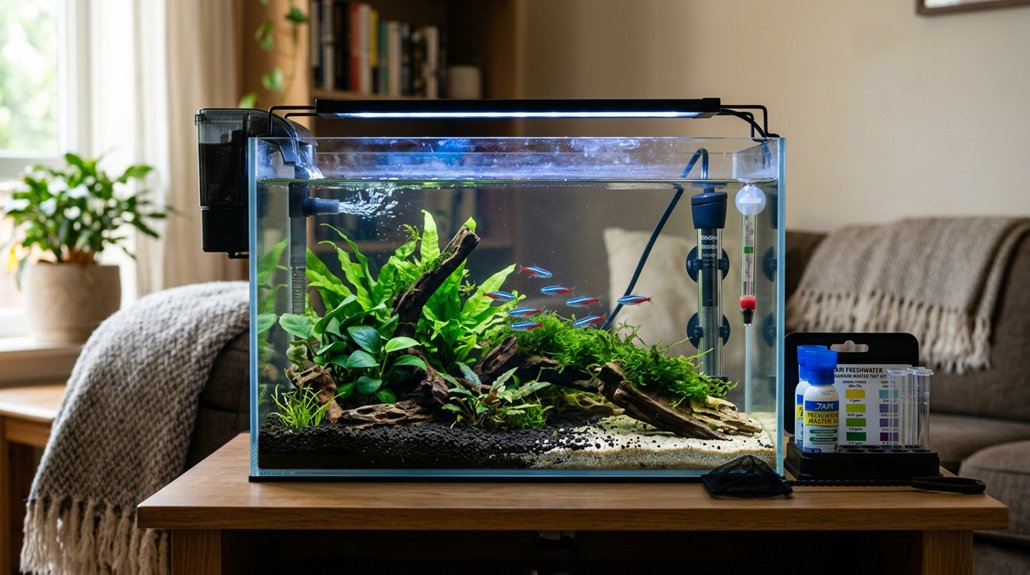
A 20-gallon long tank is often the best starting point because it gives you a practical balance of stability, swimming space, and manageable size. You’ll get better chemical and thermal stability than in 5–10 gallon setups, so tank cycling is usually more forgiving. The long, low footprint improves horizontal movement and surface gas exchange, which matters more than a tall, narrow aquarium. For a single betta, 5 gallons is the minimum, but if you want a small community, 16–20 gallons gives you room to respect stocking limits and filtration capacity. Avoid jumping to 55 gallons unless you’re prepared for the added weight and space demands. A filled 20-gallon tank weighs about 200 pounds, so confirm your floor can support it.
Choose the Right Tank Stand and Lid
You’ll need a rigid, level aquarium stand rated for the full filled weight of your tank—roughly 10 lb per gallon—so a 20-gallon setup demands support for about 200 lb or more. A low, long tank generally gives you better swimming area and surface gas exchange, and if you use acrylic, it needs full-bottom support rather than point loading. Fit the tank with a lid or hood that prevents jumping and limits evaporation, then make sure it still allows lighting, heat dissipation, and easy access for feeding and maintenance.
Proper Stand Support
A solid base is nonnegotiable: choose an aquarium stand rated for the full filled weight of the tank, roughly 10 lb per gallon, so a 20-gallon setup needs support for about 200 lb or more. You should verify weight distribution across the entire footprint, not just the corners, especially with acrylic tanks that need full-bottom support to avoid bowing. Level the stand precisely before adding water; even slight tilt creates stress points and can trigger leaks. Use anti vibration pads if the stand sits on a hard floor.
- Check the stand’s load rating.
- Confirm the surface is flat and fully supported.
- Set the tank, then recheck level before filling.
Lid And Hood Options
While the stand carries the tank’s full filled weight, the lid or hood should be chosen to match both safety and function: it should prevent fish from jumping, limit evaporation, protect the lighting, and still allow easy access for feeding, netting, and maintenance. You can choose integrated plastic hoods or separate glass lids; glass lids give a tighter seal and cleaner look, but they’re heavier and breakable. Plastic hoods are lighter, more durable, and often include LED or fluorescent fixtures. Check whether bulbs are included and whether the cover provides air exchange to prevent overheating. With acrylic tanks, use custom hoods or custom-fit lids that support the tank’s shape without stressing the rim. Make sure removal is safe and maintenance stays simple.
Pick the Best Aquarium Light
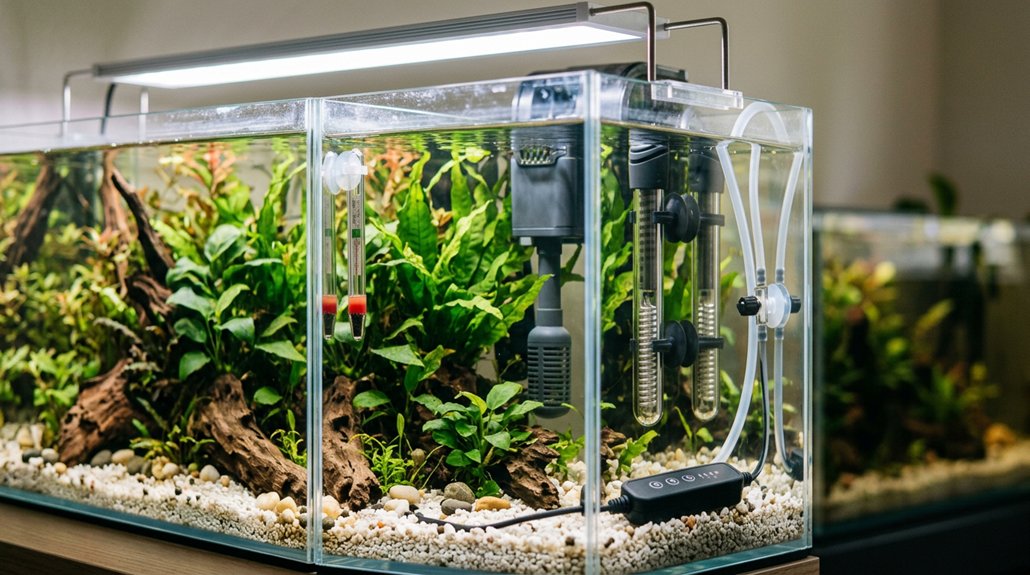
Choosing the right aquarium light starts with the tank type and the heat you can tolerate: for most beginner freshwater setups, a cool-running LED fixture is the best all-around option, since it uses less electricity, gives off minimal heat, and often lasts for years, while a 30-watt fluorescent fixture is a solid fit for many 15–30 gallon tanks. Match intensity to livestock: fish-only tanks need modest output, but planted tanks demand higher PAR or 2–5 watts per gallon. Check fixture width, confirm bulb inclusion, and plan fixture placement for short or long tanks, not tall thin ones.
- Set a timer for 8–10 hours daily.
- Use spectrum tuning for balanced growth.
- Avoid hot lamps like halogen or metal halide.
Select a Filter That Keeps Water Clean
After you’ve picked the right light, the next priority is filtration, because clean water depends on a system that handles mechanical, chemical, and biological waste efficiently. You should choose the best filter you can afford, and size it to your aquarium so its flow rates turn the tank volume over at least 3–5 times per hour; a 20-gallon system needs roughly 60–100 GPH. For beginners, a hang-on-back filter with a bio-wheel is dependable, while a canister filter offers stronger performance on larger tanks. Use biological media such as sponges, ceramic rings, or bio-balls to support nitrifying bacteria during cycling, and don’t clean all media at once. Rinse pads regularly, and use activated carbon sparingly.
Set Up a Heater and Thermometer
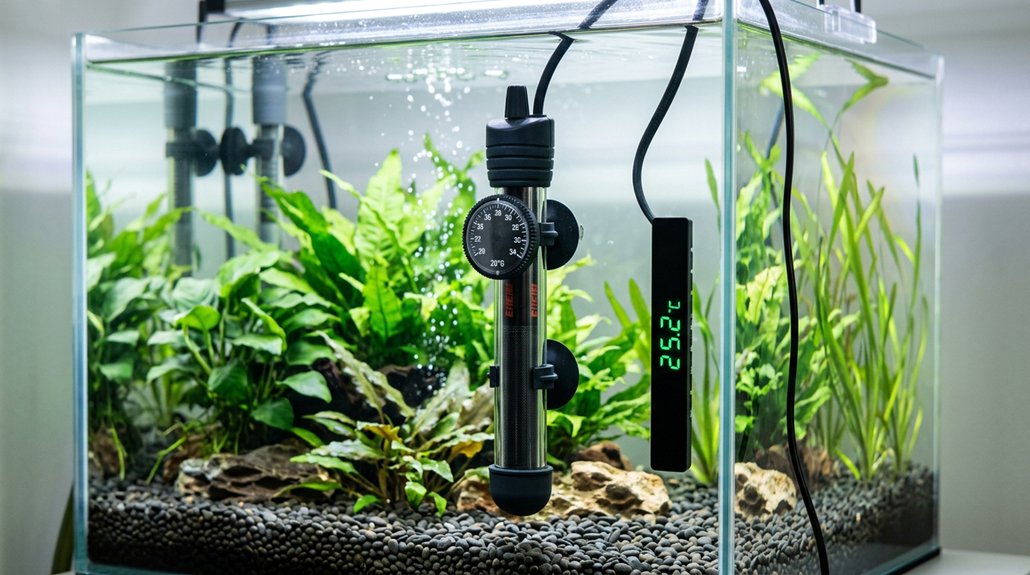
Dial in stable temperature next, because most tropical freshwater fish need water around 74–77°F, and you’ll want a heater unless your room consistently stays in that range. Choose a submersible unit with an adjustable dial, sized at roughly 3–5 watts per gallon. For tanks over 40 gallons, two heaters can improve even heat distribution.
Most tropical freshwater fish thrive at 74–77°F, so use an adjustable heater sized for your tank.
- Position heater placement near filter outflow for circulation.
- Select thermometer types: in-water digital, glass, or stick-on strips.
- Run the system 24 hours, then confirm stability.
Mount the heater per the manufacturer’s instructions and keep it from direct fish contact. An in-water thermometer is the most accurate choice; use digital or glass models for delicate species. Check readings regularly, especially during water changes, so you catch failures or sudden swings before fish are stressed.
Choose Substrate and Safe Decorations
You should choose small, smooth gravel or aquarium sand as substrate, rinsing it thoroughly and aiming for about 1–2 inches in a general freshwater tank to support beneficial bacteria without excess detritus buildup. If you’re setting up a planted tank, use a nutrient-rich planted substrate or root tabs and increase depth to roughly 2–3 inches for proper root development. For decorations, you should rinse all rocks and driftwood without soap and use only non-reactive, fish-safe materials with caves or holes for shelter.
Gravel Or Sand
Choose a smooth, aquarium-safe substrate—small dark gravel or aquarium sand—and rinse it thoroughly before it goes in; aim for a 1–2 inch bed, which works out to about 1 lb per gallon at 1 inch or 2 lbs per gallon at 2 inches. Your grain size should be fine enough for stable planting but not so compact that water flow stalls. Pick an aesthetic color that reduces glare and highlights fish contrast.
- Use bio-friendly substrate to support beneficial bacteria.
- If you’re keeping live plants, choose a planted mix like Eco-Complete.
- For hardness changes, use peat or softening pillows instead of substrate alone.
Avoid sharp or reactive decor, rinse everything, and confirm it’s non-toxic, non-buffering, and residue-free. Provide caves with large openings and check for trapped water or unstable pieces before placement.
Fish-Safe Decor
With the substrate rinsed and set, focus on fish-safe decor that won’t injure livestock or alter water chemistry. Choose smooth, stable pieces with natural caves and large openings so fish can retreat and sleep securely. Rinse every item in tap water; never use soap. Avoid porous shells or reactive rock that can leach minerals, and select aquarium-safe resin, cured driftwood, or inert stone instead. Live plants are ideal because they absorb CO2, release oxygen, and add cover; plastic plants are fine if you want low-maintenance structure. Use glow safe ornaments only if they’re labeled non-toxic and smooth. Make certain all decor is firmly anchored and free of sharp edges.
| Item | Benefit |
|---|---|
| Plants | Oxygen |
| Resin decor | Safe |
| Driftwood | Cover |
| Sand bed | Stability |
Condition Tap Water and Test Water Quality
Before any water enters the tank, treat tap water with a conditioner that neutralizes chlorine—and chloramine if your local supply uses it—because most U.S. municipal water is chlorinated. Use a product containing sodium thiosulfate for dechlorination, and confirm chloramine neutralization on the label. Then verify ph stability with liquid reagent kits, not guesswork, so you’re measuring real conditions. During cycling, test ammonia and nitrite frequently; you want 0 ppm for both before adding fish. Check nitrate periodically once the tank’s established.
- Dose conditioner into the new water first.
- Match pH to your species, often 7.0–7.8.
- Keep a clean, aquarium-only bucket for mixing.
A disciplined testing routine lets you catch spikes early, protect livestock, and schedule partial water changes based on results.
Get the Right Cleaning Tools
Once your water is conditioned and tested, the next step is making sure your maintenance gear won’t contaminate it. Buy a dedicated 2–5 gallon bucket labeled “For Aquarium Use Only” for bucket maintenance; never reuse one that’s held soap or chemicals. Use a gravel vacuum or siphon during weekly 25% water changes to lift waste from the substrate without stripping beneficial bacteria. Keep an algae scraper or magnet cleaner ready for algae prevention on the glass; magnet models let you clean without inserting your hand. You should also keep two nets, sized to your tank, so you can safely catch or transfer fish during servicing. Rinse every tool, decoration, and substrate item thoroughly in tap water before first use and during routine cleaning, and never add soap or detergents.
Add Plants, Fishnets, and Reference Guides
Now round out the tank with plants, a proper fishnet, and solid reference guides. Live plants improve water quality by removing CO2, releasing oxygen, and giving fish cover; choose low-light species like Java fern, Anubias, or hornwort, and provide 2–5 watts per gallon or equivalent LED plus rooted substrate. Rinse, trim, and use plant quarantine when possible to block snails and pests. Plastic plants are easier, but rinse them first to clear residues.
- Soft netting choices: buy a medium mesh net with a handle long enough to maneuver without scraping décor or stressing fish.
- Keep a spare net for emergencies.
- Stock an updated aquarium book and species atlas; printed guides help you verify care, habitat, and breeding details when online advice conflicts.
Frequently Asked Questions
How Often Should I Cycle a New Aquarium Before Adding Fish?
You should cycle your new aquarium once, fully, before adding fish; wait until water parameters stay stable and beneficial bacteria are established, usually 4-6 weeks, so you aren’t exposing fish to toxic ammonia or nitrite.
What Backup Equipment Is Useful During Power Outages?
In this digital age, you’ll want a battery operated airpump, backup battery filter, UPS for heater, portable generator adapter, insulated cover blanket, manual water change tools, solar powered heater, and CO2 emergency valve ready.
Which Fish Are Best for a Beginner Community Tank?
You’ll do best with peaceful tetras, hardy rasboras, corydoras, and guppies; they’re social, adaptable, and tolerate stable community conditions. Avoid aggressive or fin-nipping species, and match water parameters, tank size, and feeding needs carefully.
How Do I Acclimate Fish Safely After Bringing Them Home?
You’ll acclimate fish safely by floating the bag, then using gradual drip water matching for 30–60 minutes; don’t rush—stable temperature and chemistry prevent shock, even if they seem fine at first.
When Should I Replace Filter Media or Bulbs?
Replace filter media when it’s clogged, worn, or no longer holds beneficial bacteria, and change bulbs per manufacturer schedule, usually every 6–12 months, because filter lifespan and bulb degradation reduce performance and light output.
Conclusion
By now, you’ve got the core gear to build a stable aquarium: a properly sized tank, sturdy stand, reliable light, efficient filter, heater, thermometer, safe substrate, and clean tools. When you fill it with conditioned water and test it regularly, you’re creating a controlled environment where fish can thrive. Add plants and thoughtful decorations, and your tank won’t just look balanced—it’ll feel like a living, breathing underwater world you can trust.