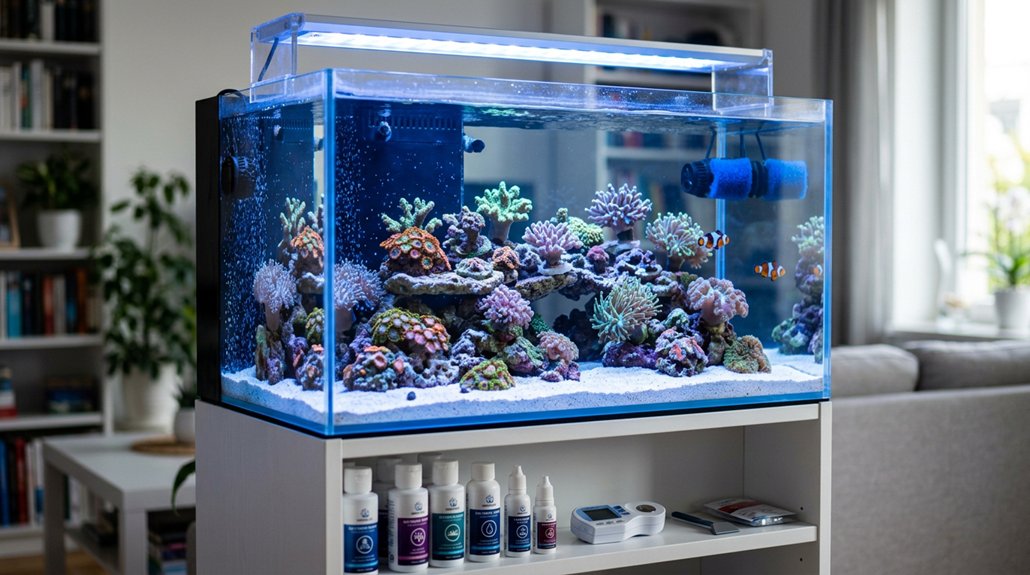
Choose a 40-gallon breeder or larger, since a shallow, long tank gives you better surface area, easier flow, and more stable water conditions. Put it on a rigid stand in a low-traffic spot, away from windows and vents, and check floor load first. A drilled display with a sump is usually easier to scale than a hang-on-back setup. Use aragonite sand, porous rock, strong controllable flow, and reef-capable lighting, and you’ll see how each choice builds on the next.
Key Takeaways
- Choose a 40-gallon breeder or larger tank for better stability, surface area, and easier maintenance.
- Prefer a drilled rectangular tank with a sump for hidden equipment, extra water volume, and simpler plumbing.
- Plan for strong, adjustable flow using a return pump plus powerheads, targeting about 20–50× total turnover.
- Use aragonite sand, porous live rock, and reef-safe lighting matched to your intended corals and PAR needs.
- Place the aquarium on a reinforced stand in a safe, accessible spot with GFCI-protected electrical and proper ventilation.
Choose the Right Saltwater Aquarium
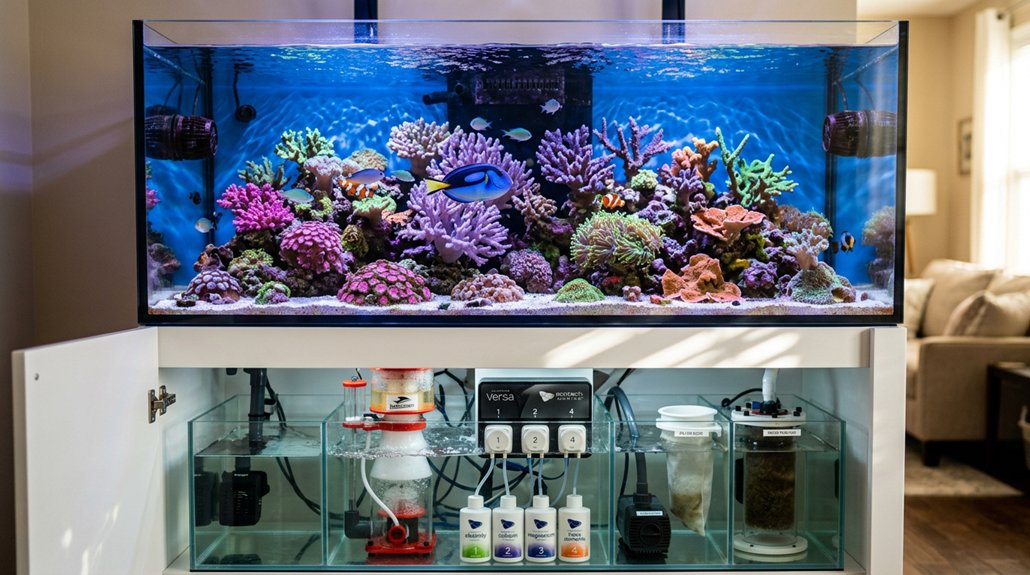
Start by choosing a tank that gives you room to succeed, not one that just fits the budget or the available corner. You’ll have a much easier time with a 40-gallon breeder or larger shallow, long aquarium, because the extra volume dampens parameter swings and simplifies maintenance. If you can, choose a drilled tank with a sump; you’ll hide equipment, gain water volume, and make room for mechanical filtration and a refugium. If you’re using an all-in-one, make sure its capacity matches your livestock plan. Consider tank material carefully: glass and acrylic each affect clarity, weight, and drilling options. Also verify the stand, floor rating, and access space, and pick dimensions that accept standard skimmers, sumps, and LED spread for better aesthetic customization later.
Pick a Tank Shape That’s Easier to Keep
You’ll usually have an easier time with a standard rectangular, breeder-style tank that’s long and shallow, since the greater surface area improves gas exchange and gives you more stable water chemistry than a tall, narrow column. A flat rear panel also makes drilling, overflow placement, and sump plumbing simpler, while the wider footprint improves access for cleaning, equipment adjustment, and routine maintenance. The extra horizontal space also helps you manage flow patterns and aquascaping more effectively, so you can create stable circulation without crowding the tank.
Rectangular Shape Advantages
A rectangular tank’s longer footprint gives you more usable horizontal space for aquascaping, coral placement, and livestock territories than a tall cube or nano shape, which makes flow easier to tune and dead spots less likely. You’ll get better wide viewing and more natural landscape aquascaping.
- The shallower, longer layout improves PAR spread, so light reaches rockwork more evenly and shadows don’t stall coral growth.
- The extra length gives you room for drilled overflows, return lines, and multiple powerhead positions, letting you build varied, directed circulation.
- A wider front-to-back footprint also helps you establish stable thermal and chemical conditions, especially in tanks over 40 gallons, so parameter swings are less abrupt.
Access and Maintenance
Beyond footprint and flow, tank shape also affects how easily you can actually keep the aquarium. You’ll work more efficiently with a shallow, long tank, since the lower height improves tool access and simplifies feeding, coral placement, and maintenance routines. A front lip, removable canopy, or mesh top helps you reach in for cleaning and fish retrieval without disruption. If possible, choose a drilled tank with an external sump; it keeps skimmers, heaters, and filter socks outside the display, so servicing’s cleaner.
| Choice | Maintenance impact |
|---|---|
| Shallow, long tank | Easier reach |
| Mesh/no canopy | Better access |
| External sump | Less clutter |
At 40 gallons or more, you’ll have room for hands and equipment. Avoid dense rock structures that block access.
Flow and Aquascaping
When you’re planning for flow, tank shape can make or break the aquascape. Choose a shallow, longer tank, like a 4’×1′ footprint, so you can push water across rockwork and reduce detritus traps. A tall, narrow tank makes shadow management harder and limits light penetration.
- Target about 10× turnover from the return pump, then add 10–40× from powerheads for a total of 20–50×, depending on livestock.
- Build multiple rock formations, not one wall, and place rocks on the glass bottom for stable microhabitat placement.
- Use zip ties or a PVC/acrylic frame when needed; fit pieces like a jigsaw to keep caves open and flow moving through them.
Avoid deep sand beds over 3″ in beginner setups.
Find a Safe Spot for the Tank
Before you place the tank, confirm the floor can safely carry the load, since water weighs about 8.34 lb/gal and a 75-gallon display with the stand and equipment can exceed 800 lb, which may require a floor inspection or reinforcement. Choose a low-traffic, shaded wall; avoid windows, vents, and heaters because direct light and warm airflow drive algae growth and temperature swings. Make sure you’ve got access on at least one side, plus room behind the stand for cables, maintenance, and lifting the canopy or equipment. If possible, locate the sump or noisy gear nearby but out of the living area to improve humidity control and reduce splash exposure. Use GFCI-protected circuits, keep power strips above drip lines, and route cords with drip loops.
Decide Between a Drilled Tank and HOB
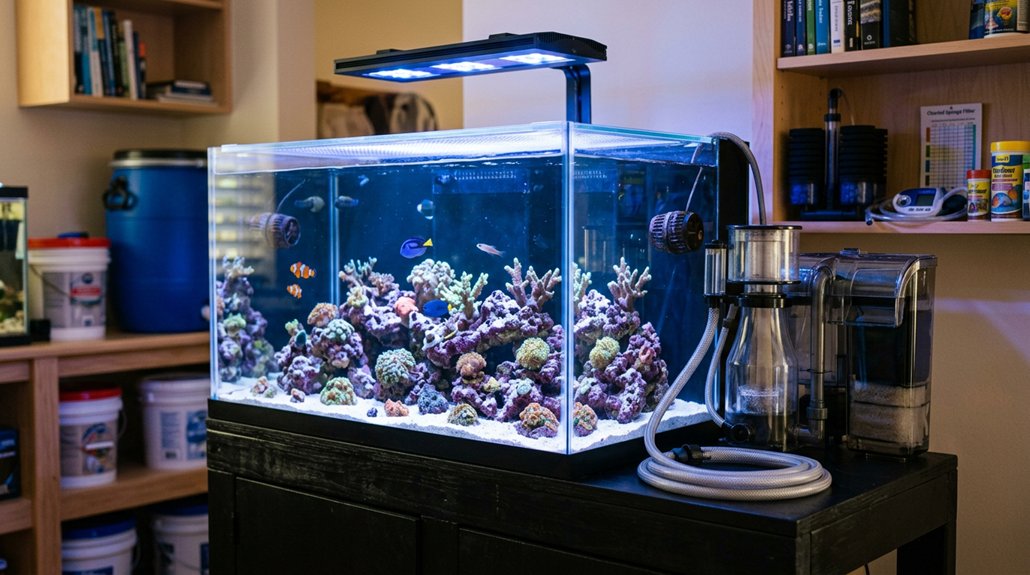
Now choose your filtration architecture: a drilled tank paired with a sump gives you more total water volume, hidden mechanical filtration, and better overflow protection, and it also lets you move noisy gear like the skimmer, reactors, and heaters out of the display for a cleaner look and quieter room.
- With a drilled overflow vs hob setup, you can size the return pump near 10× tank volume and add powerheads for circulation.
- HOB options cost less and need no drilling, but they expose equipment, reduce redundancy, and limit leak management.
- For noise management and future coral demand, a drilled/sump system gives you broader pump choices and easier upgrades.
If you’re inexperienced or budget-limited, start HOB and upgrade later.
Plan Your Stand, Sump, and Cabinet Space
You need a stand that can safely support the aquarium’s full filled weight, including the display, sump, and equipment, while remaining level and within your floor’s load capacity. Your sump has to fit the available footprint and height under the tank, with enough clearance for baffled chambers, the skimmer, and pump removal. You should also reserve cabinet space and route plumbing, cables, and GFCI-protected electrical access so maintenance, water changes, and equipment swaps stay straightforward.
Stand Strength And Size
A properly built stand is the foundation of a safe saltwater setup, because it has to support the full operating weight of the tank, not just the empty glass or acrylic. You should design it for even weight distribution and a load rating above the filled system’s mass. For example, a 75-gallon display can exceed 725 lb once rock and sand are added, so aim for 750–800 lb minimum.
- Use a rigid plywood, birch, or metal frame.
- Leave plumbing clearance and a level, waterproof top.
- Confirm the floor can handle the load.
Size the cabinet for a sump, extra equipment, and elevated electrical gear. Include removable access panels and enough internal space so you can service components without stress or structural flex.
Sump Footprint And Access
For reliable access and stable operation, size the sump and cabinet together, not as separate purchases. Aim for a sump that’s 10–20% of display volume, so a 100-gallon tank uses roughly 10–20 gallons for skimmer, refugium, and buffering capacity. Confirm sump placement leaves 2–4 inches around the footprint for plumbing, hoses, and airflow, and measure height with bulkheads and lid installed before buying. You’ll also need 12–18 inches of vertical clearance above the sump for skimmer cup removal and media changes. Use a removable front or side access panels for maintenance, and keep plumbing and electrical routed cleanly with drip loops and elevated, dry components. Reserve cabinet space for tools, test kits, and spare parts.
Cabinet Layout And Safety
When planning the stand and cabinet, treat the sump, plumbing, and electrical layout as one system so the sump fits fully inside the cabinet with 2–4 inches of clearance on all sides for tubing, power cords, and airflow. Use a larger sump if you can; it adds space for a skimmer and refugium.
- Mount outlets, power strips, and controllers above splash lines, with drip loops and GFCI protection.
- Use cable management, unions, and ball valves so you can isolate pumps and remove parts fast.
- Add ventilation, labeled storage, and fireproof lining near electrical gear; keep flammables out.
Place heaters, ATO gear, and test kits where you can reach them without moving plumbing, and leave room for fans or vents to dump heat and salt creep.
Choose Sand and Rock for Stability
To build a stable reef foundation, start with aragonite-based sand rather than silica, typically at 1–2 inches deep for most setups; estimate sand weight at about 8 lbs per square foot per inch of depth (8 × area in sq ft × depth in inches). Choose grain selection based on livestock: fine aragonite supports burrowers and rooting corals, while coarser sand reduces detritus retention and eases maintenance. Don’t exceed 3 inches, or you may create anoxic pockets. Rinse dry sand to remove silt, but don’t rinse bagged live sand. Use about 1–1.5 lbs of highly porous limestone or coral-skeleton rock per gallon, prioritizing rock porosity for bacterial surface area. Place rock on the tank bottom, build jigsaw-style stability, and secure tall structures with ties or frames.
Set Up Flow, Pumps, and Filtration
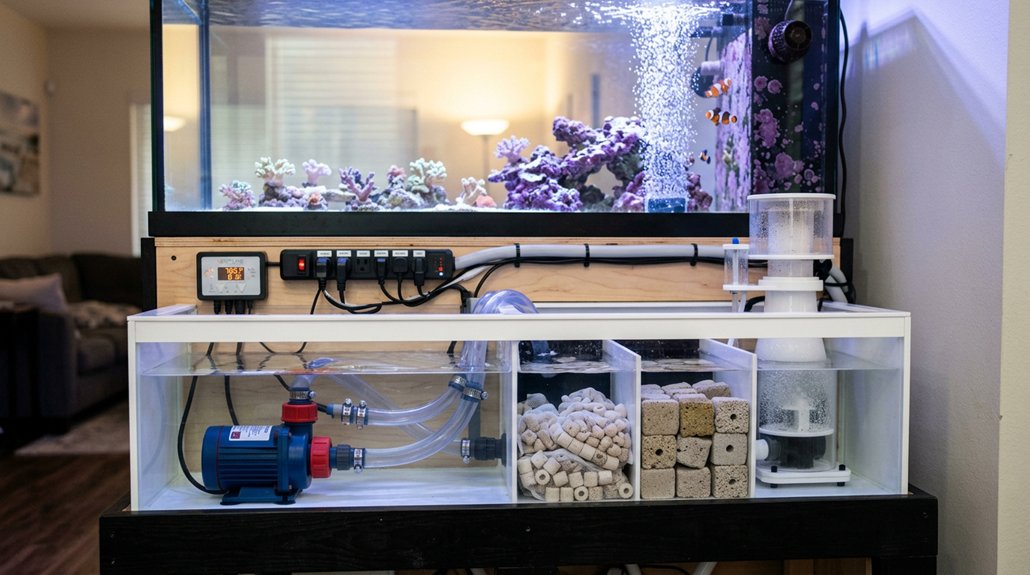
Dial in circulation and filtration early, because reef stability depends on both water movement and mechanical reliability. You should target 10–50× total turnover; on a 40-gallon tank, that’s about 400–2,000 GPH, with the return pump near 400 GPH and the rest from powerheads.
Dial in circulation early—aim for 10–50× turnover to keep reef water moving and stable.
- Use a sump, a properly sized return pump, and oversize critical pumps when you can.
- Choose DC silent pumps and controllable wavemakers for adjustable, randomized flow and fewer dead spots.
- Build flow redundancy with multiple powerheads, larger overflows, spare impellers, tubing, and a battery aerator.
Place pumps so water circulates around rockwork, not straight at corals, and keep spare parts ready because replacements can take days.
Match Lighting to Your Livestock
Matching your lighting to your livestock is a matter of balancing PAR, photoperiod, and spectrum with the actual needs of the animals you plan to keep. You should target under 50 PAR for soft corals and many LPS, 50–150 PAR for most LPS and hardy SPS, and 150–300+ PAR for demanding SPS, verifying values with a PAR meter or vendor charts. Use spectrum selection that includes full-spectrum white plus strong blue/violet output around 420–470 nm to support photosynthesis and fluorescence. Start with an 8–10 hour usable photoperiod, with ramped sunrise and sunset if possible. During light acclimation, increase intensity slowly to prevent bleaching and algae spikes. Place high-light species higher and lower-light corals in shaded areas, confirming placement with spot PAR readings.
Choose Equipment That Grows With You
Once you’ve matched lighting to your livestock, the next step is choosing equipment that won’t force a full rebuild as your reef matures. Start with a drilled display tank and sump, then size return plumbing, pumps, and overflow capacity for your eventual turnover target. Future proof equipment should include DC return pumps and wavemakers, because they’re quiet, adjustable, and programmable as demand rises.
Choose drilled tanks, sumps, and adjustable DC pumps now, so your reef can grow without a costly rebuild.
- Select a reef-capable LED with higher PAR headroom than you need now.
- Buy a quality RODI/DI unit and refractometer early; they support scalable maintenance.
- Keep spare impellers, a backup heater, and a battery aerator on hand.
Choose models with available replacement parts so you can expand, repair, and standardize instead of replacing core gear.
Frequently Asked Questions
How Do I Cycle a New Saltwater Tank Safely?
To cycle your new saltwater tank safely, you’ll use fishless cycling with pure ammonia, live rock, and a tested biofilter. Test ammonia, nitrite, nitrate daily, maintain temperature, and don’t add livestock until ammonia/nitrite hit zero.
What Fish Are Best for a First Saltwater Aquarium?
You’ll do best with clownfish, gobies, and blennies; they’re gentle starters. Check clownfish compatibility, and consider a goby shrimp pairing for mutual calm. Choose captive-bred fish, quarantine carefully, and avoid aggressive species at first.
How Often Should I Test Saltwater Aquarium Parameters?
You should test saltwater aquarium parameters daily during cycling, then 2–3 times weekly afterward. Routine daily testing supports baseline tracking, detects ammonia, nitrite, and pH shifts early, and keeps your livestock stable and safe.
What Salt Mix Should Beginners Use?
You should start with Instant Ocean: stable, inexpensive, and forgiving for beginners. If you’re planning corals, choose reef salt instead. Compare purity, alkalinity, calcium, and magnesium—simple mix, complex biology; your tank’ll reward precision.
How Much Does a Beginner Saltwater Setup Cost?
You’re looking at roughly $300-$800 for a beginner saltwater setup, depending on tank size and equipment. That initial investment includes filtration, lighting, and salt mix; ongoing maintenance usually adds $20-$60 monthly.
Conclusion
So, when you choose your saltwater tank, you’re really selecting a tiny ocean bureaucracy: the tank shape files the paperwork, the stand carries the legal burden, and the sump hides the messy accounting. If you place it well, drill it wisely, and size the pumps, rock, sand, and lighting correctly, you won’t create a glass monument to regret. You’ll build a stable system that can grow with your livestock instead of staging an expensive, salty revolt.