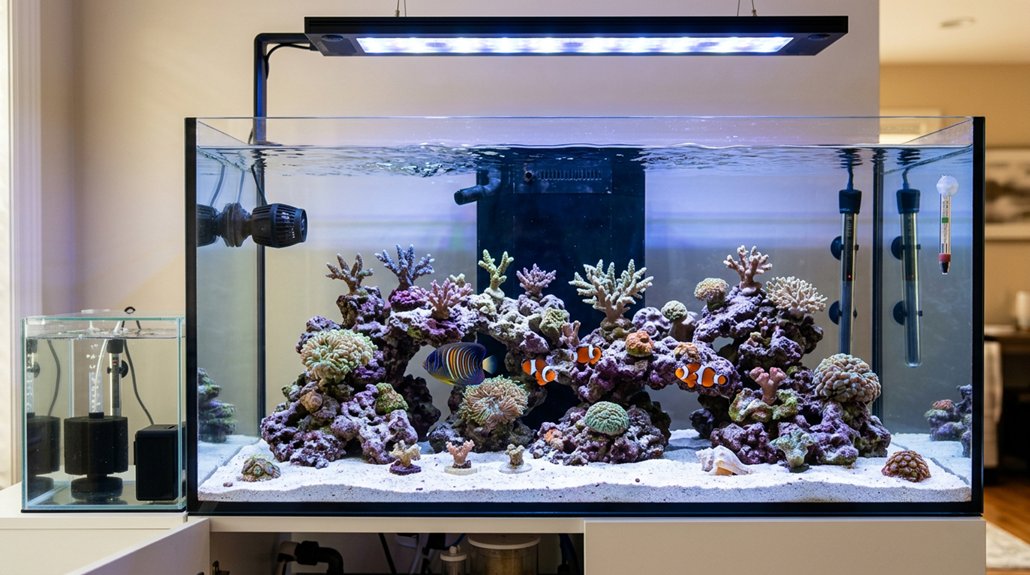
Start with a 30–55 gallon tank if you can, place it on a level, load-bearing spot away from sun and vents, and use a sturdy stand with GFCI-protected power. Add rinsed sand, live rock, and RODI-mixed saltwater at 1.025 specific gravity. Run strong, turbulent flow, a properly sized skimmer, and stable heat. Cycle the tank, test ammonia and nitrite until zero, then add cleanup crew, corals, and fish slowly, and you’ll see the details ahead.
Key Takeaways
- Choose a 30–55 gallon tank on a level, load-bearing stand away from sunlight, vents, and heavy traffic.
- Set up GFCI-protected electricals, a sump if possible, and allow access for plumbing, maintenance, and backup equipment.
- Rinse substrate, add live rock, and fill with RODI saltwater mixed to 1.025 specific gravity.
- Start pumps, skimmer, and circulation, then cycle the tank with lights off or very dim for several weeks.
- Test ammonia, nitrite, and salinity regularly, then add cleanup crew first and fish only after stable water parameters.
Choose the Right Saltwater Aquarium Size
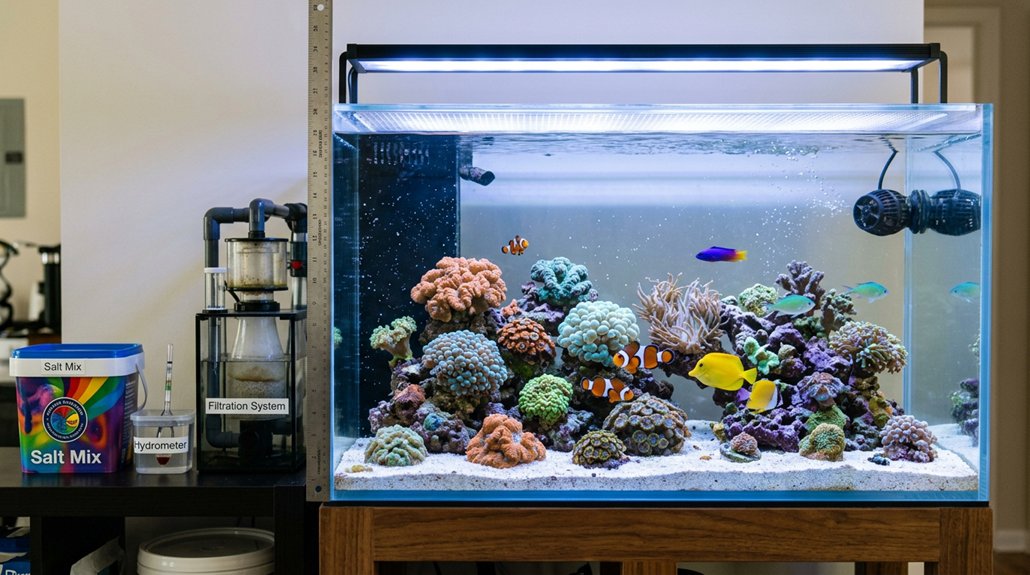
When you’re choosing a saltwater aquarium size, start larger if you can: a 30–75 gallon tank is usually more forgiving for beginners because the extra water volume helps stabilize salinity, temperature, and other parameters, while very small nano tanks under 20 gallons can swing quickly and punish small mistakes. You’ll also find that tanks under 10 gallons aren’t ideal for fishkeeping, since even small species need room and stable chemistry. Before you buy, match the size to your planned livestock and aquascape; tank dimensions determine filtration, lighting, sump capacity, and whether species like tangs fit. If budget or space is tight, a well-equipped 40–55 gallon setup is often the best compromise for reef hobbyists, because long term costs and maintenance stay manageable while success rates improve.
Choose a Safe Tank Location
You’ll want to place the tank on a level, load-bearing floor away from direct sunlight, exterior walls, and heat or cooling vents so you don’t create algae, condensation, or temperature swings. Leave several inches of clearance behind and beside the stand for plumbing and maintenance, and make sure the site is near a GFCI-protected outlet or dedicated circuit with drip loops and mounted power strips above splash zones. Choose a low-traffic location you’ll be happy with long term, with enough space for a canopy, lighting, and major access when you need to work inside the aquarium.
Tank Placement Safety
Choose a level, load-bearing floor area for your saltwater aquarium, and keep it out of direct sunlight to limit algae growth and temperature swings; remember that saltwater is heavy, at about 8.34 lb per gallon, so a 75-gallon tank can add roughly 625 lb before you include the stand, rock, and equipment. Verify the joists or slab can handle the load, and consider floor reinforcement if there’s any doubt. Avoid vents, radiators, and exterior walls, since heat and cold drafts raise stress and evaporation. Pick a spot with stable ambient humidity and low foot traffic. Leave enough clearance at the back and sides for maintenance, sump access, and neat routing of plumbing. If possible, keep noisy gear in a nearby utility space or stand compartment.
Access And Electricals
Once you’ve confirmed the floor can handle the weight, the next step is making sure the location also works for maintenance and power delivery. Put the tank on a level spot away from direct sun and traffic, with room behind and beside it. If you’re adding a sump or pumps, leave access in a nearby cabinet or separate room to cut noise and spill risk.
| Item | Why it matters | Tip |
|---|---|---|
| Access | Easier servicing | Leave clearance |
| Power | Safer operation | Use GFCI |
| Cords | Lower risk | Add drip loops |
Use a dedicated GFCI circuit or surge suppressor, and don’t overload one breaker with heaters, pumps, and lights. Mount strips above spills, practice cord management, and clean salt creep weekly. Keep spare critical parts and battery backup for power redundancy.
Select the Right Stand and Sump Setup
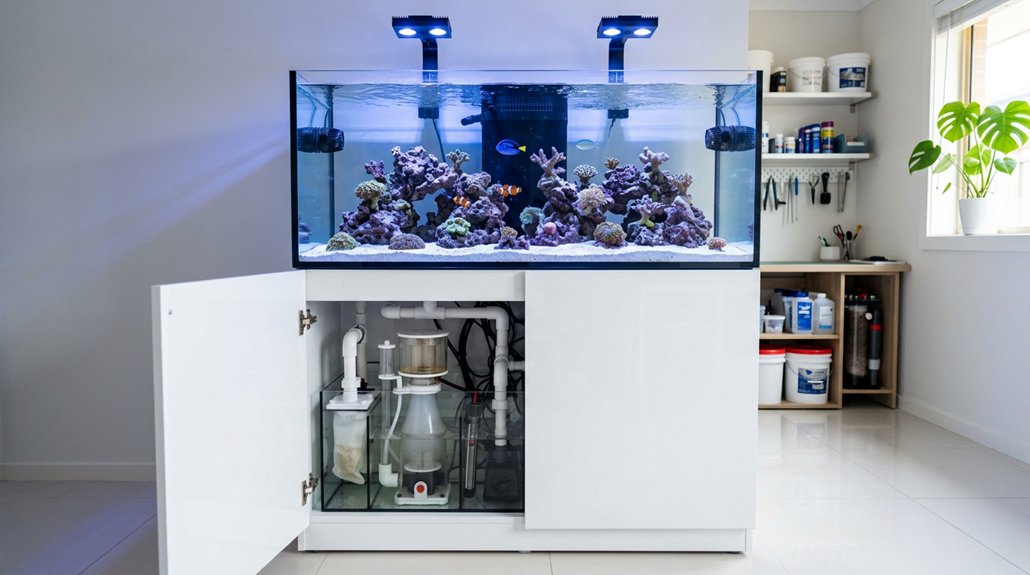
At the foundation of the system, the stand must be rated for the filled weight of the aquarium, rock, and equipment—an occupied 75-gallon saltwater tank can approach 650–700 lb—so verify floor support and use a rigid, perfectly level stand that spreads the load evenly. You’ll also want a footprint that leaves room for a sump beneath the display, ideally 10–20% of tank volume, so you can fit filtration, the return pump, and plumbing without crowding. Keep weight distribution centered, with a straight overflow-to-sump route when possible and bulkhead locations aligned over the sump compartment for easier plumbing access. Add unions and shut-off valves for maintenance, plus ventilation and removable panels so heat, noise, and servicing stay manageable in your space.
Choose the Essential Reef Equipment
Start by assembling the equipment that will keep your reef stable day to day: an RODI/DI filter for pure mixing and top-off water, since tap water contaminants can destabilize saltwater chemistry; a dependable return pump sized for about 10× tank volume through the sump; and controllable DC powerheads that add another 10–40× turnover for strong, adjustable circulation. Next, choose a protein skimmer rated for at least twice your tank’s advertised volume, and make sure the sump leaves room for its body, cup removal, and routine access. For monitoring, get a refractometer and reagent kits for alkalinity, nitrate, and phosphate. Your equipment selection should also include redundancy: two heaters on a temp controller, GFCI outlets, drip loops, and a backup pump or spare impellers. Build maintenance planning around these tools early.
Add Substrate, Rock, and Saltwater
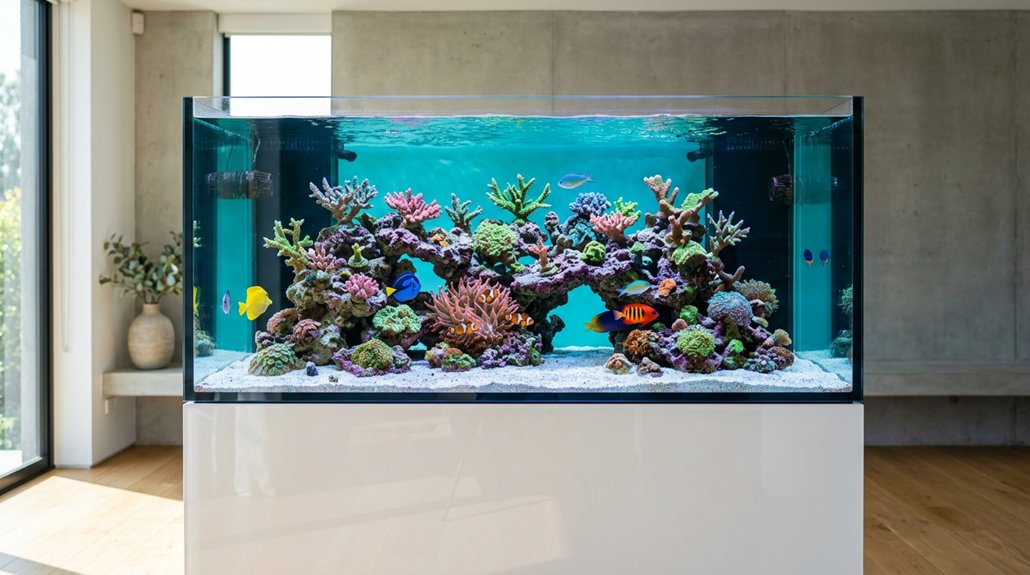
With the equipment ready, add substrate, rock, and saltwater in a controlled sequence so you don’t trap debris or destabilize the setup. Rinse dry sand in freshwater until the runoff clears, or gently rinse live sand in prepared saltwater, then spread it to your planned depth. Use about 8 lbs per square foot for each inch; choose a grain size that supports burrowing while limiting compaction and anaerobic pockets. Mix RODI water with marine salt to 1.025 specific gravity at tank temperature, then pour it slowly over the sand. Add rinsed live rock next, aiming for roughly 1 lb per gallon, with porous pieces toward the back and center. Set heavy rock on the tank bottom, secure unstable structures, and leave access channels.
Set Up Flow, Filtration, and Lights
You’ll want to balance flow so your total turnover lands around 10–50× the tank volume, using a controllable DC return pump plus wavemakers to create randomized movement and reduce dead spots. For filtration, start with mechanical and biological methods like a filter sock, sponge, live rock, or a refugium, then size your skimmer conservatively and add other media only when test results show you need it. For lighting, use dimmable fixtures, measure PAR, and set coral placement to the right intensity range while ramping lights gradually to mimic sunrise and sunset.
Flow Setup Basics
For stable flow, aim for a total turnover of about 10–50× the tank volume from all pumps combined, starting with roughly 10× from the return pump and then adding controllable DC powerheads until you reach the target; for example, a 50-gallon tank might need about 500–2,500 GPH total, with many reef systems running closer to 20–30×. Use at least two wavemakers, one on each end, to create alternating currents and dead spot prevention. Keep the stream turbulent and multi-directional, not a single laminar blast. Angle pumps slightly toward the glass or surface so flow breaks up and spreads through rockwork. Then fine-tune output slowly, watching how detritus moves and how corals sway. If you see stagnant zones, adjust placement or pulse patterns until circulation feels balanced and consistent.
Filtration And Lighting
Dial in filtration and lighting together, because they shape water quality and coral health as much as flow does: aim for roughly 10× tank turnover from the return pump plus another 10–40× from wavemakers, using controllable DC pumps when possible so you can program randomized, turbulent patterns that reduce dead spots and algal buildup. Size your protein skimmer for at least twice your tank volume, and place it in a baffled sump with room for maintenance. If you can, add a macroalgae refugium with Chaetomorpha to export nutrients and shelter pods. For lighting, use PAR mapping to match intensity to your livestock, then start with an 8–10 hour photoperiod and dimmable ramp-up and ramp-down. That gradual schedule helps prevent coral shock and keeps growth steady.
Cycle Your Reef Tank Step by Step
Before any fish or corals go in, fill the tank with prepared saltwater made from RODI water and marine salt to a target specific gravity of about 1.025, then add live rock and sand to start the biological cycle. Keep temperature stability tight, run return pumps and powerheads continuously, and use a protein skimmer during curing. You can add a bacterial inoculant to help seed nitrifying bacteria, but patience still matters. Leave lights off or very dim, and do weekly 25–50% water changes for the first 4–6 weeks, siphoning detritus and dissolved organics. Around week 4, add snails and hermit crabs, then wait at least two more weeks before corals or fish. Stock only after conditions stay stable and acclimate livestock gradually.
Test Ammonia, Nitrite, and Salinity
Once the tank is cycling, your job is to verify that the water is actually safe, not just biologically active. Do ammonia testing daily, or at least every 48 hours, with a reliable reagent kit until you consistently read 0 ppm; any detectable ammonia can injure fish and slow cycling. Test nitrite on the same schedule and confirm it also stays at 0 ppm before you stock sensitive livestock. For salinity monitoring, use a calibrated refractometer, or a high-quality hydrometer, and aim for 1.025 specific gravity, about 35 ppt. Recheck after top-offs and water changes. Calibrate instruments, follow storage instructions for reagents, and discard expired supplies. Record date, time, temperature, ammonia, nitrite, and salinity so you can spot trends and correct swings early.
Add Cleanup Crew, Corals, and Fish
After your tank has fully cycled and your test results are stable, you can start adding livestock in a controlled order: begin with a cleanup crew of snails and a few small hermit crabs to help manage algae and detritus, then add corals only if alkalinity, calcium, magnesium, nitrates, and phosphates are within target range. Use snail compatibility checks and stock lightly, then watch for grazing limits. For coral acclimation, introduce hardy zoanthids or mushrooms first, and slowly adjust them to light and water chemistry. Avoid demanding LPS or anemones until your tank’s flow and space are mature. Add fish last, and only a few at a time, with 2–4 weeks between additions. Quarantine when you can, and monitor closely for stress or aggression.
Frequently Asked Questions
How Difficult Is It to Set up a Saltwater Tank?
It’s moderately difficult: you’ll manage it with patience, steady testing, and consistent maintenance frequency. Equipment costs are higher than freshwater, especially for RO/DI, heaters, and kits, but proper setup makes your tank far more stable.
What Is the First Thing to Put in a Saltwater Tank?
You’ll usually start with mixed saltwater, then add live sand like a pale seabed under glass. Set up your quarantine tank separately, install equipment, and test salinity before rock, fish, or corals go in.
How Soon Can I Put Fish in a New Saltwater Tank?
You can add fish after the cycling process is fully complete, usually 2–6 weeks, when ammonia and nitrite stay at zero. Then quarantine new fish for 2–4 weeks, and introduce them gradually.
What Do I Need to Start a Saltwater Aquarium?
You’ll need quality tank equipment: RODI unit, tank, stand, overflow, return pump, heaters, refractometer, test kit, live rock, skimmer, powerheads, and safety gear. Did you know reefs can cycle for weeks? Monitor water chemistry patiently.
Conclusion
You’ve now set your saltwater stage: sturdy stand, stable sump, balanced salt mix, and bright, efficient lighting. By cycling patiently, testing often, and tracking ammonia, nitrite, and salinity, you protect your new reef from preventable problems. Next, add your cleanup crew, then corals and fish slowly, so your system stays steady. With careful choices, consistent care, and calm observation, you’ll build a thriving marine ecosystem that’s both beautiful and biologically balanced.