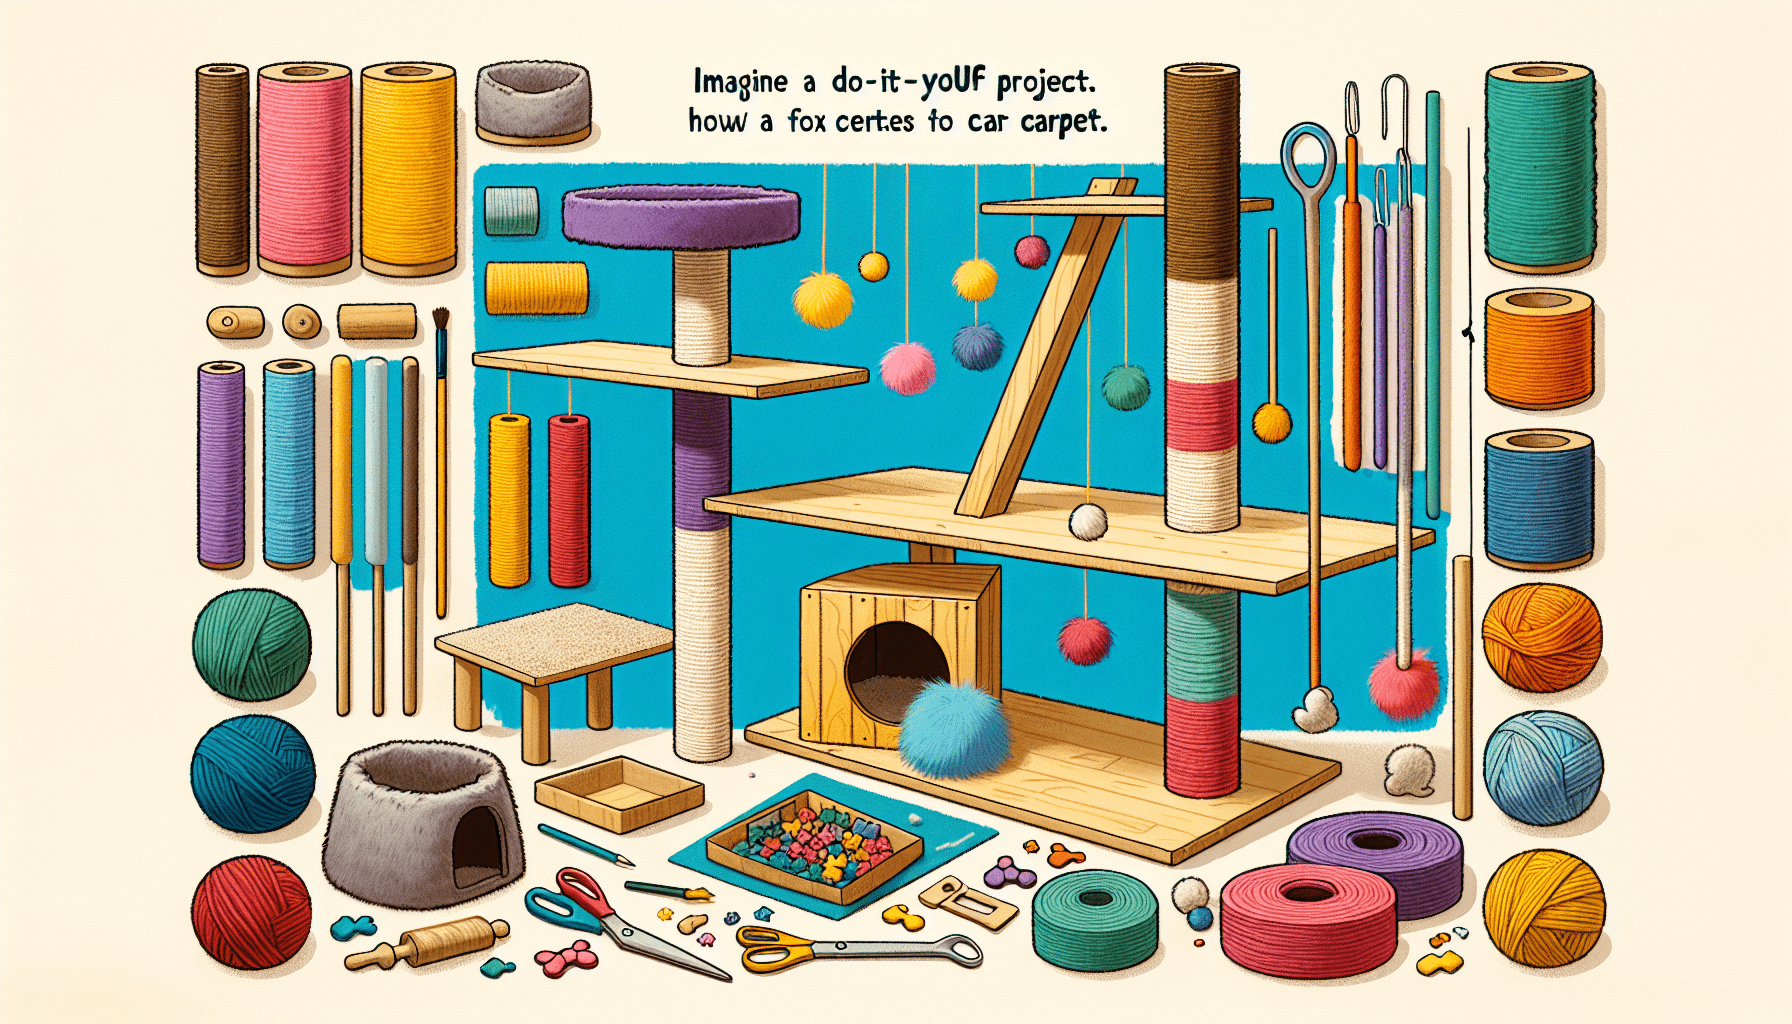
Welcome to a fun and exciting article on how to build your very own DIY cat tree! If you’re looking for a creative project to spoil your beloved feline friend, look no further. In this article, you’ll learn step-by-step instructions on how to create a custom cat tree that your furry companion will love. Let’s get started on this paws-itively purrfect project! Hey there! Are you looking for a fun and creative project to spoil your feline friend? Look no further than building a DIY cat tree! Your furry companion will love having their very own dedicated space to climb, scratch, and nap to their heart’s content. In this article, I’ll guide you step-by-step on how to create a customized cat tree that fits your cat’s personality and needs. Let’s get started!

Planning Your DIY Cat Tree
Before you dive into building your DIY cat tree, it’s essential to plan out the design and materials you’ll need. Consider the size of your space, your cat’s preferences, and the level of complexity you’re comfortable with. Make a list of the materials and tools required to bring your vision to life.
Design Considerations
When designing your DIY cat tree, think about your cat’s favorite activities. Do they love to climb, scratch, or hide in cozy spots? Tailor the design to include platforms, scratching posts, and enclosed areas where your cat can relax. You can also incorporate toys or dangling elements for added fun.
Materials Needed
Here’s a list of materials you’ll need to build your DIY cat tree:
- Wood (such as plywood or pine boards)
- Sisal rope or carpet scraps for scratching posts
- Fabric or cushions for comfortable resting spots
- Wood screws and brackets for stability
- Non-toxic glue or paint
- Tools (such as a saw, drill, and hammer)
Building Your DIY Cat Tree
Now that you have your design and materials ready, it’s time to start building your DIY cat tree. Follow these step-by-step instructions to create a sturdy and stylish cat tree that your feline friend will love.
Step 1: Cutting the Wood
Begin by cutting the wood into the desired shapes and sizes for the base, platforms, and posts of your cat tree. Use a saw to create square or rectangular platforms for your cat to climb and perch on. Make sure to sand down any rough edges to prevent splinters.
Step 2: Assembling the Structure
Once you have all your wooden pieces ready, it’s time to assemble the structure of your DIY cat tree. Secure the platforms to the posts using wood screws and brackets for added stability. Make sure to space out the platforms evenly to create a balanced and functional cat tree.
Step 3: Adding Scratching Posts
To prevent your cat from scratching your furniture, incorporate scratching posts into your DIY cat tree. Wrap sisal rope or carpet scraps around the posts and secure them with non-toxic glue. Place the posts strategically throughout the cat tree to encourage your cat to use them.
Step 4: Creating Resting Spots
Give your cat cozy resting spots by adding fabric or cushions to the platforms of your DIY cat tree. Choose soft and washable materials that your cat will find comfortable for napping or lounging. You can also attach toys or dangling elements to keep your cat entertained.
Step 5: Final Touches
Once you’ve assembled the main structure of your DIY cat tree, add any final touches to personalize it for your cat. Consider painting the wood with non-toxic paint in your cat’s favorite colors or patterns. You can also attach additional toys or decorations to make the cat tree even more engaging.
Maintaining Your DIY Cat Tree
To ensure that your DIY cat tree stays in top condition for your feline friend, it’s essential to perform regular maintenance and cleaning. Here are some tips on how to keep your cat tree looking and functioning its best.
Cleaning
Regularly vacuum or brush off any loose fur or debris from the fabric and cushions on your cat tree. You can also spot clean any stains or spills with a mild detergent and warm water. Make sure to let the fabric dry completely before allowing your cat to use the tree.
Inspecting
Periodically inspect the stability of the screws and brackets holding the platforms and posts together. Tighten any loose screws and replace any damaged parts to prevent accidents. Keep an eye on the condition of the scratching posts and replace them when they show signs of wear.
Replacing
As your cat grows or their preferences change, consider replacing or modifying parts of your DIY cat tree to keep it engaging and safe. Add new toys, cushions, or scratching posts to keep your cat entertained and happy. You can also repaint or refinish the wood to freshen up the look of the cat tree.
Enjoying Your DIY Cat Tree
After all your hard work and creativity, it’s time to sit back and watch your cat enjoy their new DIY cat tree. Create a cozy and inviting space for your furry friend to play, relax, and explore. Take photos and videos of your cat’s antics on the cat tree to share with friends and family. Most importantly, cherish the bond you share with your cat as they discover and embrace their special new space.
I hope this guide has inspired you to embark on the exciting journey of building a DIY cat tree for your beloved pet. Remember to have fun, be creative, and prioritize your cat’s comfort and safety throughout the process. Your cat will thank you for their very own personalized paradise!


